
Homemade finger doughnuts are pulling strong search volume across Pinterest and Google right now, driven equally by Great British Bake Off fans and bakers looking for egg-free doughnut recipes that actually deliver on texture. The egg-free part is where most recipes fail. Without eggs, yeasted dough can turn dense, the crust goes dark before the inside is cooked through, and that signature pale white ring around the middle of the doughnut, the one that signals a perfect fry, never appears. This guide solves all three problems. You get the full recipe with bread flour ratios, proofing times, oil temperature guidance, the correct shaping technique, four filling options from chantilly cream to jam, and a tested method for getting that white ring on every single doughnut without eggs in the dough.
Check out our related guide on Easy Egg-Free Baking Recipes for Every Occasion.

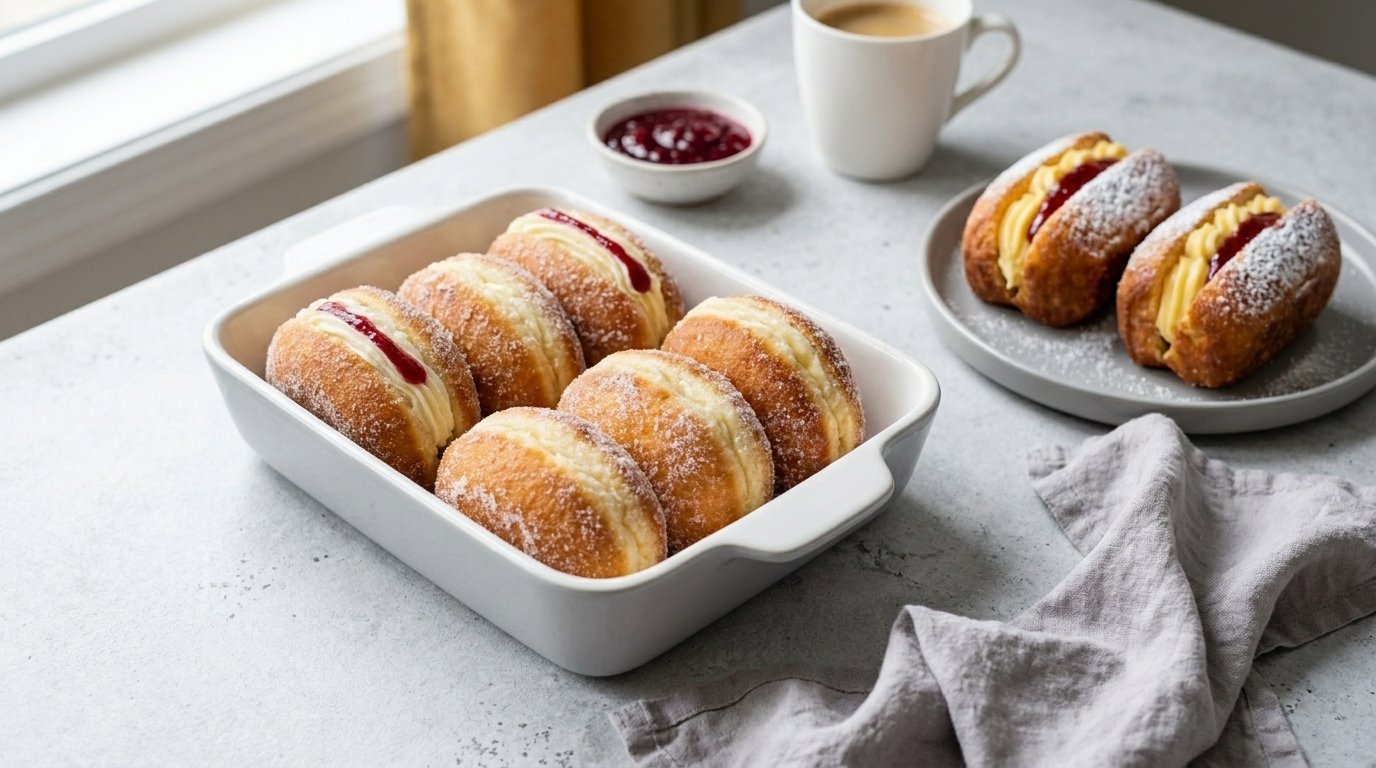
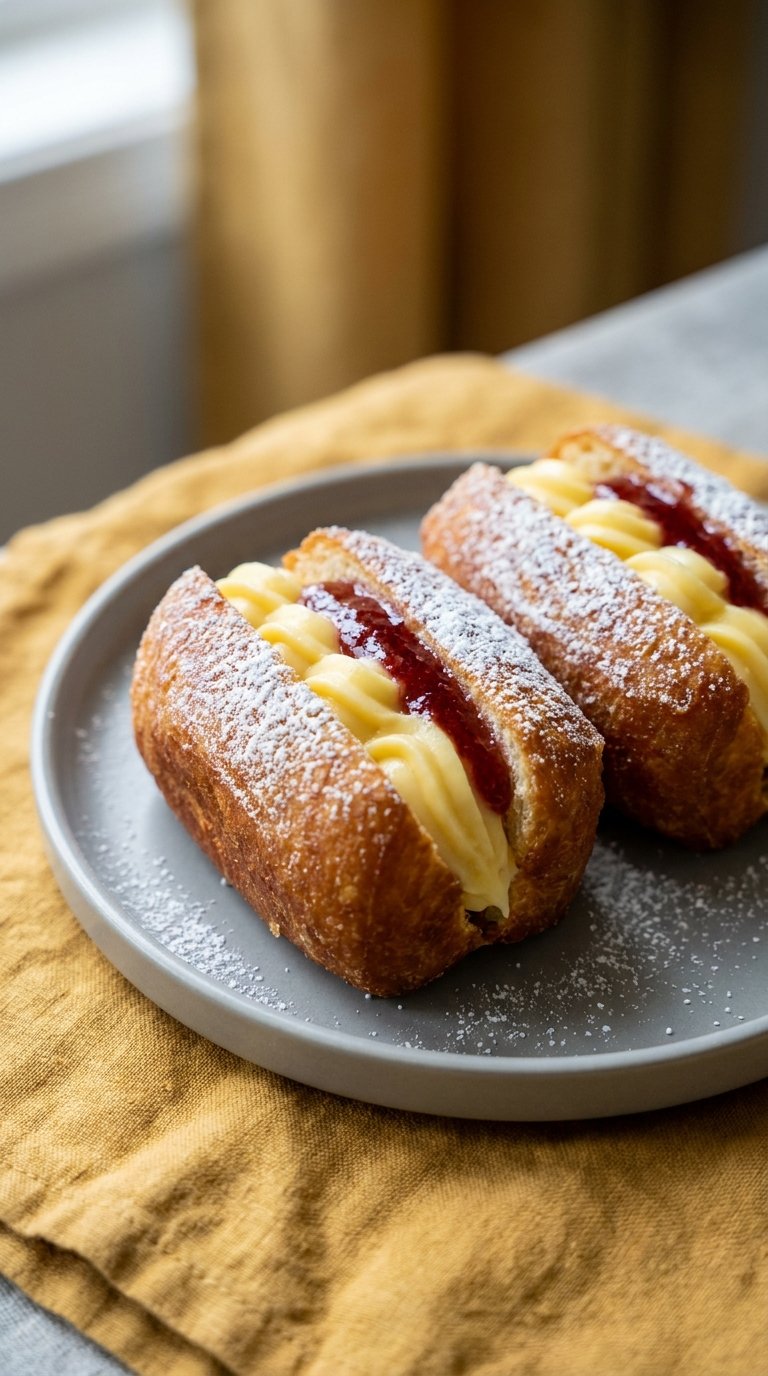
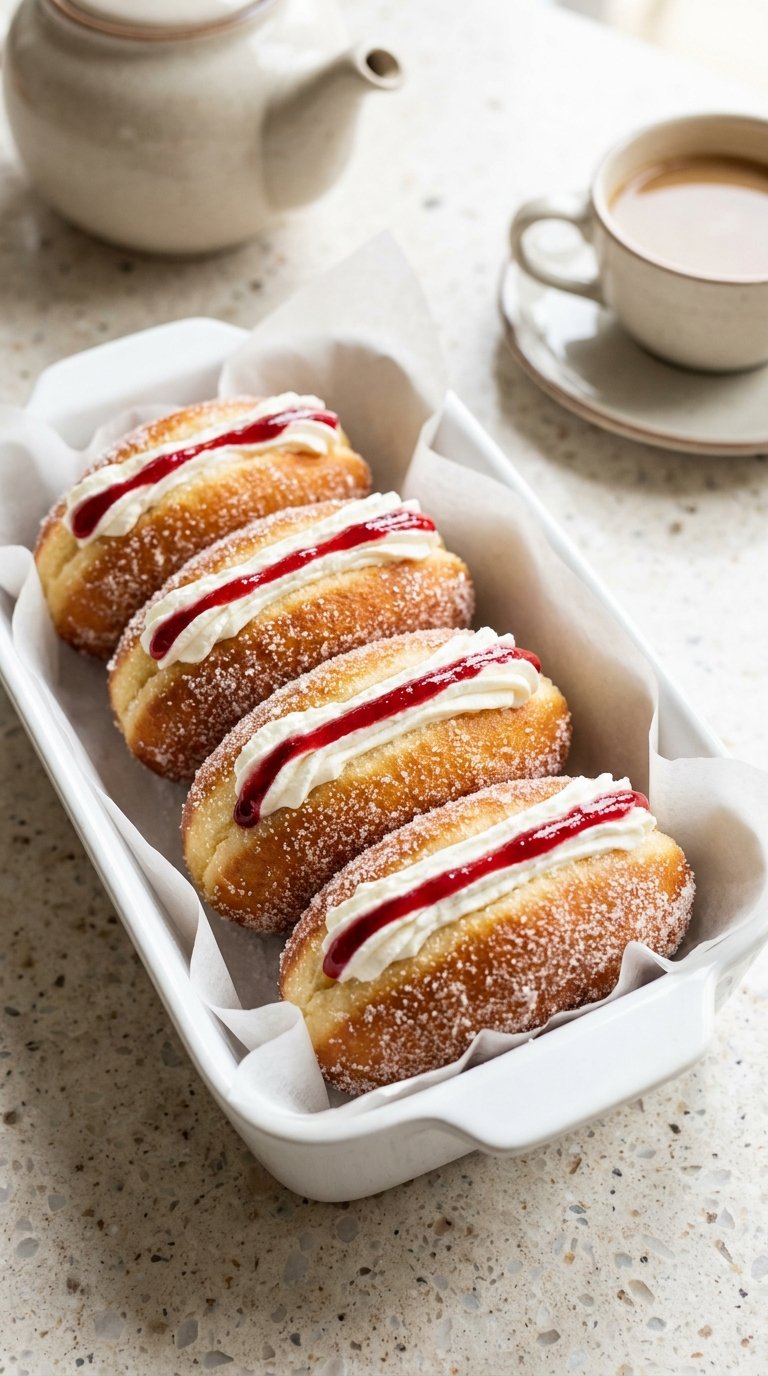
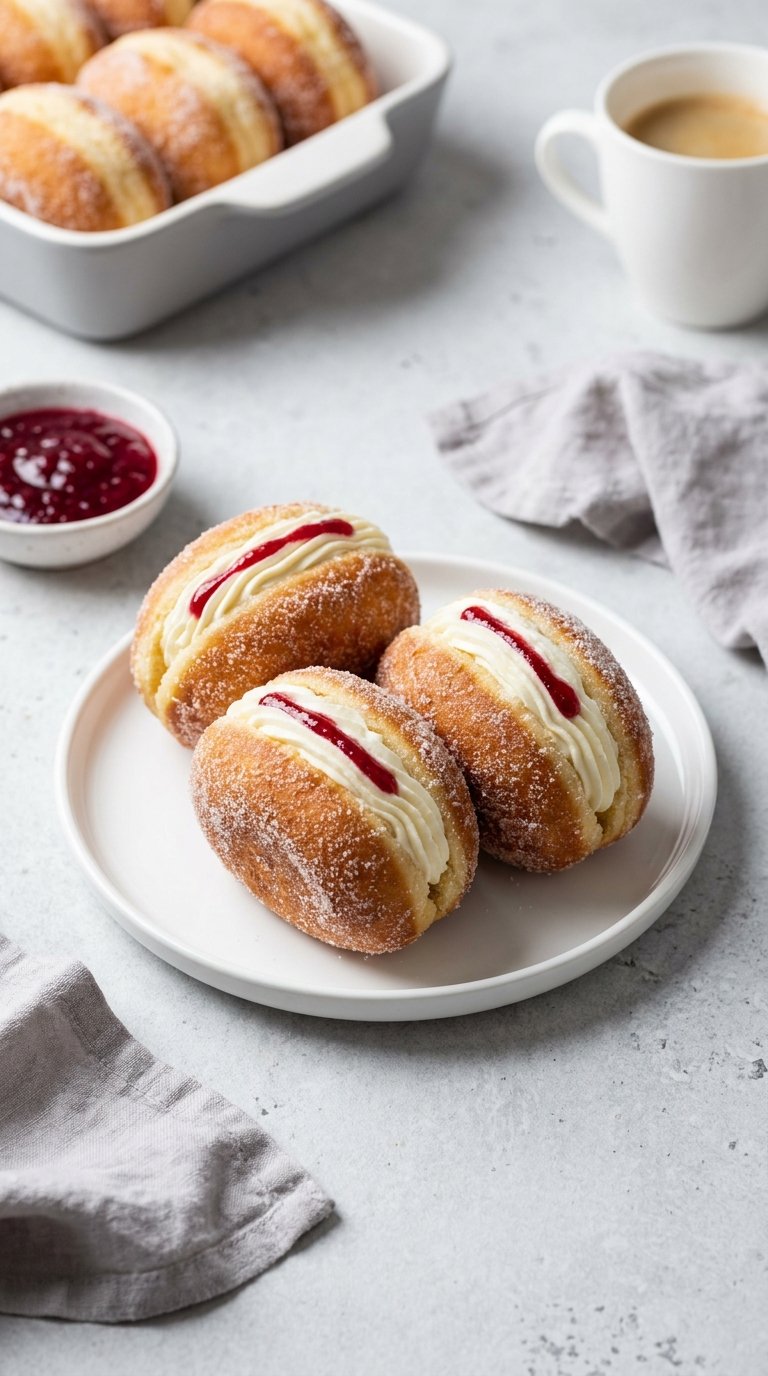
What a Finger Doughnut Actually Is
A tray of finished finger doughnuts dusted with sugar, one cut open to show the cream filling and white ring, natural bakery-style lighting]
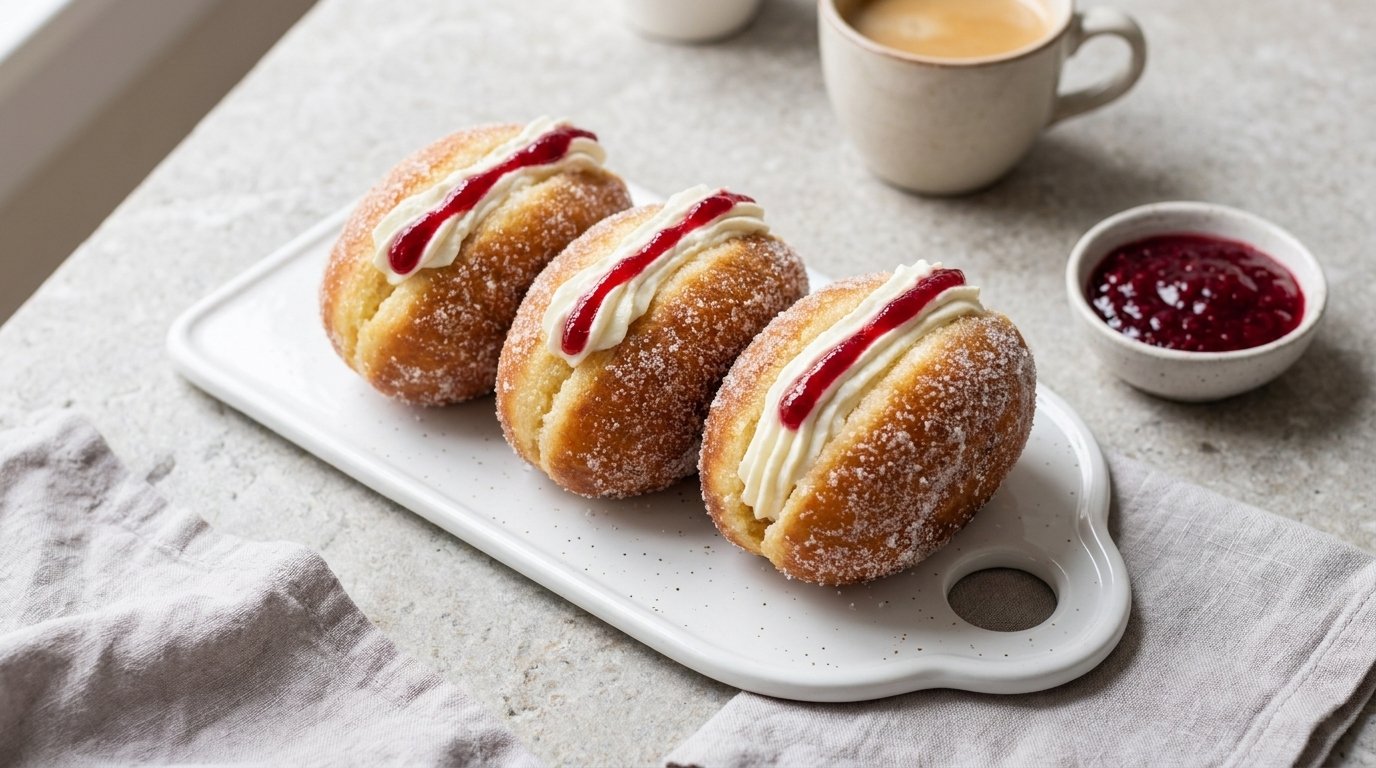
A finger doughnut is a yeasted doughnut shaped into a short, thick cylinder rather than a ring. The name comes from the shape: roughly the size and proportion of a finger. It is sometimes called a cream doughnut, a log doughnut, or in New Zealand, a classic bakery cream doughnut that appears in almost every local bakery alongside vanilla slices and lamingtons.
The shape rose to wider international attention through the Great British Bake Off, where the doughnut challenge consistently produced the most technically demanding bakes of any episode. The reasons are clear: the finger shape requires a specific shaping technique to prevent tapering at the ends, the yeasted dough needs precise proofing to hold its structure during frying, and the signature white ring around the middle requires both correct dough development and correct oil temperature working together.
The filling goes in after frying. A piping bag fitted with a long nozzle is pressed into one end of the cooled doughnut and the filling is piped through the center. The cream or jam filling is invisible from the outside, which means the only signal of what is inside is the weight of the doughnut in your hand.
Pro Tip: Weigh each portion of dough to the same gram before shaping. Uniform weight means uniform size, which means every doughnut spends the same time in the oil and comes out at the same stage of doneness.
Why This Recipe Is Egg-Free
Dry ingredients for the dough in a bowl beside a small jug of milk and softened butter, no eggs in the frame, clean composition on marble]
Most classic yeasted doughnut recipes include one or two eggs. The eggs contribute richness and color to the dough, help bind the gluten network, and add a tender texture to the crumb. The question is whether any of those functions are truly necessary for a finger doughnut, or whether other ingredients can carry the load.
The answer in this recipe is that bread flour does most of the structural work that eggs would otherwise support. The high protein content of bread flour builds a strong gluten network that holds gas bubbles during proofing and maintains structure during the shock of the hot oil. Butter provides the richness and tenderness. Milk adds color, fat, and a slight sweetness. The result is a doughnut that is soft, airy, and golden without a single egg.
This matters for a significant portion of the baking audience. People with egg allergies, those following a vegan lifestyle who still consume dairy, bakers who ran out of eggs and need a reliable solution, and parents making a school-safe snack all have reasons to want an egg-free finger doughnut recipe that does not compromise on texture or flavor.
Pro Tip: If you want to make this recipe fully vegan, replace the dairy milk with oat milk or soy milk and replace the butter with a solid vegan butter. The doughnut will be slightly less rich but still produces a soft, light crumb and a clear white ring.
Save this idea to your Pinterest.
Homemade Finger Doughnuts: Full Ingredients
All ingredients measured into separate small bowls on a light surface: bread flour, instant yeast, sugar, salt, butter, warm milk, labeled
This recipe makes 12 finger doughnuts.
For the Dough:
- 3 cups (360g) bread flour (strong white flour), plus extra for dusting
- 2¼ tsp (7g) instant yeast (one standard sachet)
- 3 tbsp (36g) granulated sugar
- 1 tsp fine salt
- ¾ cup (180ml) whole milk, warmed to 37°C
- 3 tbsp (42g) unsalted butter, softened to room temperature
- 2 tbsp (30ml) warm water
No eggs. The bread flour provides structure, the butter provides richness, and the warm milk provides the liquid, fat, and slight sweetness that eggs would otherwise contribute. The soft butter goes in after the initial dough comes together to be worked in gradually.
For Frying:
- 1 liter neutral oil (vegetable, sunflower, or canola)
For Coating:
- ½ cup caster sugar or icing sugar for rolling
- OR see the glaze options below
The dough is on the stiff side when first mixed. This is correct. As the butter is worked in and the gluten develops during kneading, the dough becomes smooth and soft.
Step-by-Step Instructions
Six-panel image showing dry ingredients combined, dough after kneading, first proof doubled dough, shaped log doughnuts, frying in oil with white ring visible, and finished sugar-coated doughnuts on a rack]
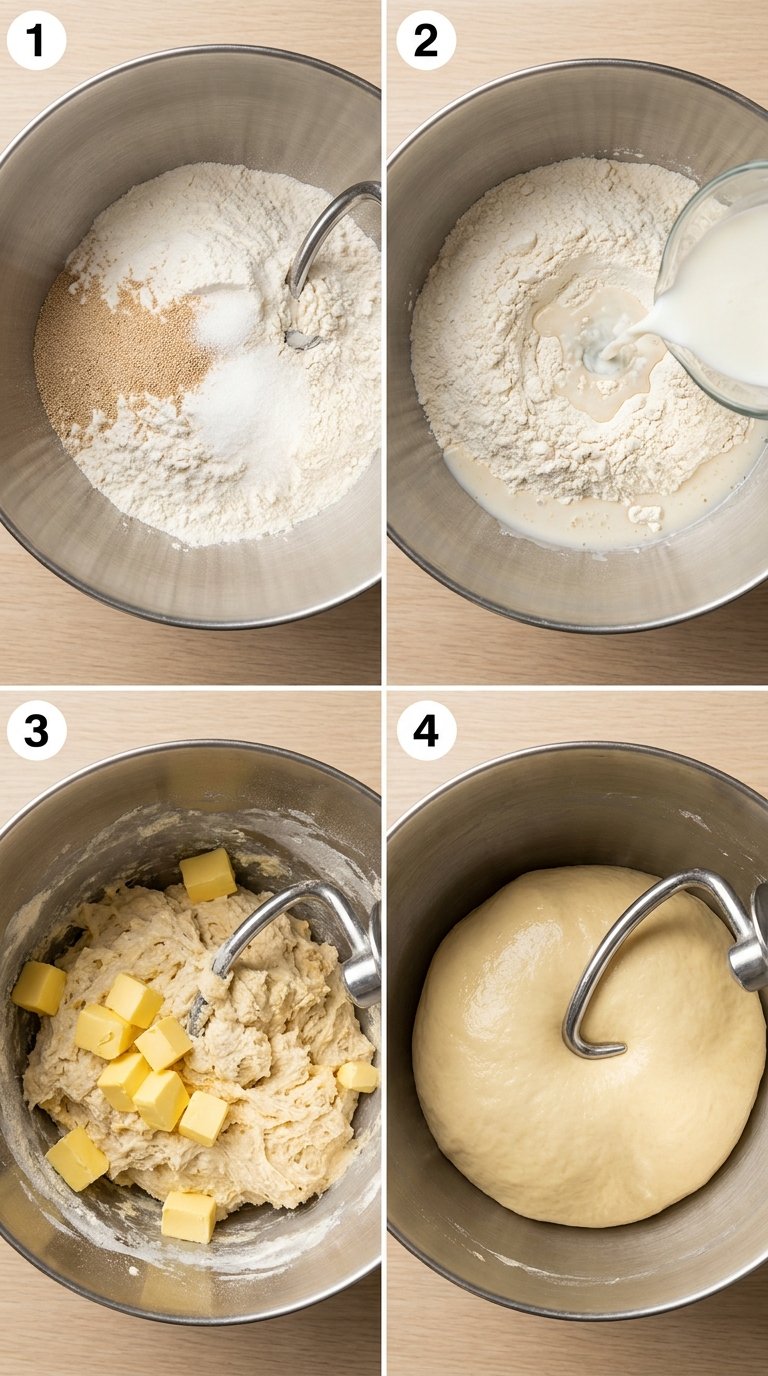
Step 1: Make the Dough
Combine the bread flour, instant yeast, sugar, and salt in a large mixing bowl. Whisk briefly to distribute evenly. Pour in the warmed milk and the warm water. Mix with a dough hook on a stand mixer at low speed or by hand with a wooden spoon until a shaggy dough forms with no dry flour remaining.
Add the softened butter in three small additions. Mix on medium speed or knead by hand for eight to ten minutes total until the butter is fully incorporated and the dough is smooth, elastic, and pulls away cleanly from the bowl sides. The dough will feel tacky but should not stick aggressively to floured hands.
Step 2: First Proof
Shape the dough into a ball and place in a lightly oiled bowl. Cover with plastic wrap or a damp cloth. Proof at room temperature for one to one and a half hours until doubled in size. The proof time varies by room temperature. In a warm kitchen the dough may be ready in 50 minutes. In a cooler kitchen, allow up to two hours.
For a richer flavor, cover the bowl and refrigerate overnight for a cold ferment. Remove from the refrigerator one hour before shaping.
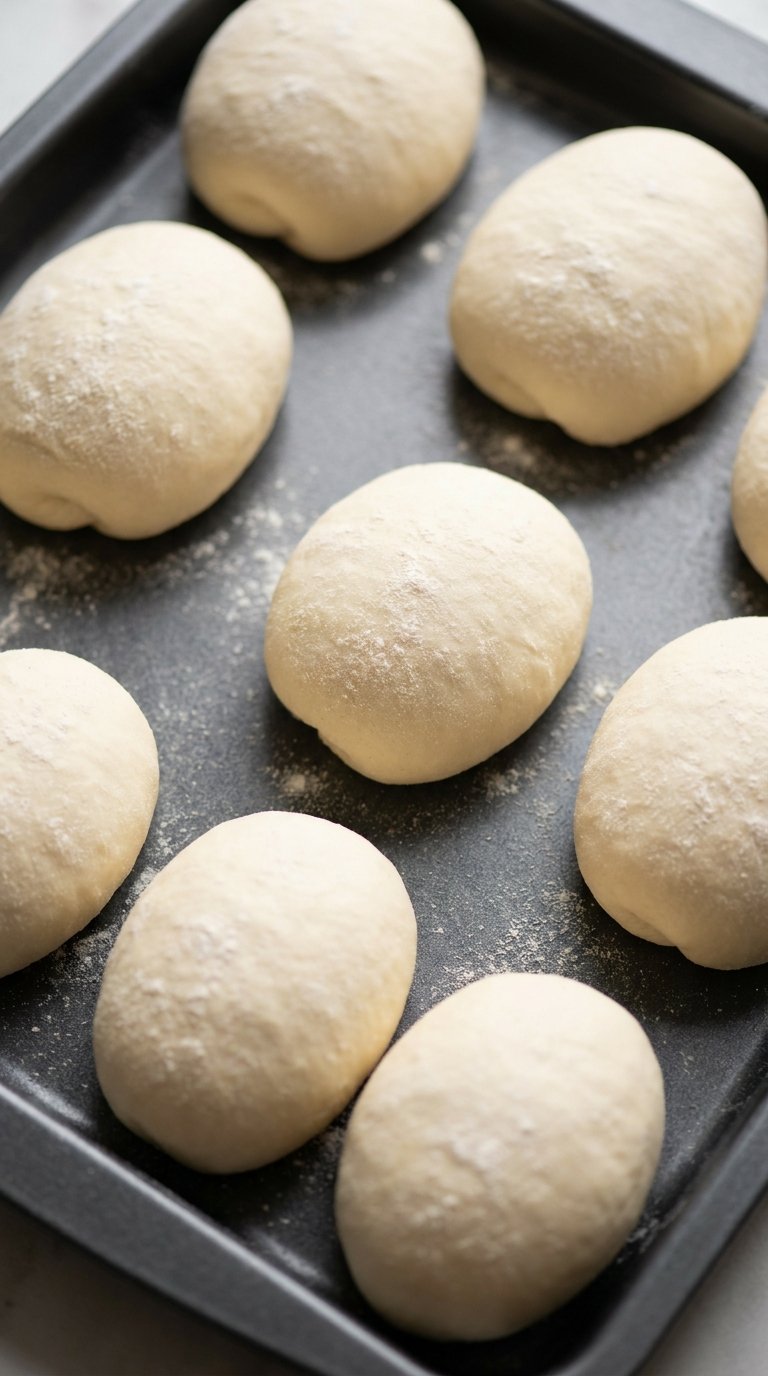
Step 3: Divide and Shape
Punch the dough gently to deflate large bubbles. Turn onto a lightly floured surface. Divide into 12 equal portions by weight, approximately 55 to 60 grams each. Shape each portion into a cylinder as described in the shaping section above: flatten, fold, build surface tension, then roll to 10 to 12 centimeters with blunt ends.
Place each shaped doughnut on a small square of parchment paper on a floured tray. Leave space between each one.
Step 4: Second Proof
Cover the tray loosely with a clean cloth or plastic wrap. Proof for 45 to 60 minutes at room temperature until the doughnuts are visibly puffed and leave a slow-recovering indent when pressed lightly with a floured finger.
Step 5: Fry the Doughnuts
Heat one liter of oil in a deep, wide pot over medium heat. Monitor with a thermometer and bring to 170°C to 175°C. Working in batches of two to three, lower each doughnut into the oil using the parchment square as a carrier. The parchment releases after a few seconds and can be removed with tongs.
Fry for two to three minutes on the first side until the bottom half is golden. Turn once with a slotted spoon or tongs. Fry for another two to three minutes on the second side. The white ring should be visible around the equator. Remove with a slotted spoon and drain on a wire rack. Allow the oil to return to temperature before the next batch.
Step 6: Coat and Fill
Roll the warm doughnuts in caster sugar or icing sugar immediately after draining. The sugar adheres to the slight oil on the warm surface. Alternatively, cool completely before applying a glaze.
Let the doughnuts cool on the wire rack for at least 20 minutes before filling. Warm doughnuts will melt cream fillings.
Fit a piping bag with a long, narrow filling nozzle. Fill the bag with your chosen cream or jam. Insert the nozzle at one end of the doughnut and press gently toward the center. Pipe slowly, pulling the nozzle back as the filling advances. Repeat from the other end if needed for a fully filled doughnut.
Popular Asked Questions
What makes a finger doughnut different from a regular doughnut?
A finger doughnut is shaped like a cylinder or log rather than a ring. The ring doughnut has a hole in the center that allows heat to reach the interior from all sides during frying. The finger doughnut is solid all the way through, which requires more careful control of oil temperature and proofing to cook the interior before the exterior overbrowns. Finger doughnuts are almost always filled after frying, with cream, jam, custard, or ganache piped through the center from one or both ends. The white ring around the middle is the visual signature of a well-made finger doughnut.
How do you get the white ring on homemade doughnuts?
The white ring on a homemade finger doughnut forms when the dough is correctly proofed and fried at the right temperature. The ring appears at the oil line, the band of the doughnut that sits at the surface of the oil and is exposed to cooler air above rather than the full heat of the oil below. For the ring to form, the dough must be proofed long enough to have residual yeast activity during frying, the oil temperature must be between 170°C and 175°C, and the doughnut must be turned only once during frying. Underproofed dough, overcrowded oil, or incorrect temperature all prevent the ring from forming.
Can you make egg-free doughnuts that are still soft and fluffy?
Yes. This egg-free finger doughnut recipe produces doughnuts that are soft, airy, and light without using any eggs. The key is using bread flour rather than all-purpose flour. Bread flour has a higher protein content that builds a strong gluten network, which provides the structure that eggs would otherwise contribute. Softened butter adds richness and tenderness, and warm whole milk provides fat, color, and moisture. The result is a doughnut that is soft and fluffy in the interior with a slightly springy, lightly golden exterior, identical in texture to an egg-based version.
What is the best oil for frying doughnuts at home?
The best oils for frying homemade finger doughnuts are neutral-flavored oils with a high smoke point. Vegetable oil, sunflower oil, and canola oil are all reliable choices. They have smoke points above 200°C (392°F), which means they do not break down or produce off-flavors at the target frying temperature of 170°C to 175°C. Avoid olive oil, which has a lower smoke point and a distinct flavor that reads oddly in sweet fried dough. Avoid unrefined coconut oil for the same reason. Use enough oil to fill the pot to a depth of at least four inches so the doughnuts float freely without touching the base.
How long do homemade doughnuts stay fresh?
Homemade finger doughnuts are best on the day they are made. Unfilled doughnuts keep at room temperature in an airtight container for one to two days and can be refreshed briefly in a 160°C oven for five minutes before serving. Cream-filled or jam-filled doughnuts must be refrigerated and consumed within 24 hours. The cream filling is a perishable dairy product and the moisture from the filling softens the dough over time. For the best texture and flavor on day two, reheat unfilled doughnuts before adding fresh filling rather than storing filled doughnuts overnight.
Final Thoughts
Homemade finger doughnuts without eggs are one of the more technically satisfying things you can make in a home kitchen. The recipe requires attention to proofing time and oil temperature, and those two details are what determine whether the white ring appears and whether the interior is light and airy rather than dense and greasy.
The reward for getting those details right is significant. A freshly fried, cream-filled finger doughnut, still slightly warm, with a clear white ring and a thin crust of caster sugar, is difficult to improve on.
Which filling are you making first? The chantilly cream for a classic New Zealand bakery version, or the chocolate ganache for something more indulgent? Leave a comment below and tell us how your white ring turned out.
Follow us on Pinterest for more homemade finger doughnuts recipes and egg-free baking ideas: wisdomforhome.comsion are you making first — the classic olive oil and sea salt base, the seeded version with sunflower and sesame, or the everything seasoning take? Leave your answer in the comments below.
Follow us on Pinterest for more buckwheat crackers inspiration, gluten-free baking ideas, and homemade snack recipes.

Leave a Comment