
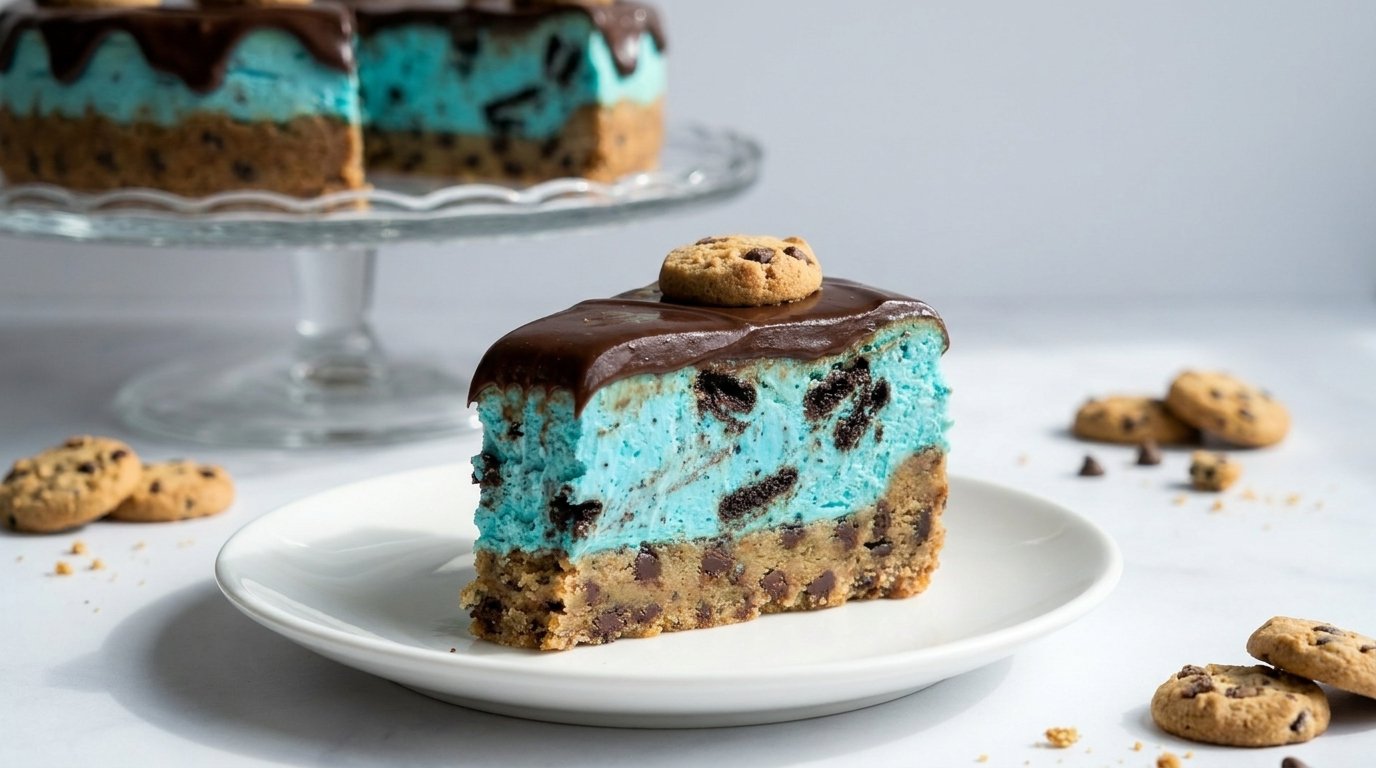
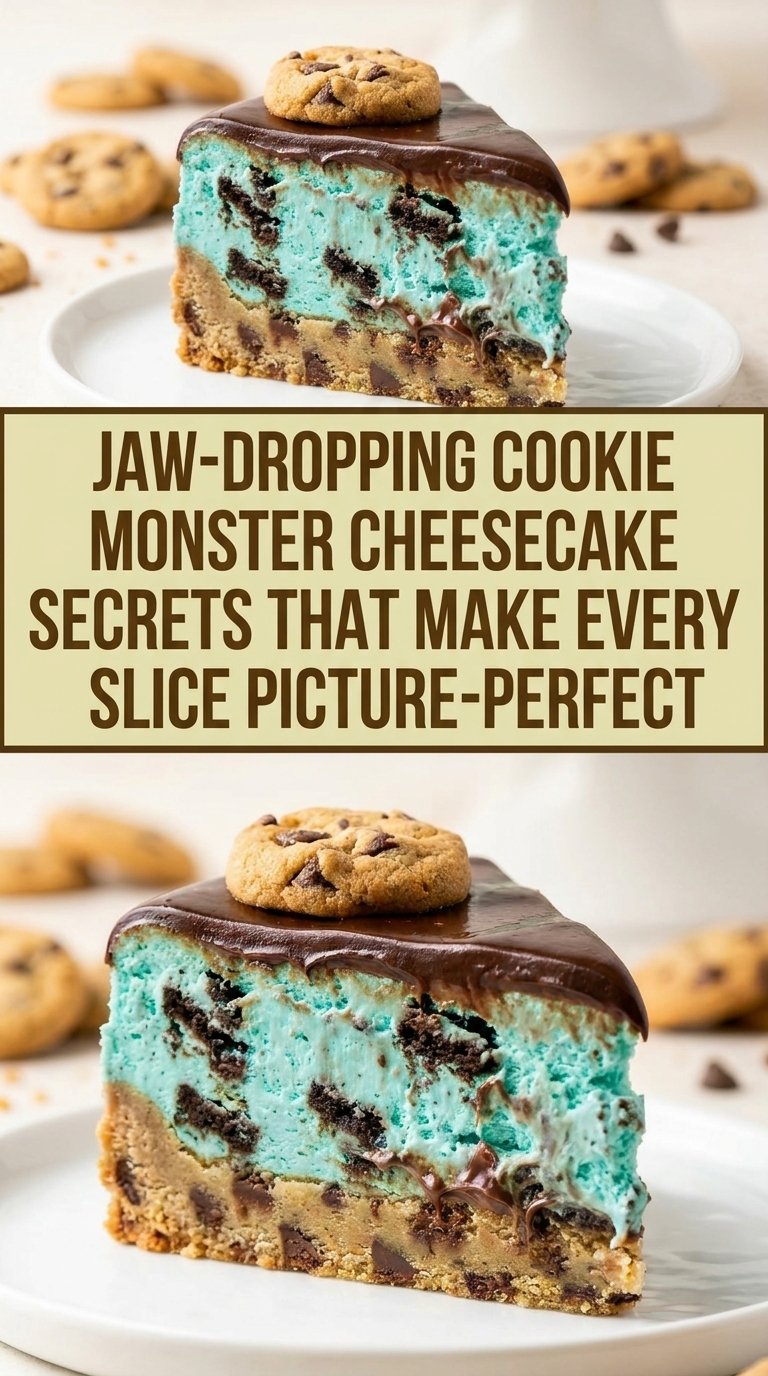
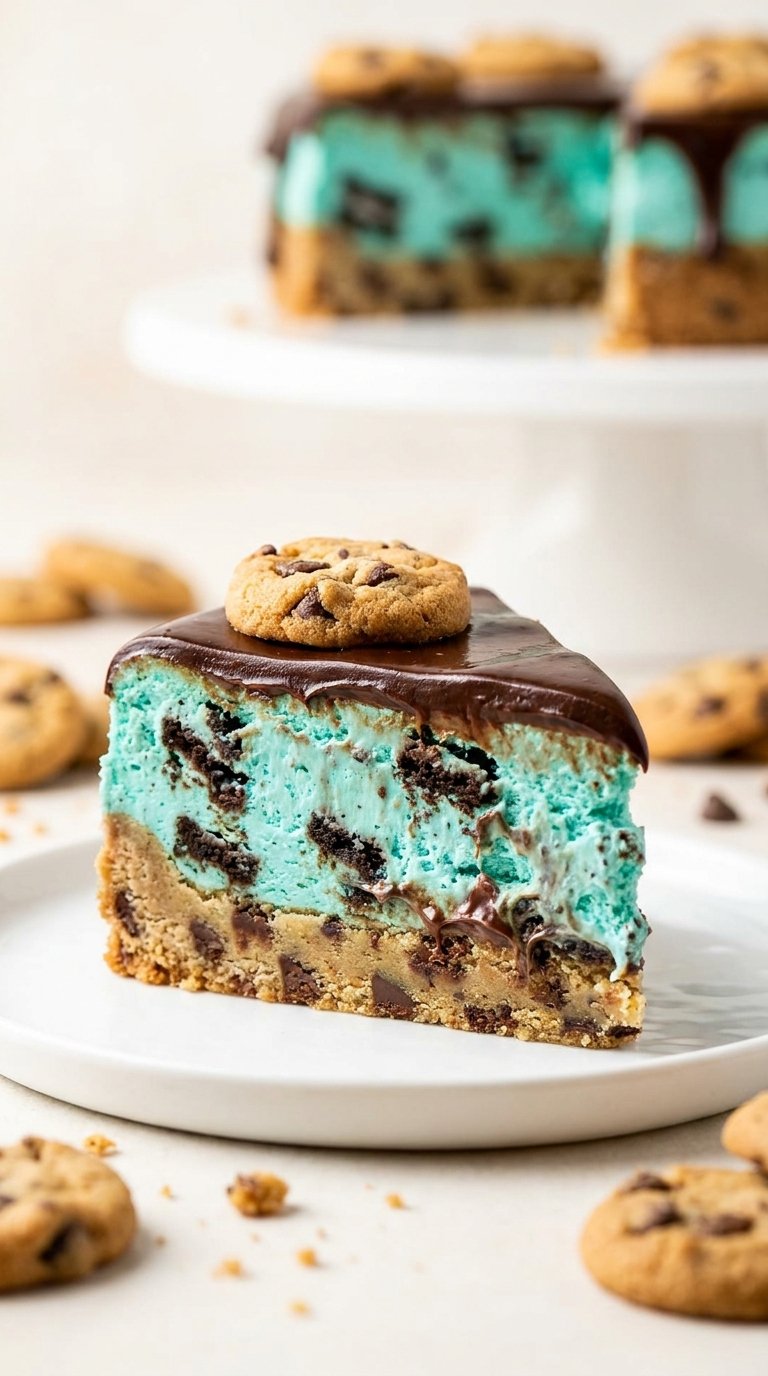
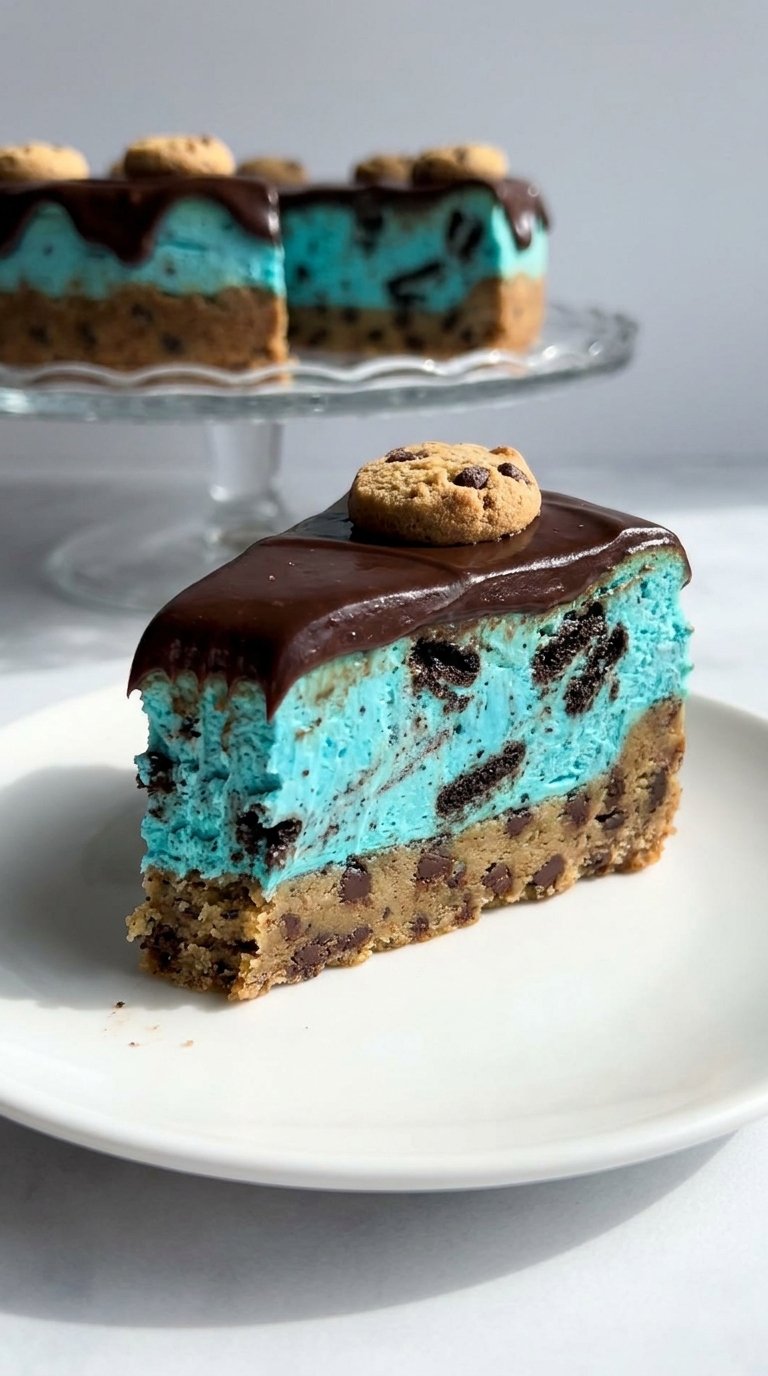
Cookie Monster Cheesecake is one of the most-searched dessert recipes on Pinterest right now — and for good reason. That bold electric blue filling, the fudgy cookie crust, the silky chocolate ganache on top. It photographs like a dream and tastes even better. If you have tried baking cheesecake before and ended up with cracks, a sunken center, or a sad gray-blue color instead of that deep Cookie Monster blue, you are not alone. This guide fixes all of that. You get a full ingredient breakdown, step-by-step instructions, and every pro-level tip that separates a beautiful cheesecake from a forgettable one.
Key Takeaways
- The blue color comes from gel food coloring, not liquid — gel gives you that deep, saturated Cookie Monster shade without thinning the batter.
- A water bath (bain-marie) is the single best thing you can do to prevent cracks and get a smooth, creamy texture.
- The chocolate chip blondie base is what sets this cheesecake apart from every other no-bake version — it adds a fudgy, chewy foundation that holds up when sliced.
- You can make this one full day ahead — in fact, overnight chilling makes it taste better and slice cleaner.
- Full-fat block cream cheese only. Spreadable or low-fat versions break the filling’s structure.
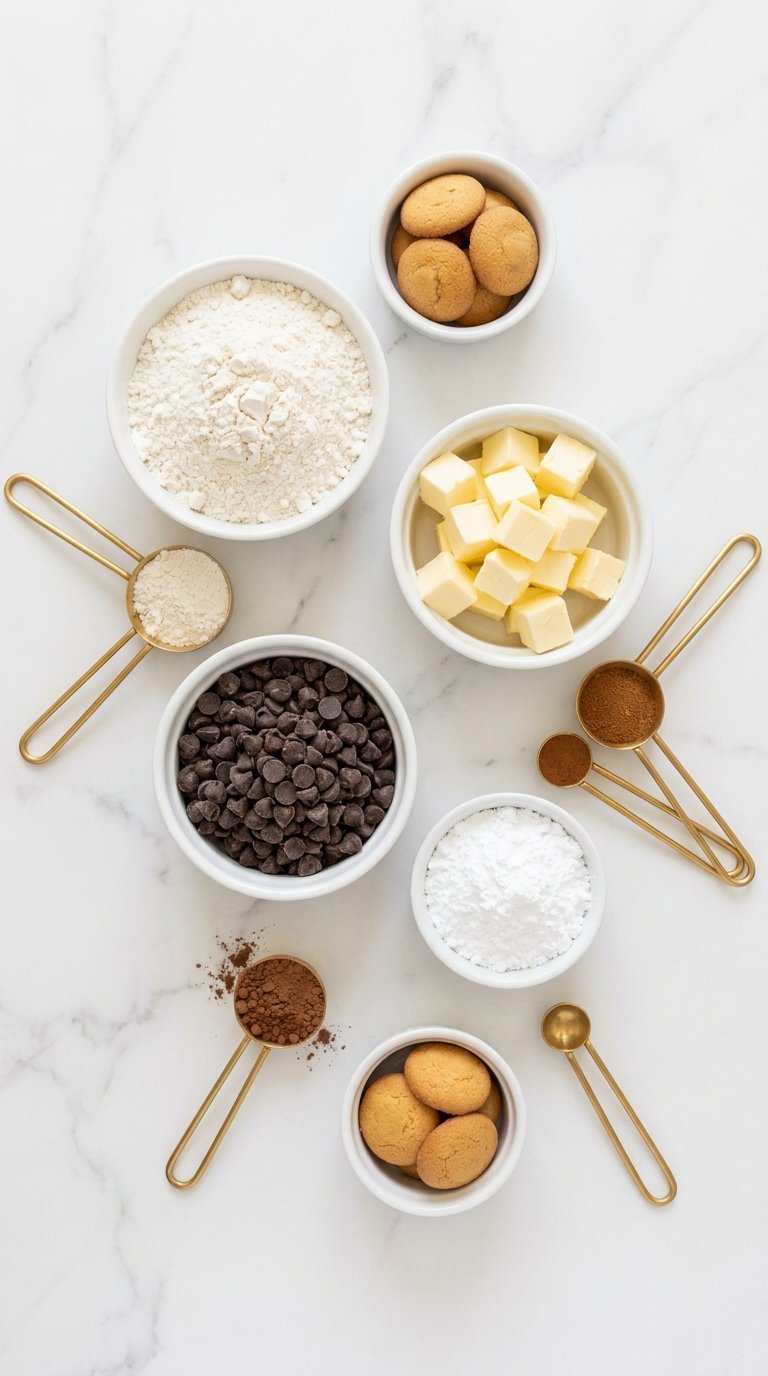
Ingredients
Every layer of this Cookie Monster Cheesecake recipe from scratch uses simple, easy-to-find ingredients. The key is knowing what can be swapped and what absolutely cannot.
For the Chocolate Chip Blondie Base
- 1/2 cup (113g) unsalted butter
- 3/4 cup (150g) light brown sugar, packed
- 1/2 tsp fine salt
- 1 large egg
- 1 tsp pure vanilla extract
- 1 cup (125g) all-purpose flour
- 1/2 cup (85g) semi-sweet chocolate chips
For the Blue Cookies and Cream Cheesecake Filling
- 24 oz (680g) full-fat block cream cheese, room temperature
- 2 tbsp cornstarch (not cornflour in some markets — same thing)
- 1 cup (200g) granulated sugar
- 1/2 tsp fine salt
- 1/3 cup (80ml) heavy cream
- 1 tsp pure vanilla extract
- Royal blue gel food coloring (start with 10–15 drops; add more to taste)
- 3 large eggs, room temperature
- 15 Oreo cookies, roughly crushed (mix of crumbs and small chunks)
For the Chocolate Ganache
- 3/4 cup (130g) semi-sweet chocolate chips
- 1/2 cup (120ml) heavy cream
For Decoration (optional but recommended)
- 4–6 chocolate chip cookies, whole or halved
- Extra crushed Oreos
- Blue candy melts or blue chocolate drizzle
- Whipped cream (optional)
Ingredient Notes:
Use full-fat block cream cheese only. The kind in tubs is whipped and contains extra water — it will make your filling runny. Jif or Skippy creamy peanut butter works if you want to add a peanut butter swirl into the blondie base. For the blue, gel food dye is non-negotiable. Liquid food coloring dilutes the batter and gives you a pale, washed-out blue.
Pro Tip: Buy a second pack of Oreos. You will want extra for the top — and you will eat some while you bake.
Instructions
This baked blue cheesecake with chocolate ganache topping is a two-part process best split across two days. Day one covers the blondie base and cheesecake filling. Day two covers the ganache and decorating. The extra chill time is not optional — it is what makes clean slices possible.
Step 1 — Make the Chocolate Chip Blondie Base
Preheat your oven to 350°F (175°C). Grease a 9-inch springform pan with butter, then line the bottom with a circle of parchment paper and grease again.
In a microwave-safe bowl, melt the butter in 30-second intervals. Stir in the brown sugar and salt until smooth. Let cool for 5 minutes. Add the egg and vanilla and stir well. Fold in the flour until just combined — do not overmix. Fold in the chocolate chips.
Spread the batter evenly across the bottom of the prepared springform pan. Bake for 15–16 minutes until the top is just set and the edges look golden. The center will look slightly underdone — that is correct. Remove from the oven and let it cool completely before adding the cheesecake layer. Rushing this step causes the blondie and cheesecake to merge.
Step 2 — Prepare Your Water Bath Setup
Tear off two large sheets of heavy-duty aluminum foil. Starting from the top edge of the springform pan, wrap both sheets under the base and back up the other side, creating a fully sealed water barrier. No gaps. No folds that could let water in. This step protects the crust.
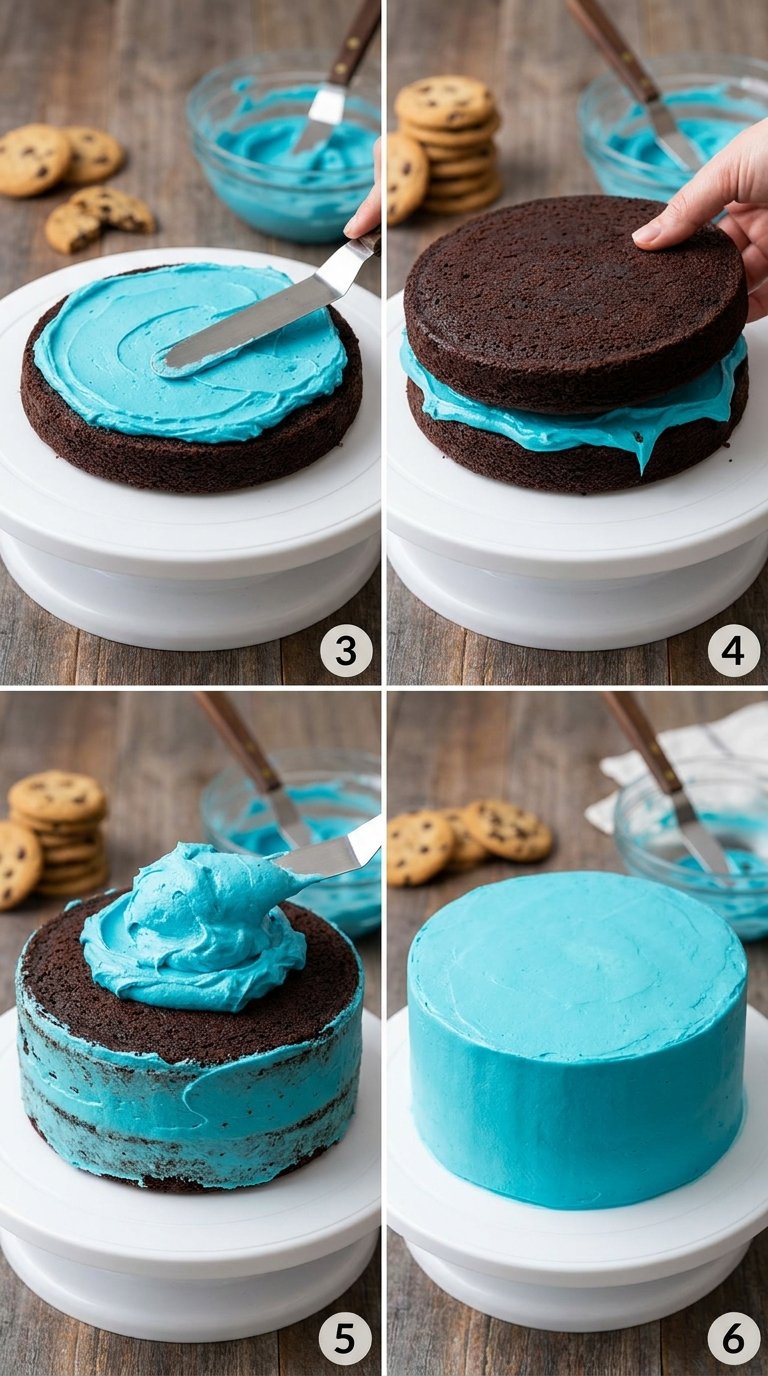
Step 3 — Make the Blue Cheesecake Filling
Reduce oven temperature to 300°F (150°C).
In a large bowl, beat the cream cheese, cornstarch, and granulated sugar on medium speed until completely smooth — about 3 minutes. Scrape down the sides. Any remaining lumps will be visible in the finished cheesecake.
Add the salt, heavy cream, vanilla, and 10–15 drops of royal blue gel food coloring. Mix on medium until smooth and uniform. Add more coloring a drop at a time until you reach that deep, saturated Cookie Monster blue. The color will look slightly lighter once baked, so go a shade darker than you think you need.
Add the eggs one at a time on low speed, mixing just until each egg disappears into the batter. Overmixing after the eggs go in introduces air — air causes cracks. Fold in the crushed Oreos by hand using a spatula.
Step 4 — Bake in a Water Bath
Pour the blue filling over the cooled blondie base. Tap the pan gently on the counter 2–3 times to release any large air bubbles.
Set the foil-wrapped springform pan inside a larger roasting pan or deep baking dish. Pour hot (not boiling) water into the outer pan until it reaches about halfway up the sides of the springform. The water should not come above the foil line.
Slide the whole setup into the oven. Bake at 300°F for 60–70 minutes. The cheesecake is done when the edges look set and matte but the center 2–3 inches still jiggle when you nudge the pan. It will look underdone — that is correct.
Step 5 — Cool Slowly (This Step Prevents Cracks)
Turn the oven off. Leave the cheesecake inside with the door cracked open about 1–2 inches for 20–30 minutes. Then remove the roasting pan from the oven carefully — the water is still hot. Let the cheesecake sit at room temperature on a wire rack until fully cool, at least 1–2 hours.
Once cool, run a thin knife around the edge of the springform pan to loosen the sides. Cover with plastic wrap and refrigerate overnight, or for a minimum of 8 hours.
Step 6 — Make the Chocolate Ganache
The next day (or once fully chilled), place the chocolate chips in a heatproof bowl. Heat the heavy cream in a small saucepan over medium heat until it just begins to simmer — small bubbles around the edges. Pour the hot cream over the chocolate chips. Let it sit untouched for 2 minutes, then stir from the center outward until the ganache is silky and smooth.
Let the ganache cool at room temperature for 10–15 minutes until it thickens slightly but still pours easily. It should coat the back of a spoon.
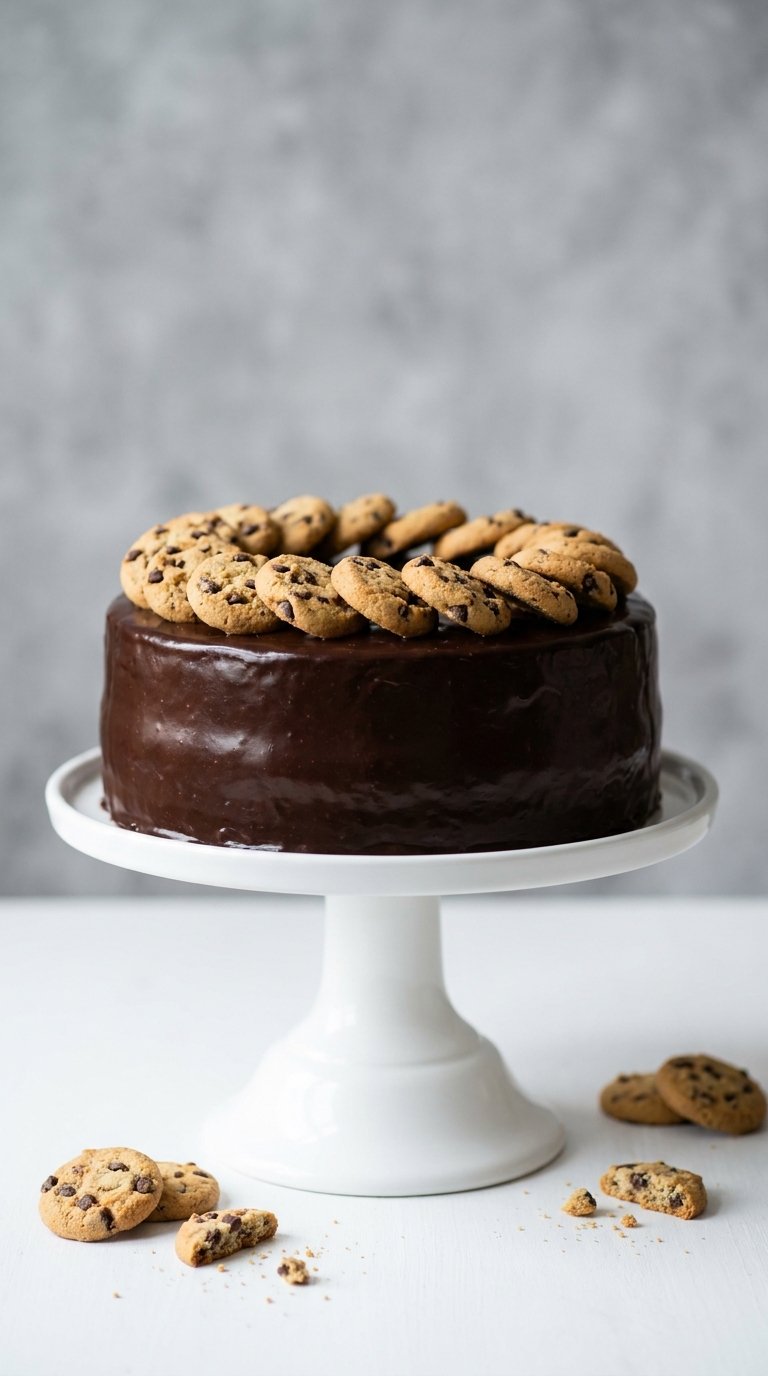
Step 7 — Finish and Decorate
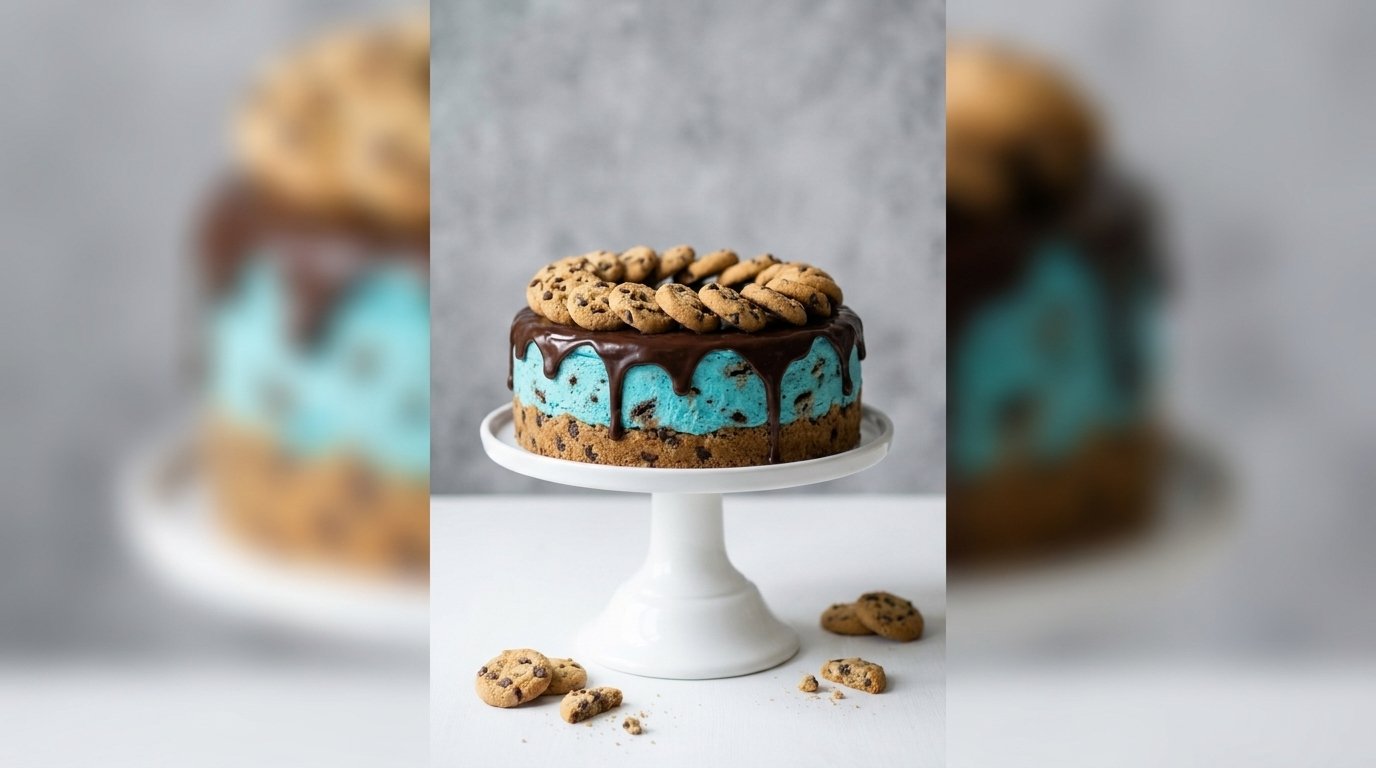
Remove the springform ring. Pour the ganache over the top of the cheesecake, letting it drip slightly down the sides. Use an offset spatula to spread it evenly. Chill for 10 minutes to set the ganache before decorating.
Top with whole or halved chocolate chip cookies, extra crushed Oreos, a drizzle of blue candy melts, and any other toppings you want. Serve chilled.
Pro Tip: For the cleanest slices, chill the fully decorated cheesecake for another hour before cutting. Run your knife under hot water and dry it before each slice.
Save this idea to your Pinterest.
Popular Asked Questions
Popular Asked Questions
What makes Cookie Monster Cheesecake blue?
The blue color comes from royal blue gel food coloring mixed directly into the cream cheese filling. Gel food coloring is used instead of liquid because it gives a deep, rich color without adding extra liquid to the batter. You add the coloring after you have beaten the cream cheese smooth but before the eggs go in. Most bakers use around 10–15 drops of Americolor Royal Blue to get that signature Cookie Monster shade.
Can you make Cookie Monster Cheesecake without a water bath?
You can, but your chances of getting a crack on the surface go up significantly. The water bath keeps heat gentle and even, which is what gives baked cheesecake that smooth, crack-free top. If you skip the water bath, do everything else to slow the cooling process — turn the oven off and leave the cheesecake inside with the door cracked for at least 30 minutes after baking. A small crack on a Cookie Monster Cheesecake is not the end of the world since the ganache topping covers it completely.
How long does Cookie Monster Cheesecake need to chill?
A baked Cookie Monster Cheesecake needs at least 8 hours in the refrigerator, and overnight (10–12 hours) is better. The chilling time lets the filling firm up enough to slice cleanly. A no-bake version also needs 10–12 hours minimum. Do not try to rush this step — a cheesecake pulled too soon from the fridge will be too soft and will not hold its shape when sliced.
Can you freeze Cookie Monster Cheesecake?
Yes. Freeze the cheesecake before adding the ganache topping for the best results — wrap tightly in plastic wrap and foil and freeze for up to 30 days. Thaw overnight in the refrigerator and add the ganache fresh the next day. You can also freeze individual slices in airtight containers and thaw each one for about an hour at room temperature before serving.
What cookies go on top of Cookie Monster Cheesecake?
Chocolate chip cookies are the classic choice — either homemade or store-bought Chips Ahoy. Some versions use Oreos, mini cookies, or a combination. The cookies go on after the ganache is poured and has set for about 10 minutes but before it fully hardens, so they press in slightly and stay in place. Add the cookies the day you serve the cheesecake if you want them to stay crisp.
Conclusion
Cookie Monster Cheesecake brings together everything that makes a dessert memorable — bold color, layered textures, and a flavor that lands differently than anything you could buy at a bakery. The electric blue filling against the dark ganache is a visual that stops people mid-scroll on Pinterest. The blondie base makes it taste like two desserts stacked into one. And once you understand the water bath and the slow-cooling technique, the intimidating parts of cheesecake baking become completely manageable.
The recipe scales down to mini versions, adapts to a no-bake format for quick prep, and holds up beautifully in the freezer for make-ahead planning. Whether you are building this for a child’s birthday or a grown-up dinner party, the result is the same — people notice it the moment it comes to the table.
What variation are you most excited to try? The loaded topping version, the Cookie Monster face, or the clean adult-style decoration? Let us know in the comments.
Follow us on Pinterest for more Cookie Monster Cheesecake inspiration and show-stopping dessert ideas.

Leave a Comment