
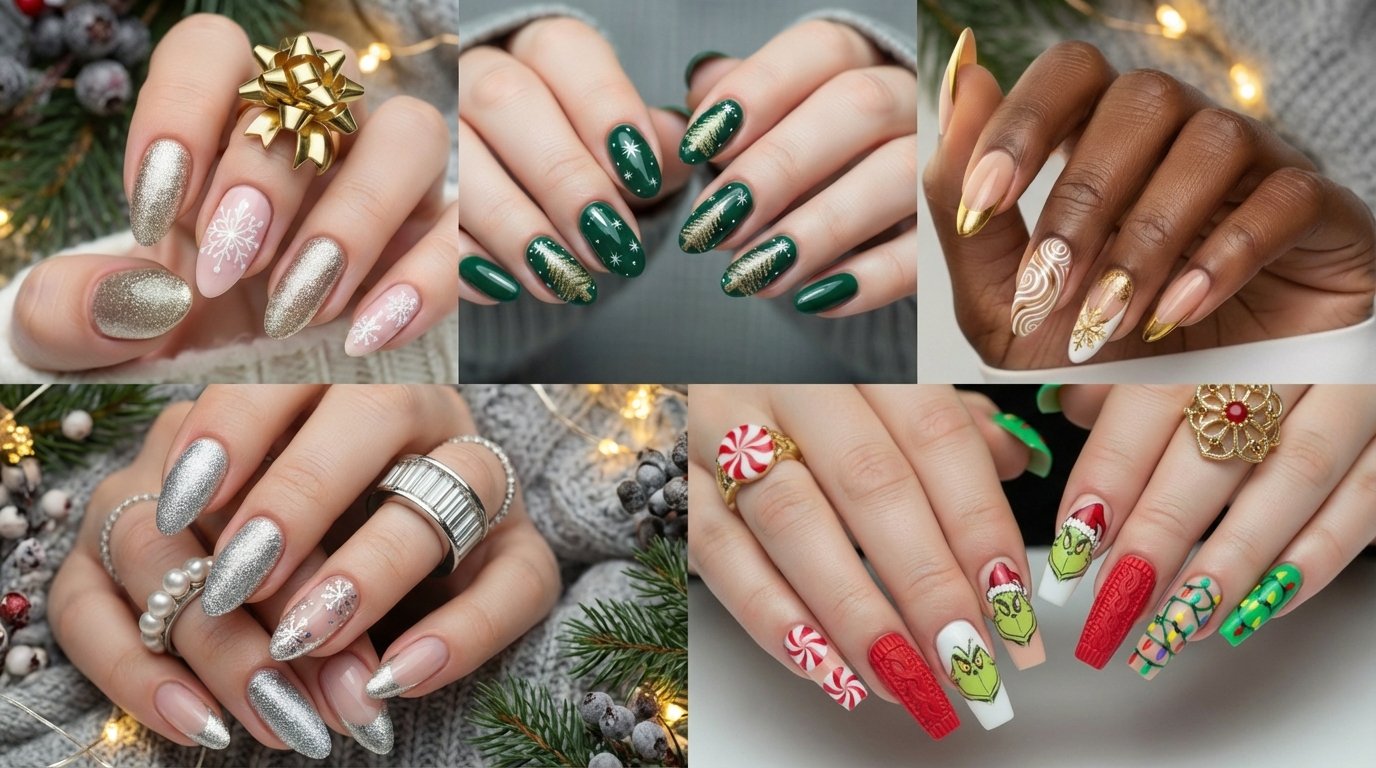
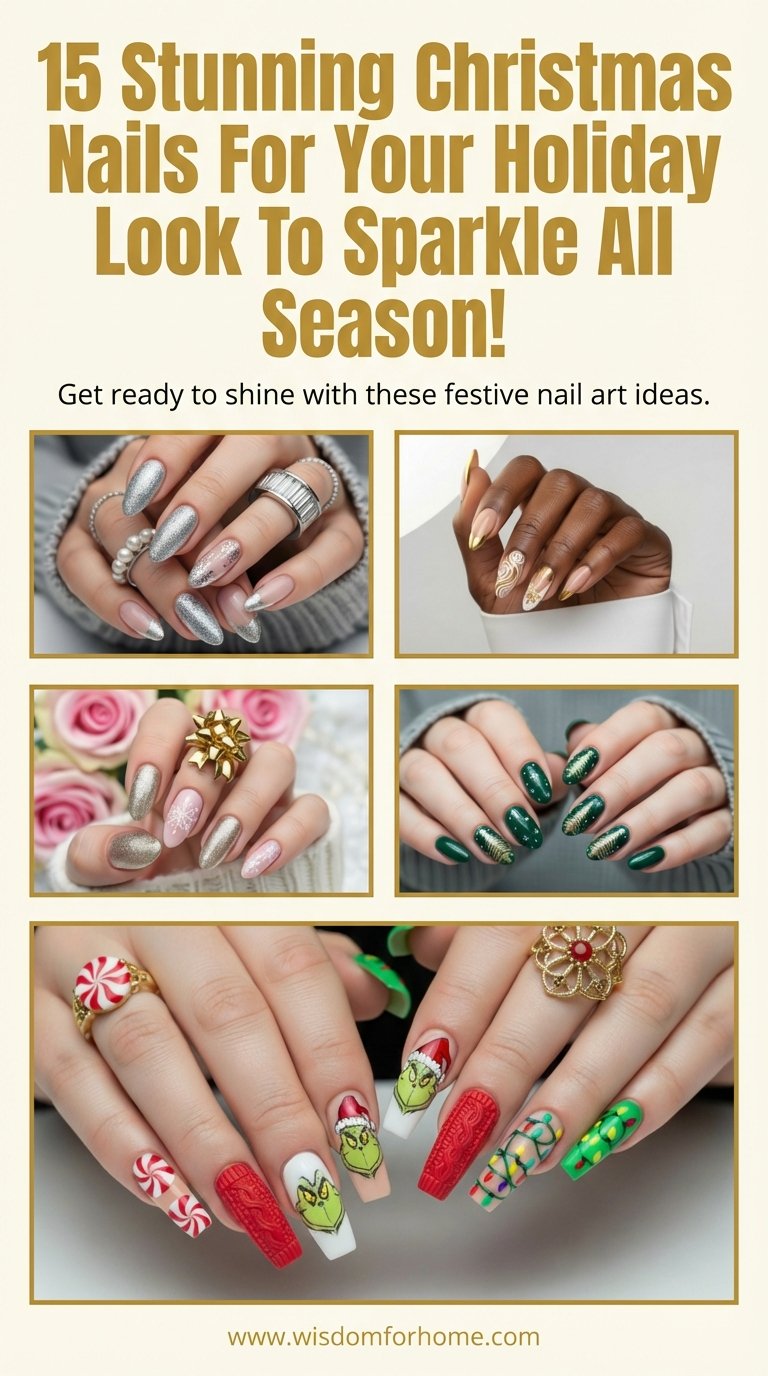
The holiday season demands a manicure that matches the festive energy. You want nails that look professional but cost a fraction of the salon price. This guide delivers fifteen distinct styles ranging from classic reds to modern velvet textures. You will find the perfect match for your outfit and skill level here. Check out our related guide on Winter Skincare Routines.
Keys
- Velvet Textures Rule: Magnetic polishes creating a crushed velvet look are the defining trend of this holiday season.
- Classic Meets Modern: Traditional red and white designs now feature negative space and minimalist lines for a contemporary update.
- DIY Accessibility: Many of these high-end looks can be achieved at home using simple tools like dotting pens and household sponges.
- Durability Matters: Gel top coats and proper cuticle care are essential for keeping your manicure chip-free through gift wrapping and cooking.
- Glittering Snowflake Elegance
- Royal Red Velvet
- Christmas Elegance
- Golden Mistletoe Magic
- Red and white Christmas
- Festive Christmas
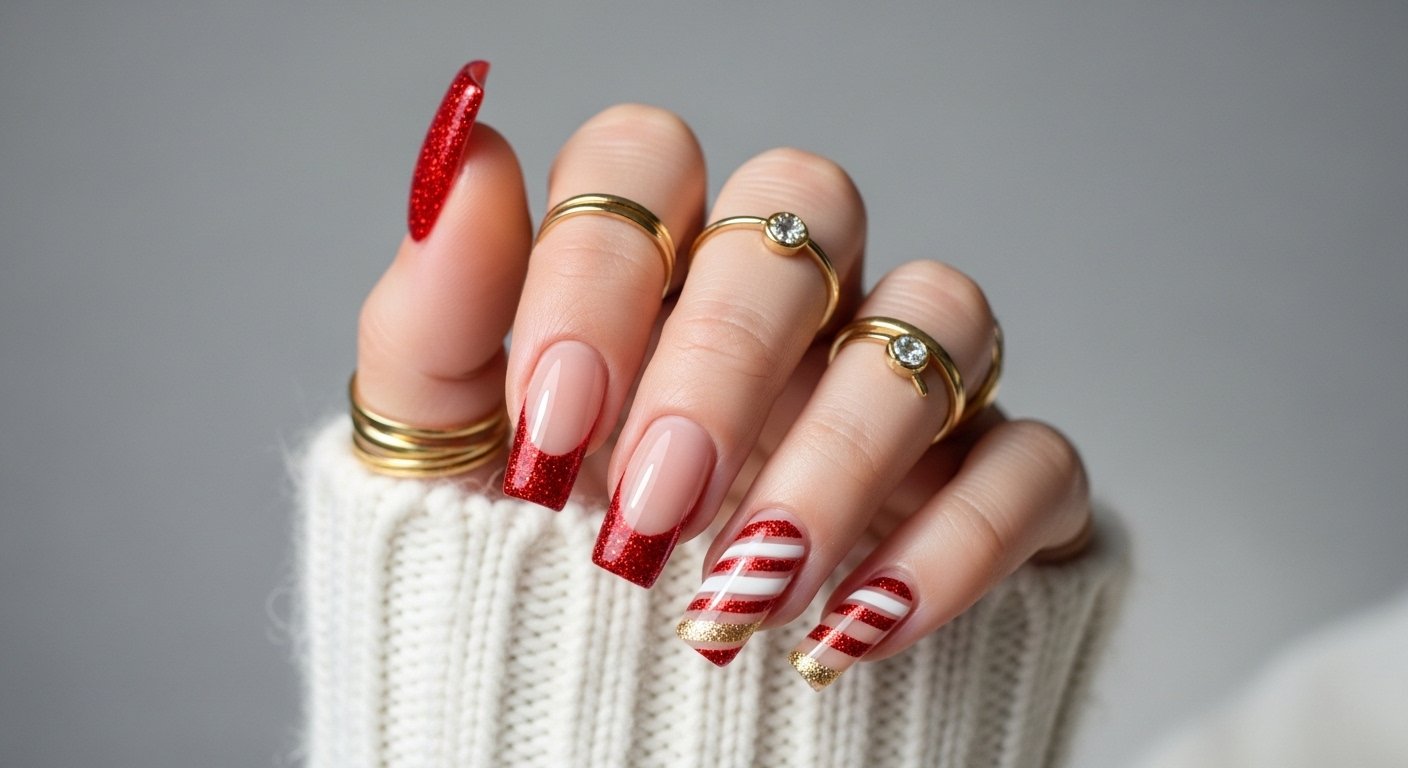
- Candy cane dreams
- Festive red and white
- Holly Jolly Reds
- Gingerbread Glam
- Golden magic
- Holiday Lights Hues
- Christmas Forest
- Velvet Ribbon Chic
- Silver and Gold Luxe
- Popular Asked Questions
- Conclusion
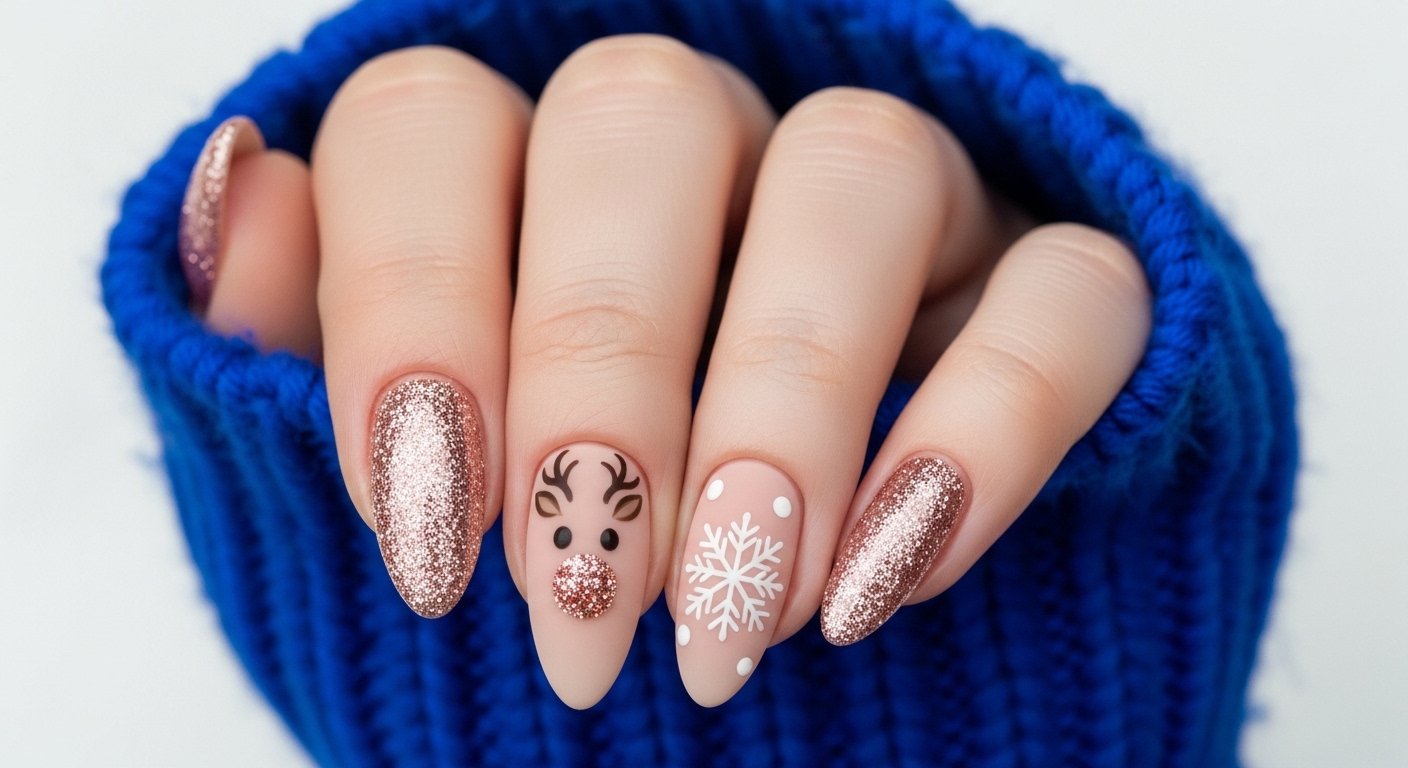
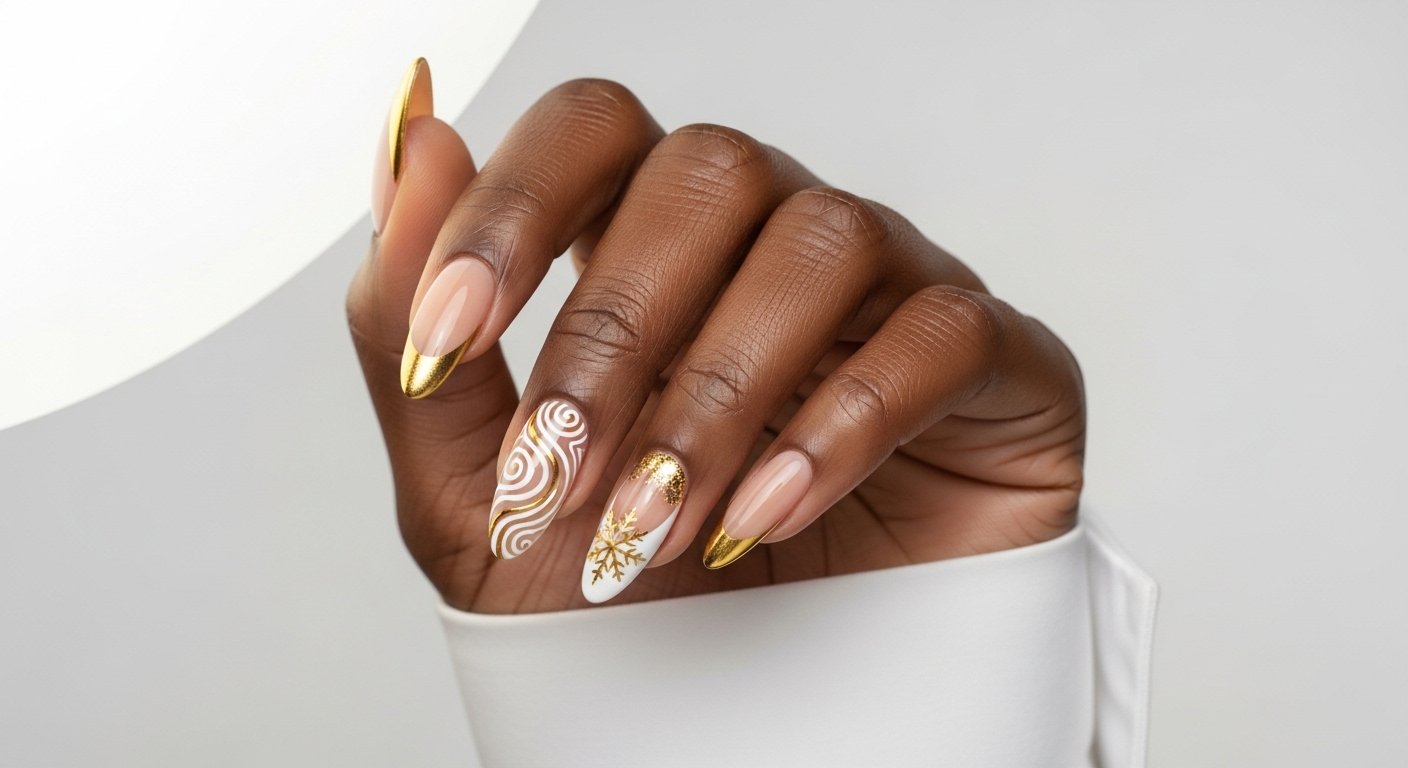
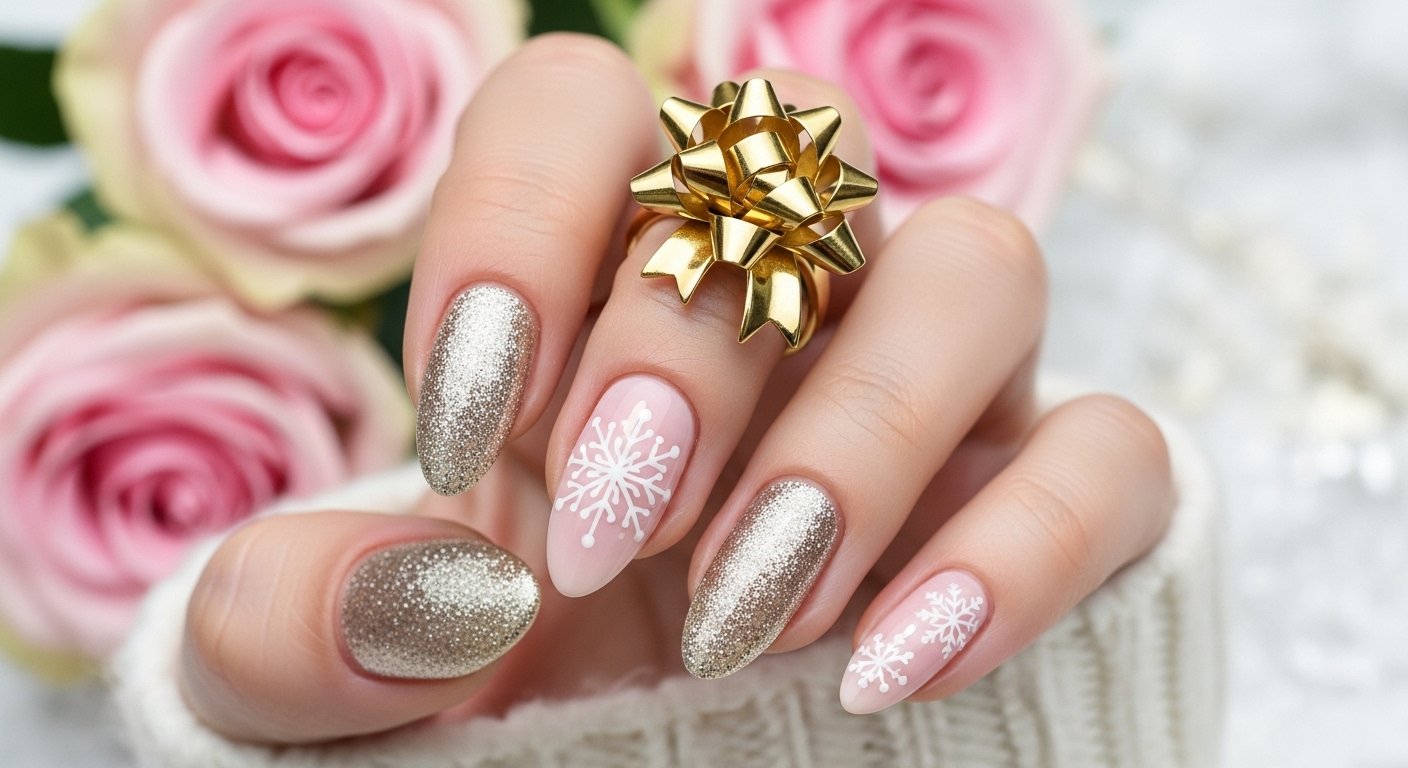
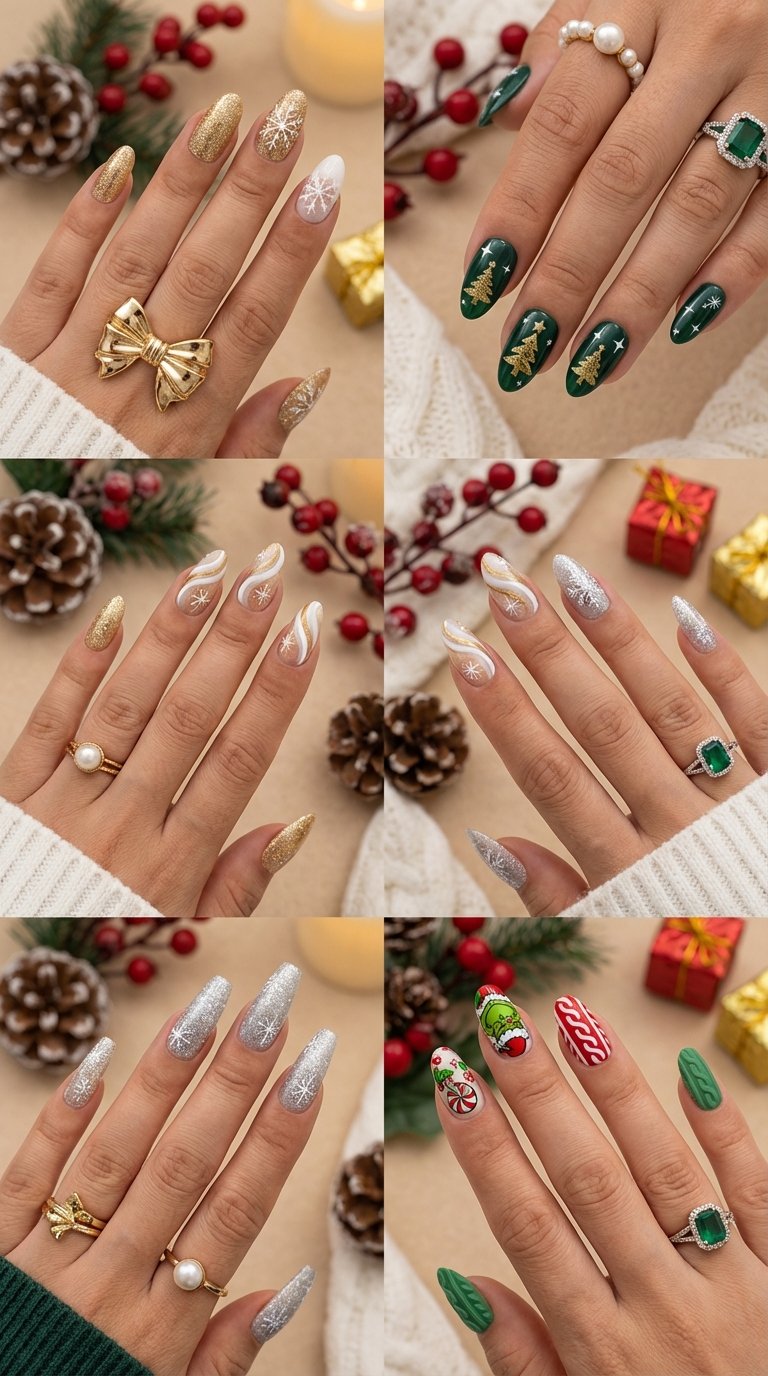
Glittering Snowflake Elegance
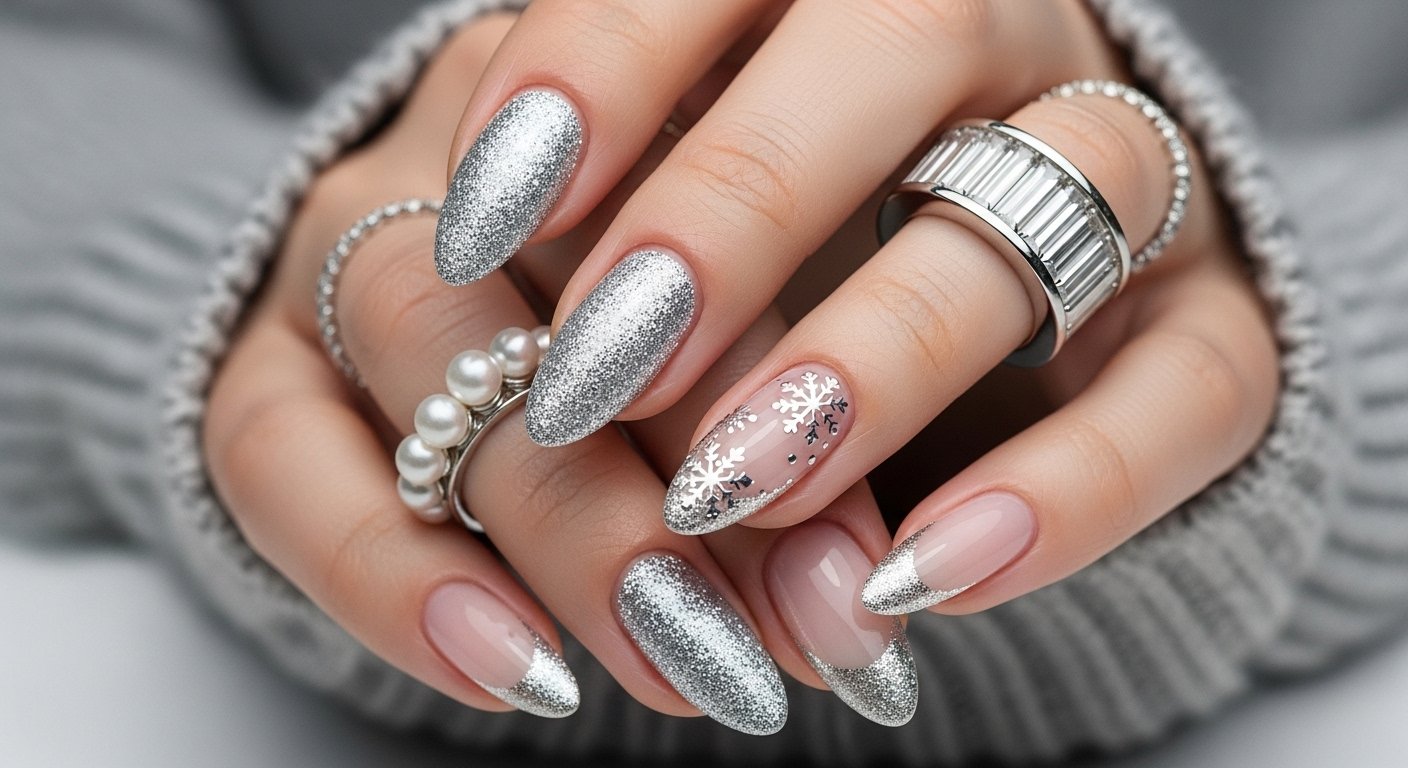
Icy tones bring the magic of a winter wonderland directly to your fingertips. This design relies on a soft, translucent milky white base that mimics a snowy morning. The star of the show is the precision-painted snowflake. You can achieve this using a fine liner brush and opaque white gel polish. Silver glitter accents placed at the center of each snowflake add dimension and catch the light beautifully.
This look works best on almond or oval-shaped nails because the curves soften the sharp angles of the snowflake geometry. The cool tones complement silver jewelry perfectly. If you are doing this at home, patience is your best tool. Allow the base coat to dry completely before attempting the delicate snowflake lines to prevent smudging.
Pro Tip. Use a dotting tool to place the center glitter for exact positioning without the mess.
Save this idea to your Pinterest.
Royal Red Velvet
Texture is the most exciting element in nail art right now. The “velvet” effect is created using magnetic nail polish. When you hold a magnet over the wet polish, the metallic particles align to create a shifting, 3D illusion that looks like soft fabric. A deep, wine-red shade adds a layer of royalty and warmth that suits formal holiday dinners perfectly.
This style speaks for itself and requires no extra gems or stickers. The beauty lies in the way the light dances across the surface as you move your hand. It pairs exceptionally well with heavy knit sweaters or velvet holiday dresses. The application process is surprisingly fast since the magnet does the heavy lifting for the design work.
Pro Tip. Hold the magnet steady for at least 10 seconds per nail to lock in the cat-eye effect.
Christmas Elegance
Sophistication often comes from restraint. This design uses a sheer nude or pale pink base to create a “your nails but better” foundation. The festive spirit enters through subtle, micro-French tips in metallic gold or deep forest green. This minimalist approach ensures your manicure matches every outfit change, from office parties to Christmas morning pajamas.
The clean lines lengthen the appearance of your fingers, making this an excellent choice for shorter nail shapes. You can elevate this look further by adding a single tiny rhinestone near the cuticle of your ring finger. It provides just enough sparkle to be festive without feeling cluttered or overdone.
Pro Tip. Use hole reinforcement stickers from an office supply store to get the perfect curve for your French tip.
Golden Mistletoe Magic
Botanical elements add an organic touch to holiday glamour. This design features delicate holly or mistletoe leaves hand-painted in olive and emerald greens. The magic comes from outlining these leaves with a metallic gold liner. The contrast between the matte green and the shimmering outline creates a jewelry-like effect on your nails.
You do not need to paint every nail. Use this design as an accent on the ring and middle fingers, keeping the other nails a solid complementary color like cream or gold. This balances the visual weight of the manicure. It is a romantic and whimsical choice that looks incredible holding a glass of champagne.
Pro Tip. Flash cure your gel polish for 10 seconds after painting the leaves before adding the gold outline to keep lines crisp.
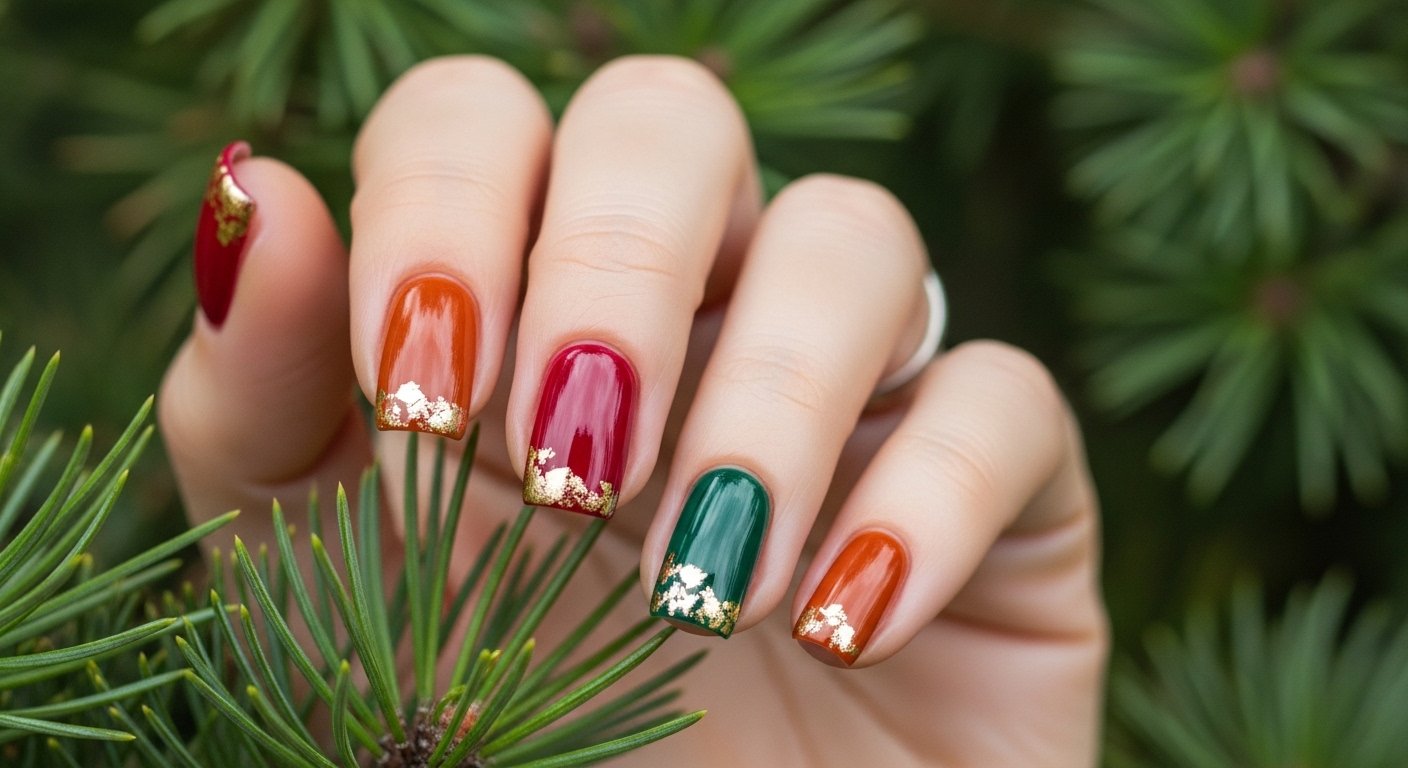
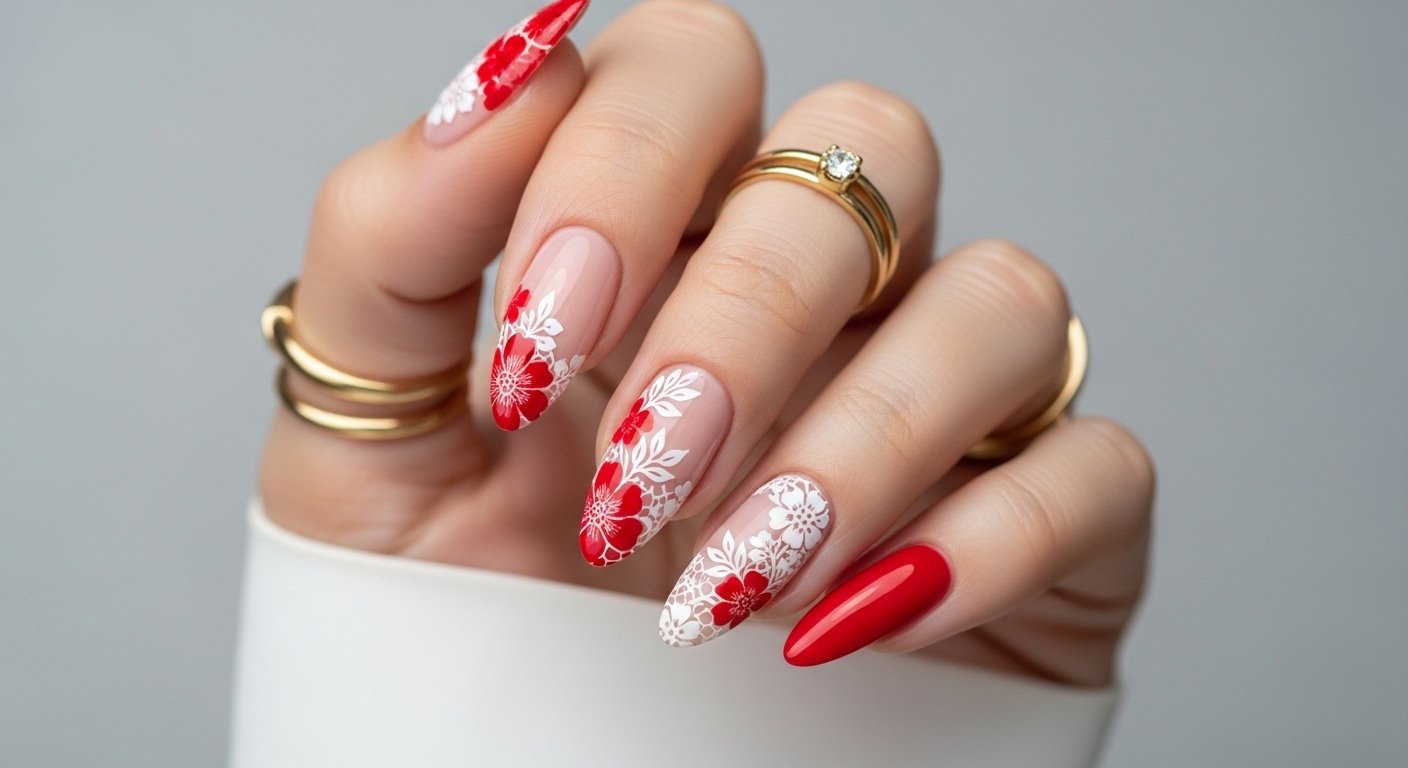
Red and white Christmas
The classic color combination gets a geometric update. Instead of standard stripes, think about negative space blocks and abstract shapes. A diagonal split with one half bright cherry red and the other half left natural (with a clear coat) creates a modern vibe. White divider lines or dots can separate the sections to add sharpness to the design.
This style is high-contrast and photographs beautifully. It captures the energy of Santa’s suit without being literal or cartoonish. It works well on square or squoval nails where the geometric lines mirror the nail shape. This is also a very forgiving design for DIYers because tape can be used to create straight lines easily.
Pro Tip. Peel off your striping tape while the polish is still wet to ensure a razor-sharp edge.
Save this idea to your Pinterest.
Comparison: Gel vs. Regular Polish for Holiday Nails
| Feature | Gel Polish | Regular Polish |
|---|---|---|
| Durability | Lasts 2-3 weeks (Perfect for travel) | Lasts 3-7 days (Good for one event) |
| Drying Time | Instant with UVLED Lamp | 20-30 minutes air dry |
| Removal | Requires soaking/filing | Wipes off easily with remover |
| Finish | High-gloss and plump | Thinner, natural finish |
Festive Christmas
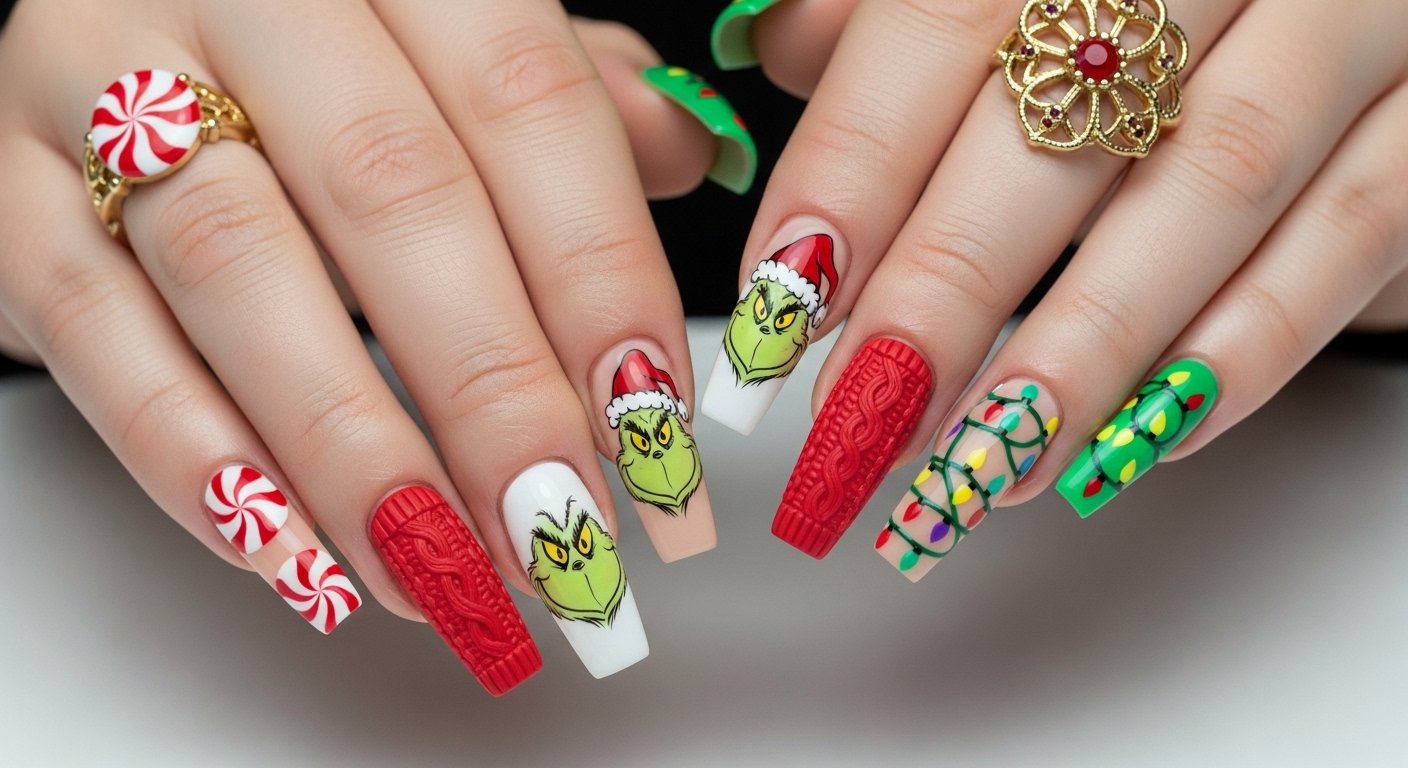
This design embraces the joy of variety. Each nail features a different holiday symbol: a tiny reindeer, a wrapped gift, a star, or a bauble. To keep it cohesive, stick to a strict color palette of red, green, and gold. The background should remain neutral—think soft beige or milky white—to let the colorful illustrations pop.
This “mix and match” style is a conversation starter. It shows personality and creativity. If hand-painting these details feels daunting, high-quality nail stickers are a legitimate and effective alternative. Seal them with a thick glossy top coat, and no one will know you didn’t paint them yourself.
Pro Tip. Use tweezers to place stickers precisely and press down firming to remove air bubbles before sealing.
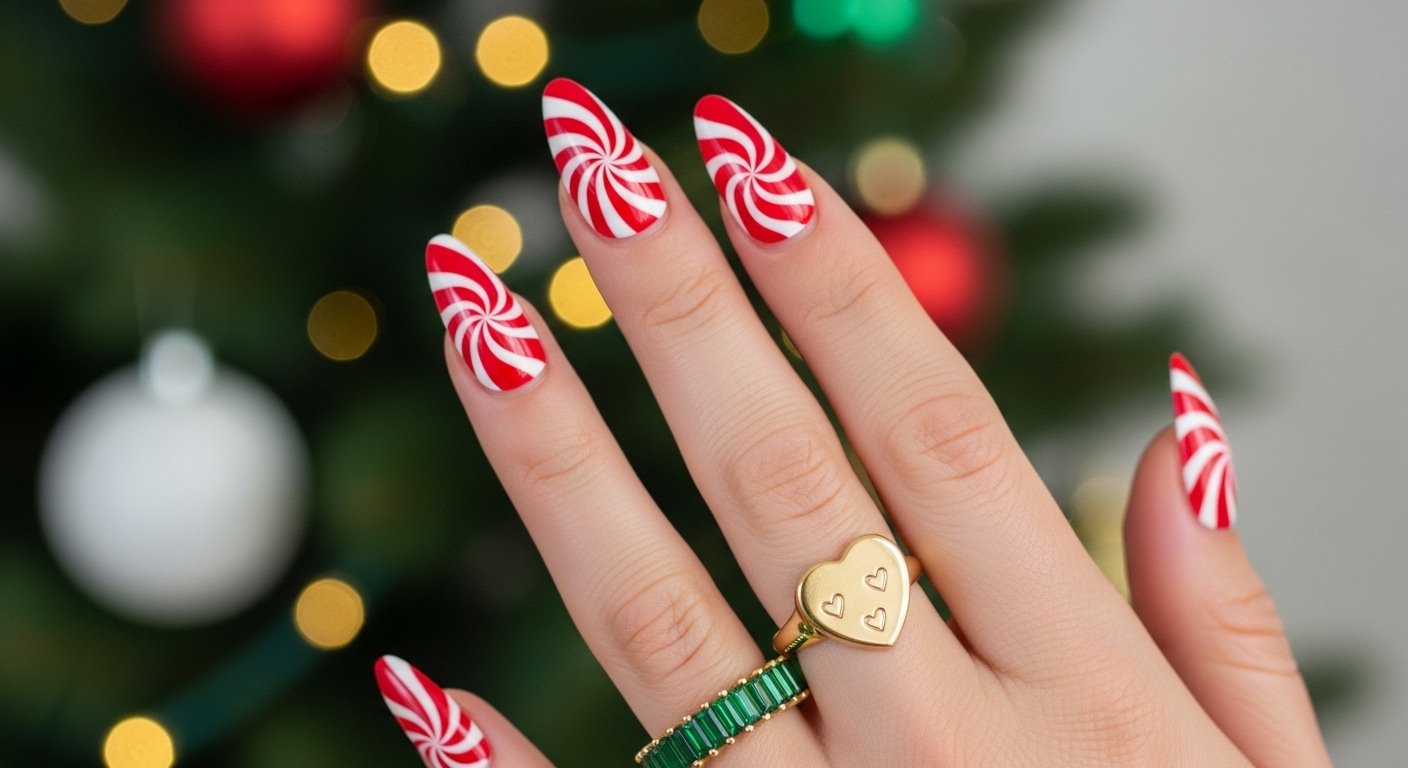
Candy cane dreams
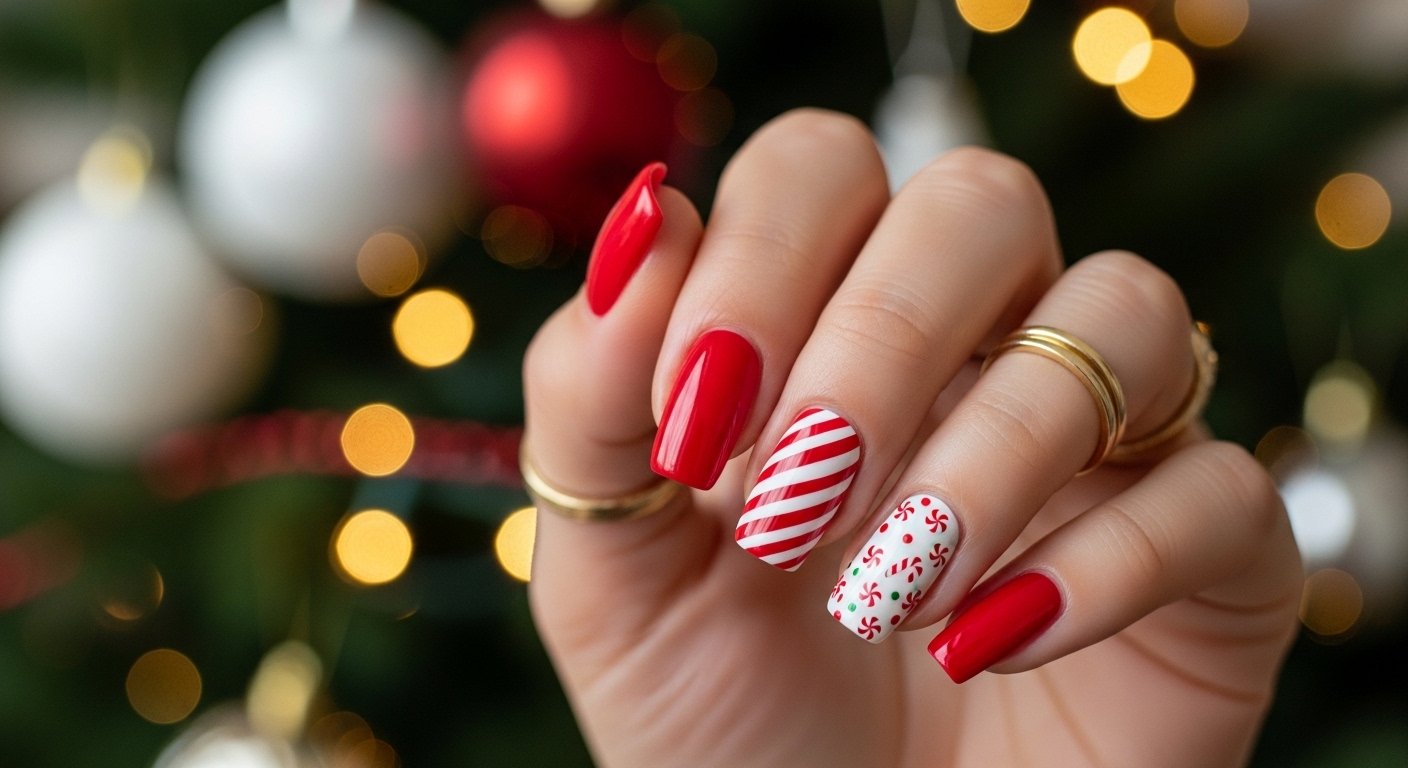
Nothing says Christmas quite like peppermint swirls. This look focuses on diagonal red and white stripes. To make it modern, vary the thickness of the lines. Combine thick red bands with razor-thin white accents. Adding a dusting of “sugar” glitter over the wet white polish can mimic the actual texture of the candy.
This design is playful and energetic. It pairs wonderfully with casual holiday wear and cozy nights in. The vertical or diagonal orientation of the stripes helps elongate the nail bed visually. You can do this on all ten fingers for a bold statement or keep it to an accent nail for a subtle nod to the season.
Pro Tip. White polish can be streaky; apply two thin coats rather than one thick coat for opacity.
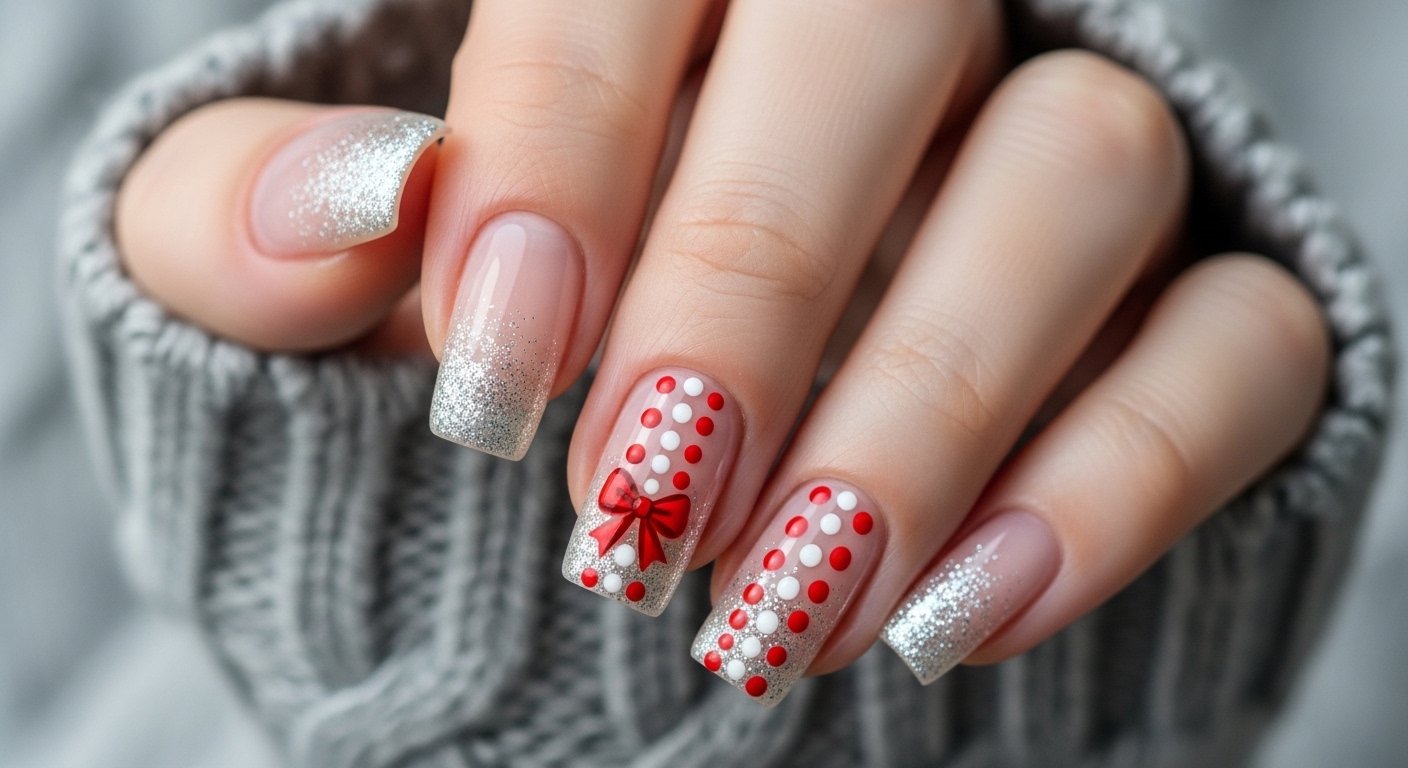
Festive red and white
While similar to the candy cane theme, this variation focuses on polka dots and French tips. Imagine a red French tip with white polka dots sitting on top of the red section. Alternatively, reverse it with a white base and red confetti dots scattered near the cuticle. This retro-inspired look is cute, feminine, and timeless.
The round shapes soften the overall look, making it very approachable. It is easier to execute than straight lines because dots are forgiving. You can use the end of a bobby pin if you do not own a dotting tool. The result is a cheerful manicure that evokes wrapping paper and holiday baking.
Pro Tip. Vary the size of your dots for a whimsical, confetti-like appearance.
Holly Jolly Reds

Red is the ultimate power color for the holidays, but this version adds depth. Instead of a flat crème finish, look for red polishes with a metallic shimmer or a “jelly” finish. A jelly polish is semi-translucent and squishy-looking. You can sandwich gold flakes between layers of red jelly polish to create a look that resembles a vintage glass ornament.
This design exudes warmth and luxury. It is perfect for evening events where lighting will catch the submerged gold flakes. It is a technique that looks incredibly expensive but is simply a matter of layering. It works on any nail length, but longer almond nails give the light more surface area to reflect.
Pro Tip. Apply a final layer of clear top coat to smooth out any texture from the gold flakes.
Save this idea to your Pinterest.
Gingerbread Glam
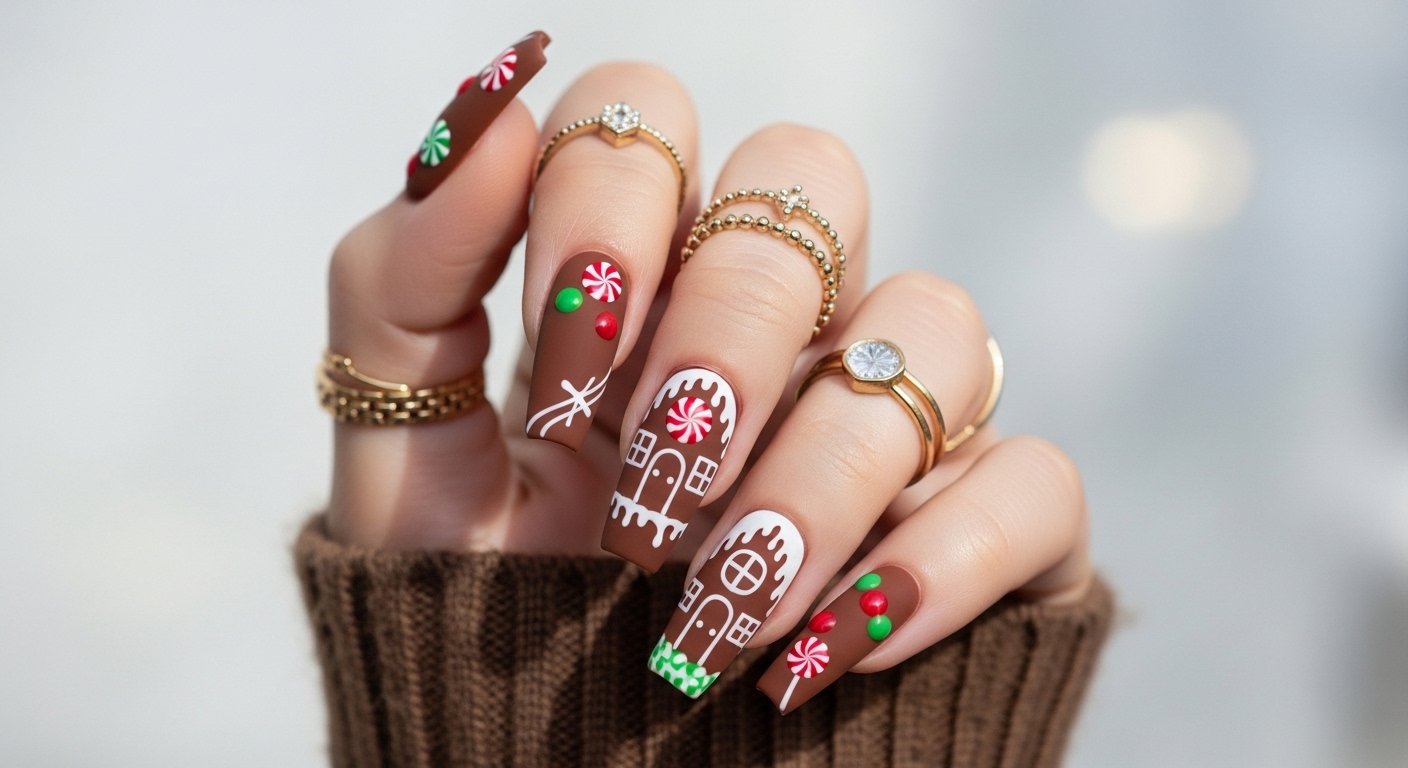
Brown and neutral tones are having a massive moment in fashion. Translate this to your nails with a “gingerbread” theme. Use a warm, spicy brown shade as your base. Use white liner gel to paint “icing” details like swirls, dots, and scallops. The contrast between the rich brown and the crisp white is striking yet cozy.
This is a fantastic alternative for those who want to avoid the traditional red and green palette. It feels earthy, modern, and very trend-forward. Matte top coats look exceptionally good with this design, mimicking the texture of a baked cookie. It matches perfectly with beige trench coats and cream wool scarves.
Pro Tip. Matte top coats dry faster than glossy ones, so work quickly when applying your final layer.
Get The Look: DIY Essential Tools
- Dotting Tools: For snowflakes, polka dots, and flower centers.
- Striping Tape: For crisp geometric lines and candy cane stripes.
- Cleanup Brush: A small angular brush dipped in acetone to perfect your cuticles.
- Cuticle Oil: The secret to a salon-fresh look is hydrated skin around the nail.
Golden magic
Gold is not just an accent here; it is the main event. Chrome powder is the secret weapon for this look. Rubbed over a cured gel base, gold chrome powder creates a mirror-like finish that is futuristic and blindingly bright. You can opt for a full gold nail or a dripping gold effect starting from the cuticle.
This style screams celebration and is particularly perfect for the transition from Christmas to New Year’s Eve. It is bold, confident, and acts as jewelry for your hands. If chrome powder is too advanced, a high-density holographic gold glitter polish can achieve a similar high-impact vibe.
Pro Tip. Apply a water-based base coat over chrome powder before your top coat to prevent the mirror effect from dulling.
Holiday Lights Hues
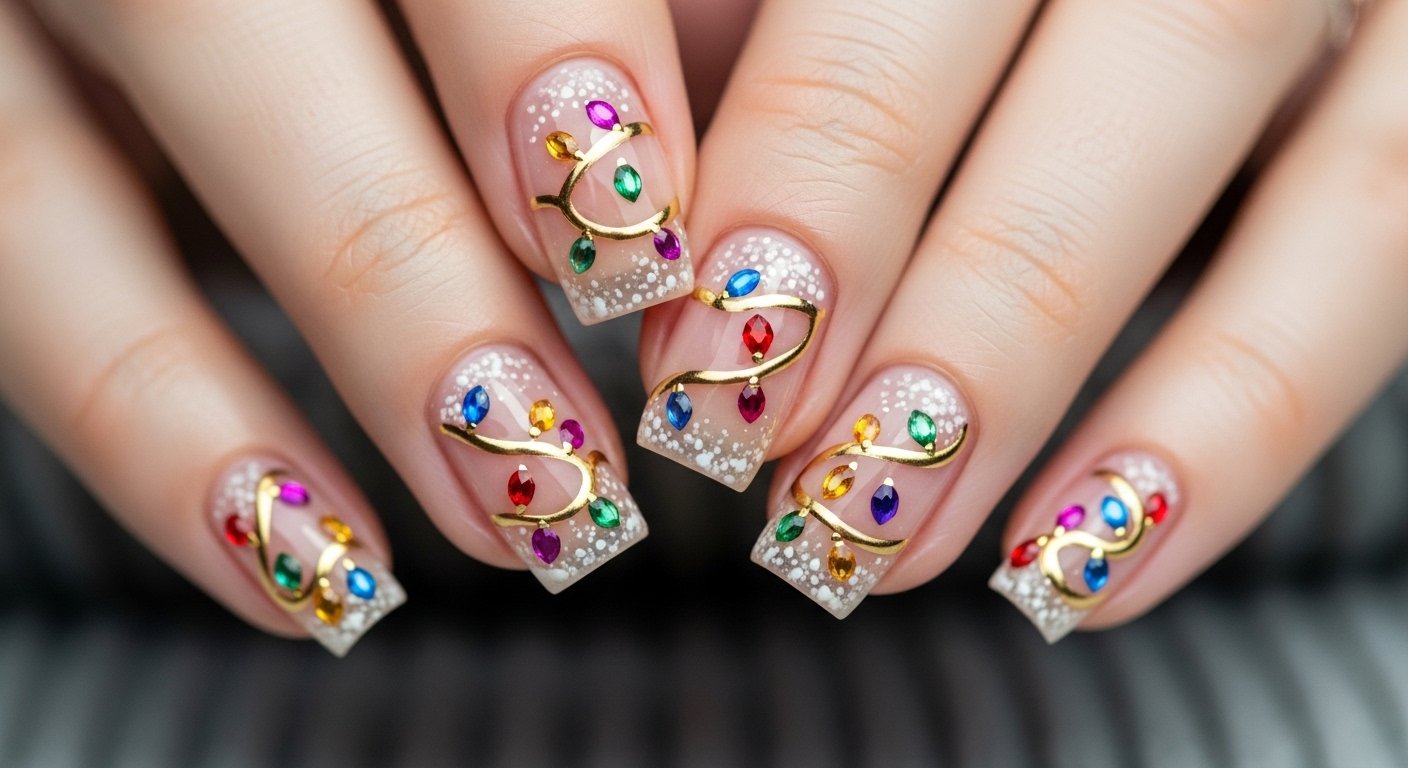
Capture the glow of the tree with this colorful concept. Start with a dark base—black or midnight blue—to represent the night sky. Use a dotting tool to place small colored dots (red, green, blue, yellow) connected by a thin silver wire line. The dark background makes the colors pop neon-bright, mimicking lit bulbs.
This design is nostalgic and fun. It allows you to incorporate every color of the rainbow while still staying firmly in the holiday theme. It is a detailed look that requires a steady hand, so it might be best reserved for an accent nail if you are a beginner.
Pro Tip. Add a tiny dot of white inside each colored “bulb” to mimic the reflection of light.
Christmas Forest

Deep, moody greens are sophisticated and calming. Use a palette of hunter green, olive, and sage. You can create a gradient or ombre effect, fading from dark green at the cuticle to a lighter shade at the tip. Overlay this with a subtle dusting of gold foil to represent sunlight filtering through pine needles.
This is a nature-lover’s manicure. It feels grounded and elegant. It is less loud than bright red but just as festive. It pairs beautifully with gold rings and neutral winter wardrobes. The dark green also hides imperfections well, making it a low-maintenance color choice.
Pro Tip. Use a makeup sponge to dab on the gradient colors for a seamless blend.
Velvet Ribbon Chic
Coquette aesthetics meet Christmas. This design centers around the bow. Paint your nails a soft, milky pink or nude. Then, hand-paint realistic 3D-style ribbons or bows in red or green. The key is to add highlights and shadows to the ribbon to make it look like folded satin fabric sitting on top of the nail.
This is incredibly trendy on social media right now. It is feminine, delicate, and photo-ready. If painting 3D bows is too difficult, you can buy 3D resin bow charms and glue them on for a literal interpretation of the trend. Just be careful not to snag them on your sweaters!
Pro Tip. Use a thick builder gel glue to secure 3D charms so they don’t pop off during daily tasks.
Save this idea to your Pinterest.
Silver and Gold Luxe
Why choose one metal when you can wear both? Mixed metals are a huge trend in jewelry and home decor, and now on nails. Split the nail down the middle with silver chrome on one side and gold chrome on the other. Or, paint a gold base with silver abstract swirls. The cool and warm tones vibrate against each other creates dynamic visual interest.
This look is versatile because it matches literally every piece of jewelry you own. It feels modern, edgy, and high-fashion. It breaks the old rule that you shouldn’t mix metals, proving that rules are meant to be broken during the holidays.
Pro Tip. Ensure your cuticles are perfectly pushed back, as metallic polishes highlight every imperfection.
Popular Asked Questions
What are the trending Christmas nail colors for 2025?
The biggest trends this year move beyond standard red. Deep Ruby Red and Emerald Green remain classics, but Champagne Gold and Silver Frost are gaining massive popularity. Midnight Blue is also trending for those who want a winter sky look. The texture of the season is “velvet” created with magnetic polishes.
How to make a holiday manicure last longer?
Preparation is everything. Wipe your nails with alcohol to remove oils before painting. Always “cap the free edge” by running the brush along the very tip of your nail to seal it. Reapply a clear top coat every 2-3 days to refresh the shine and protection. Wear gloves when doing dishes or wrapping gifts to prevent chips.
Can I do easy Christmas nail art at home?
Yes, absolutely. You do not need professional skills. A simple toothpick can create polka dots (snow) or drag lines through wet polish to make hearts. Scotch tape can be used to block off areas for geometric trees or candy cane stripes. Nail stickers are the easiest way to get complex designs like reindeer or snowflakes instantly.
What are “Velvet Nails”?
Velvet nails are not actually made of fabric. They are created using a special magnetic gel polish. The polish contains tiny metal particles. When you hold a magnet over the wet polish, these particles stand up and align in a way that reflects light differently from every angle, looking exactly like crushed velvet fabric.
Conclusion
Your holiday look is not complete without the right manicure. Whether you choose the soft shimmer of Glittering Snowflake Elegance or the bold statement of Royal Red Velvet, these fifteen designs offer something for every style. Don’t be afraid to experiment with textures like chrome and magnetic effects this year.
Which of these designs will you try for your holiday party? Let us know in the comments below!
Follow us on Pinterest for more Holiday Beauty inspiration.

Leave a Comment