

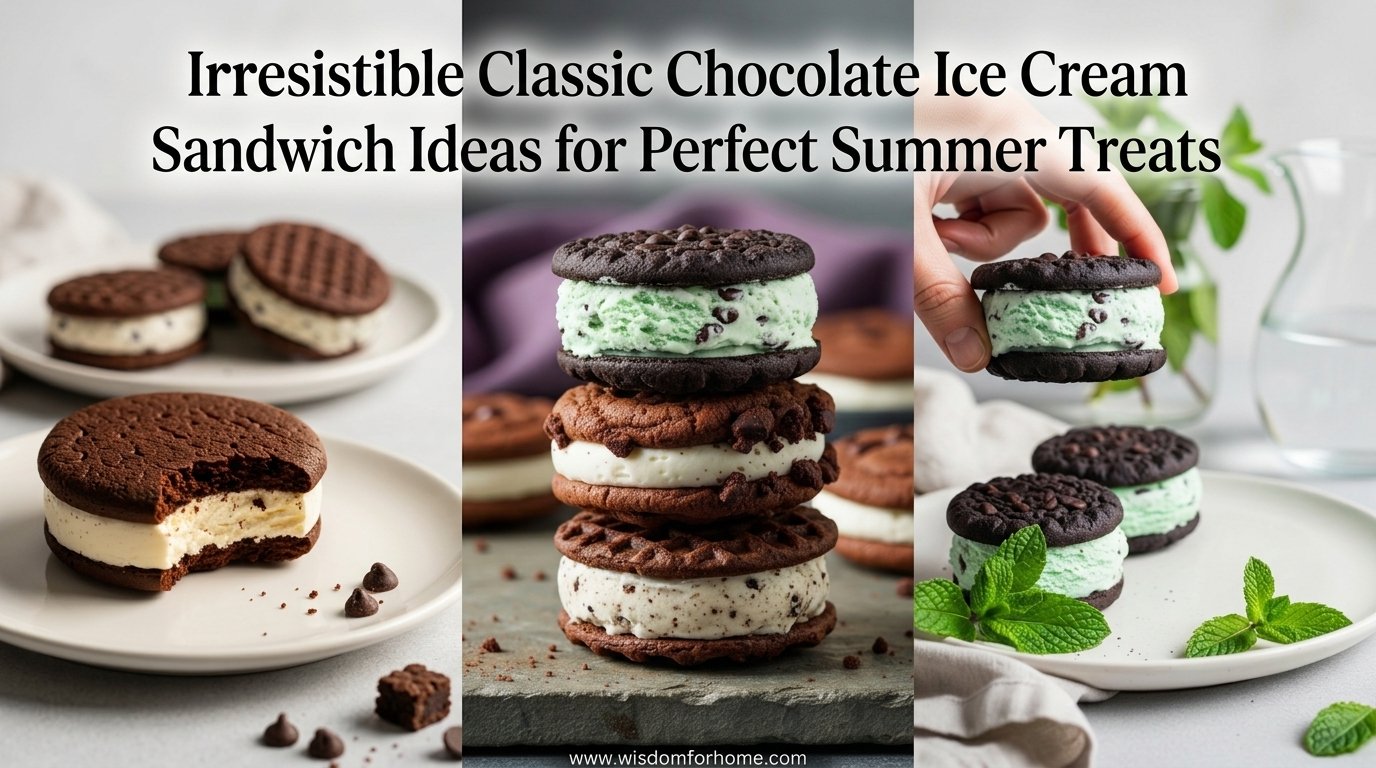
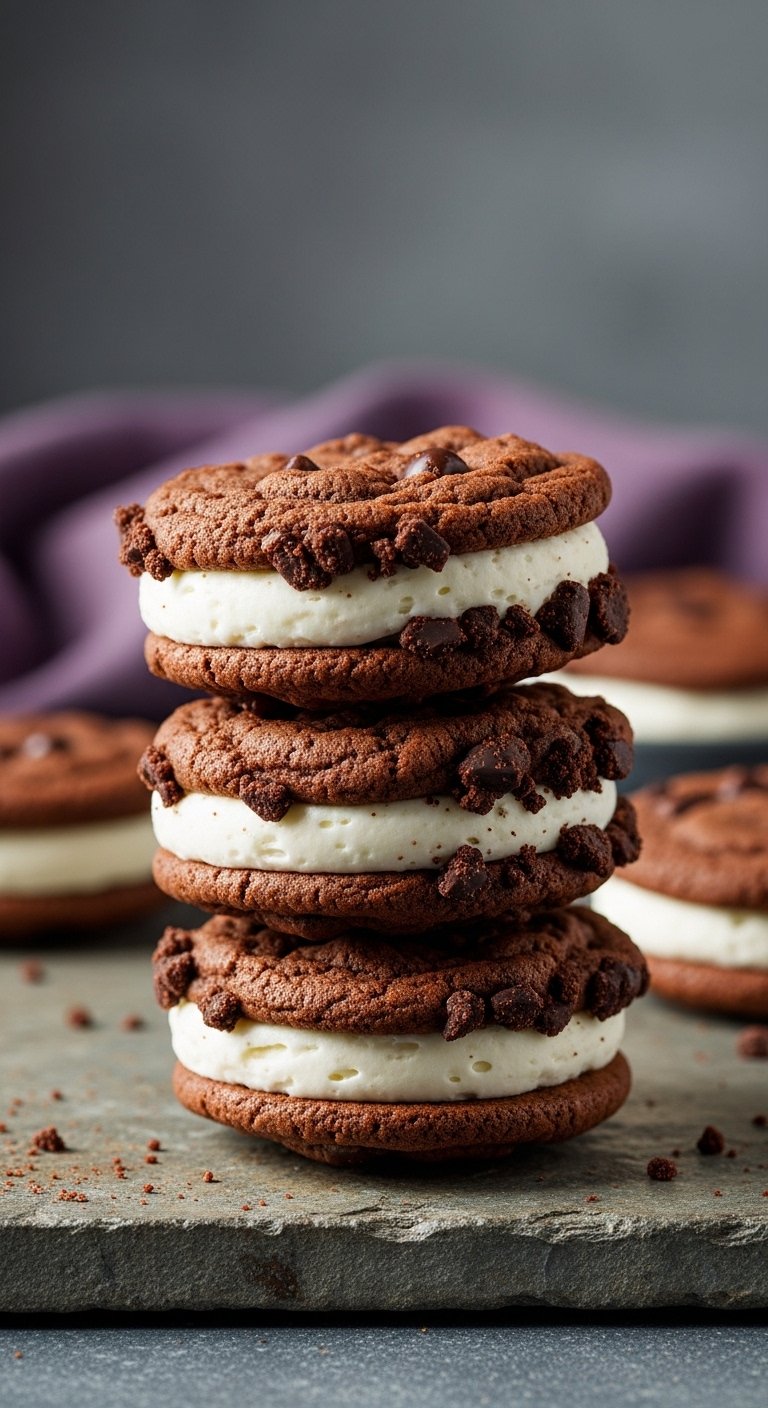
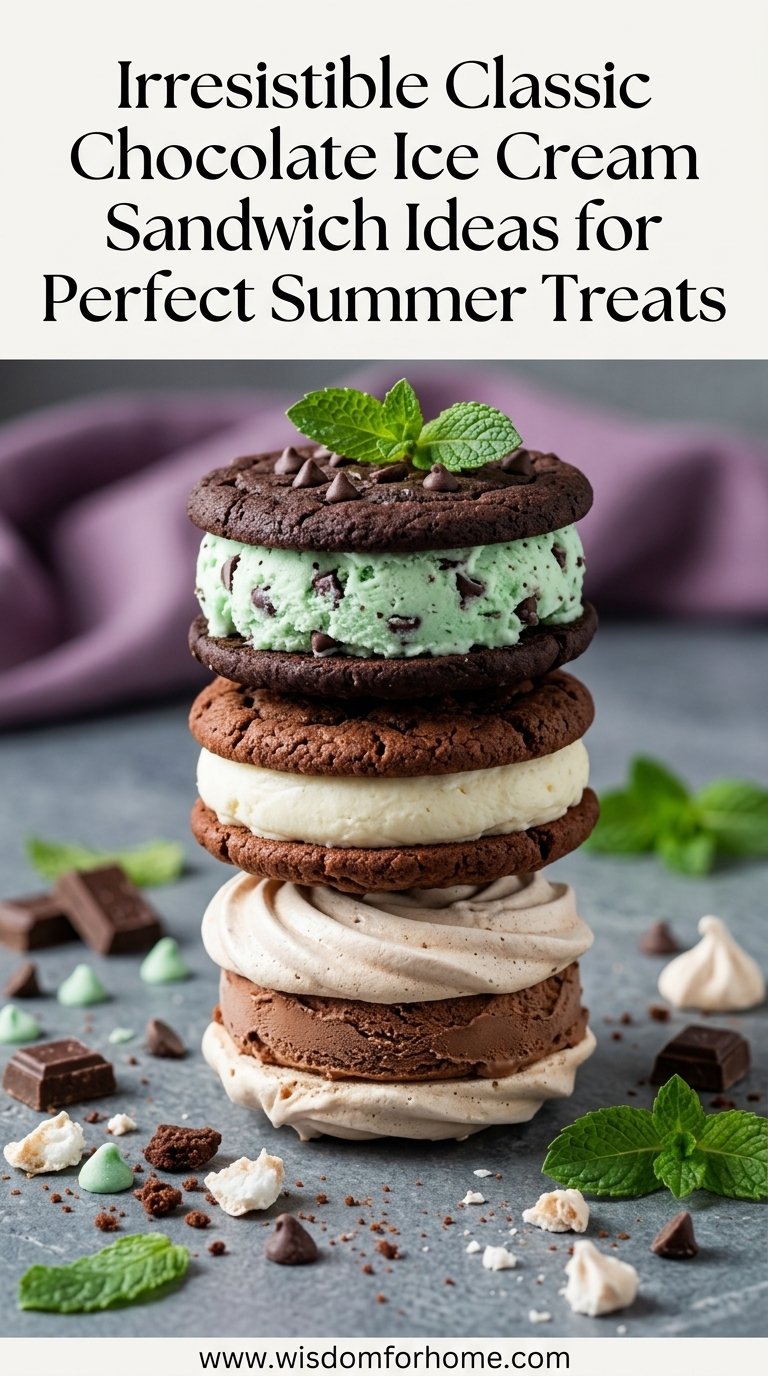
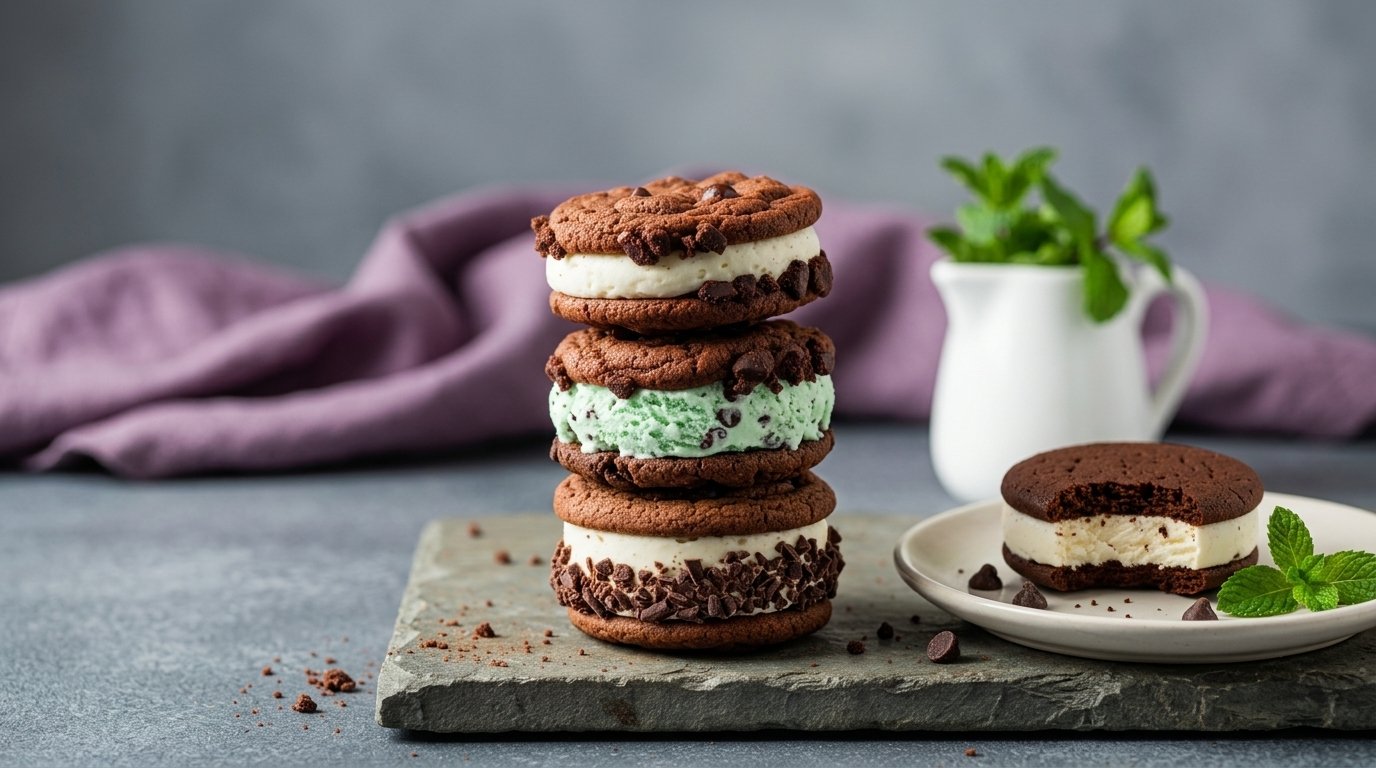
You need the best classic chocolate ice cream sandwich recipe to beat the summer heat. Store brands lack rich cocoa flavor. They get soggy fast. This guide gives you thirty proven methods to create thick homemade chocolate wafer cookies and a firm white center. You discover exact baking times for chewy cookies and foolproof assembly techniques. These methods solve common melting problems. You save money making these budget friendly summer desserts at home. Check out our related guide on easy homemade vanilla bean treats.
Key Takeaways
- Use Dutch process cocoa powder for deep color and rich flavor.
- Freeze the sweet center in a flat sheet pan before cutting shapes.
- Wrap each finished treat in parchment paper to prevent freezer burn.
- Add toppings to the edges for custom texture and visual appeal.
The Perfect Dark Cocoa Powder
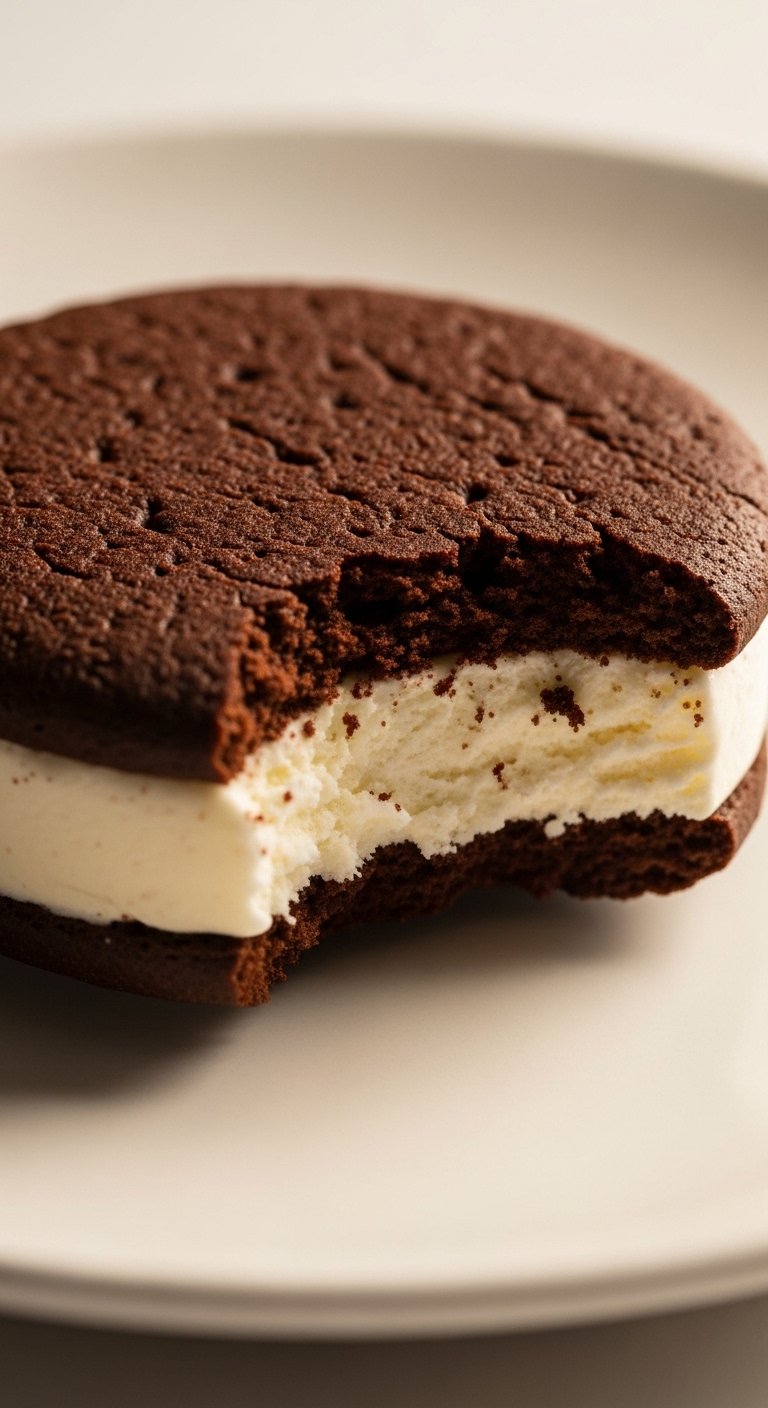
A classic chocolate ice cream sandwich requires premium dark cocoa. Intense brown tones create a bold visual contrast against the bright white center. This stark difference makes the sweet treat look irresistible on a glass serving platter. Dutch process cocoa delivers a deep roasted flavor without harsh acidic notes. This flavor profile balances the sugary sweetness of the frozen dessert. Measure one full cup of premium dark cocoa powder into your large mixing bowl. Whisk the dry powder to break apart small hard lumps. A uniform fine powder blends into the wet batter with absolute ease. The final baked wafer looks pitch dark and tempting. You achieve that nostalgic aesthetic from your childhood.
Pro Tip: Sift the cocoa powder twice to guarantee a smooth dough texture.
Save this idea to your Pinterest.
Sifting the Dry Ingredients

A delicate wafer requires light and airy dry ingredients. Flour and cocoa powder clump together in their storage bags. Sifting forces the particles through a fine metal mesh screen. This process aerates the flour mixture. The added air creates a lighter final baked texture. Sifted dry ingredients absorb moisture at an even rate. Dump your all purpose flour and dark cocoa powder into a large metal sieve. Shake the sieve over a wide glass bowl. Use a metal spoon to press stubborn clumps through the mesh. The resulting pile of powder looks like soft brown snow. This step guarantees a uniform color in your final baked dessert.
Pro Tip: Add a pinch of fine sea salt to the sifter to distribute the flavor across the entire batch.
Save this idea to your Pinterest.
Ingredient Comparison Chart
You can customize your summer ice cream treats using different base ingredients. Each choice changes the final aesthetic and taste.
| Ingredient | Flavor Profile | Visual Result |
|---|---|---|
| Dutch Process Cocoa | Deep roasted chocolate | Pitch black tones |
| Natural Cocoa Powder | Fruity acidic notes | Light brown color |
| Unsalted Butter | Rich traditional taste | Soft chewy texture |
| Refined Coconut Oil | Neutral clean taste | Crispy edges |
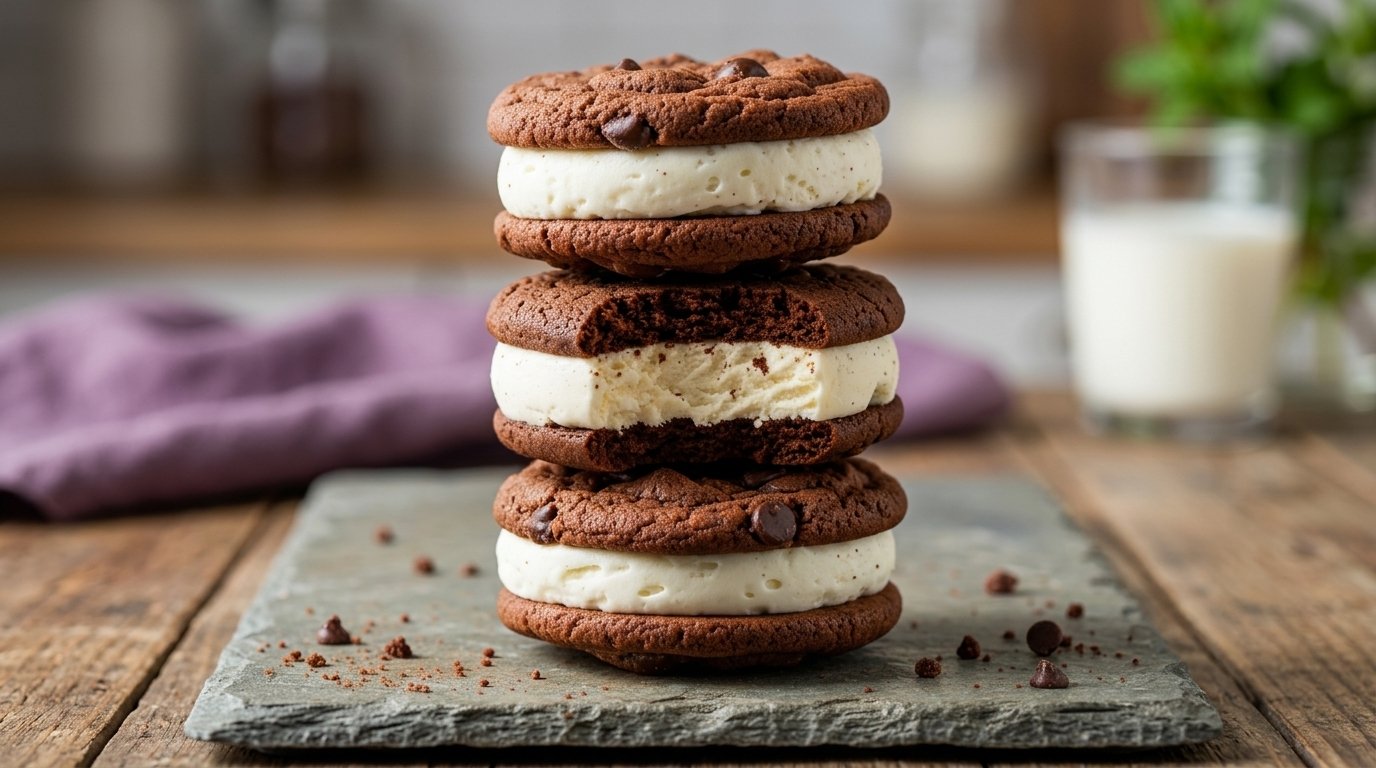
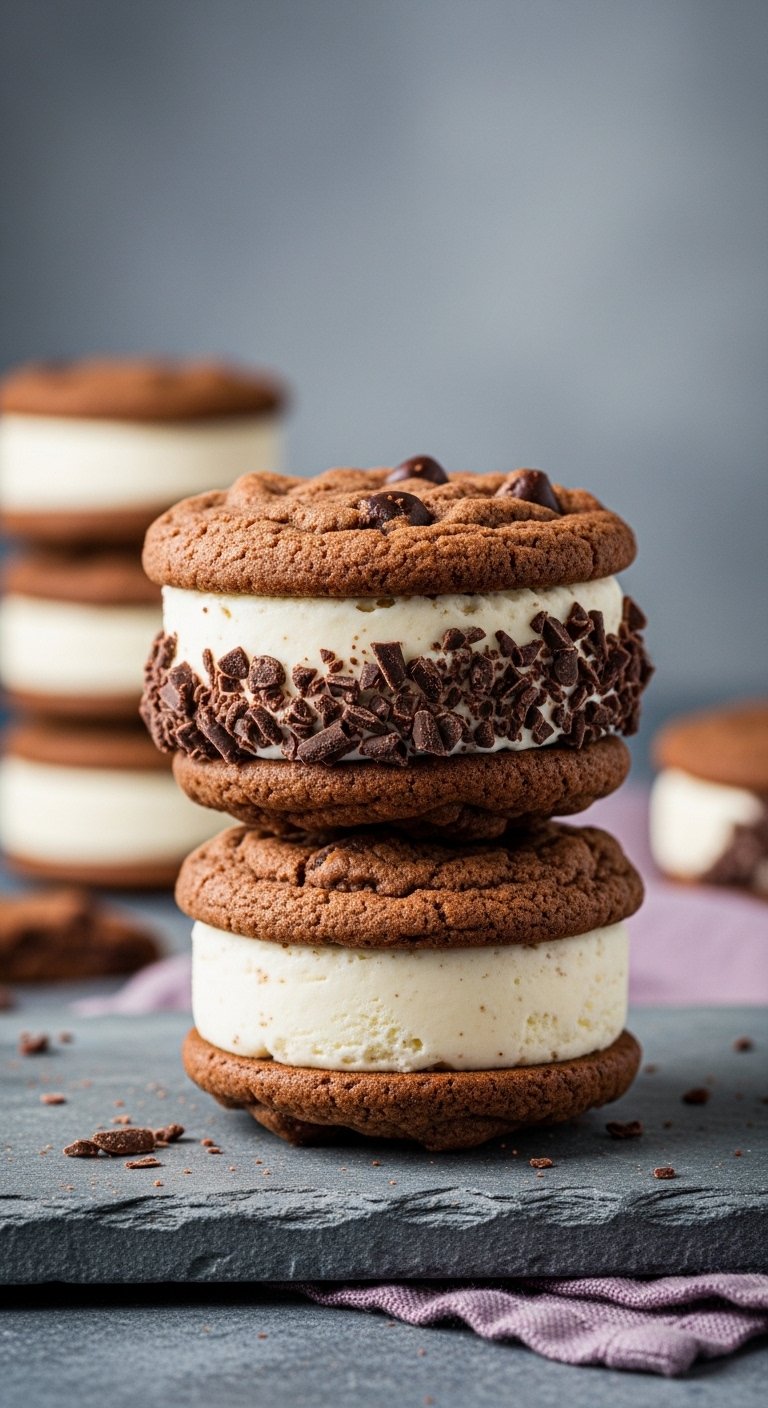
The Recipe: Classic Chocolate Ice Cream Sandwich
For the Soft Chocolate Wafers:
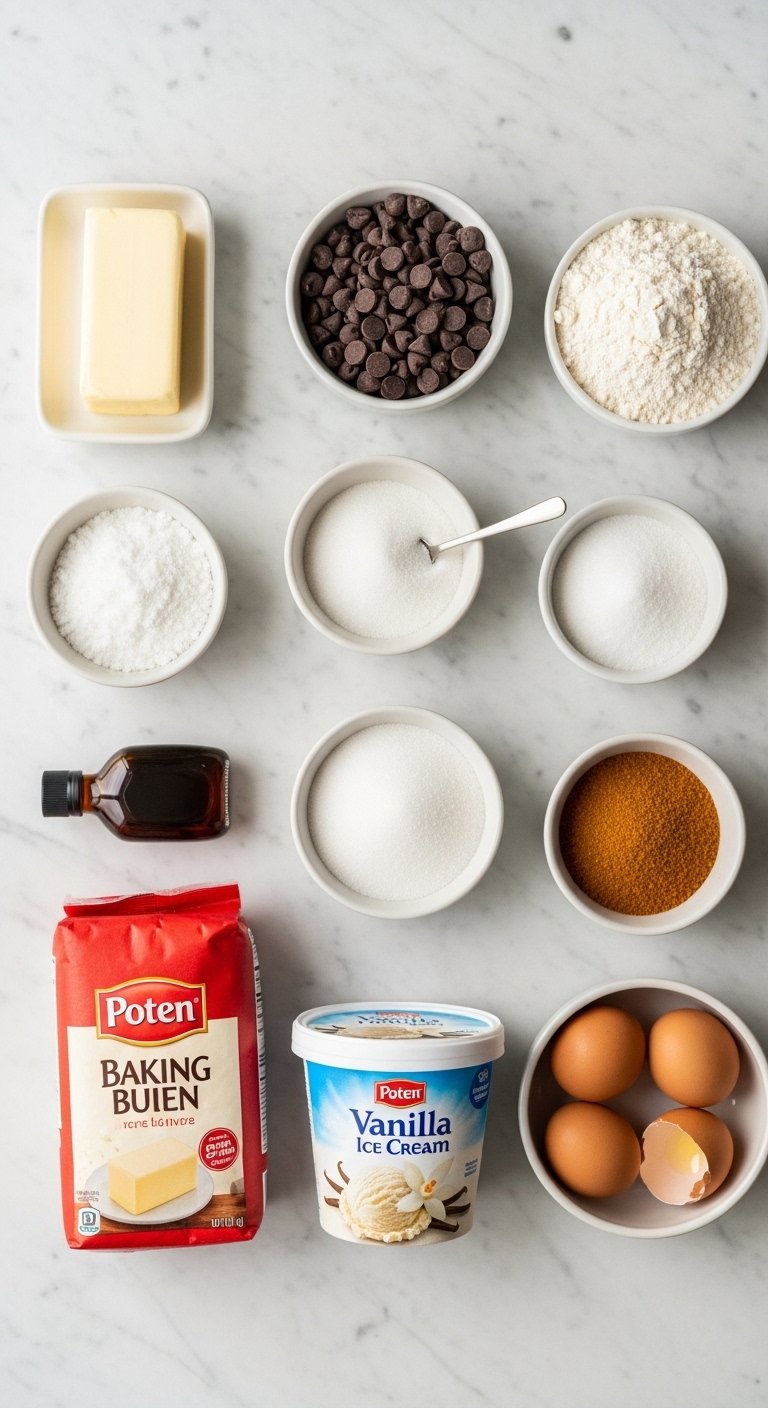
1 ½ cups all-purpose flour
½ cup unsweetened cocoa powder (Dutch-processed gives the best dark color and classic flavor)
½ teaspoon baking soda
¼ teaspoon salt
½ cup (1 stick) unsalted butter, softened to room temperature
½ cup granulated sugar
½ cup dark brown sugar, packed
1 large egg, room temperature
1 teaspoon vanilla extract
2 tablespoons whole milk
For the Filling:
1.5 quarts (about 6 cups) high-quality vanilla bean ice cream, slightly softened
Instructions
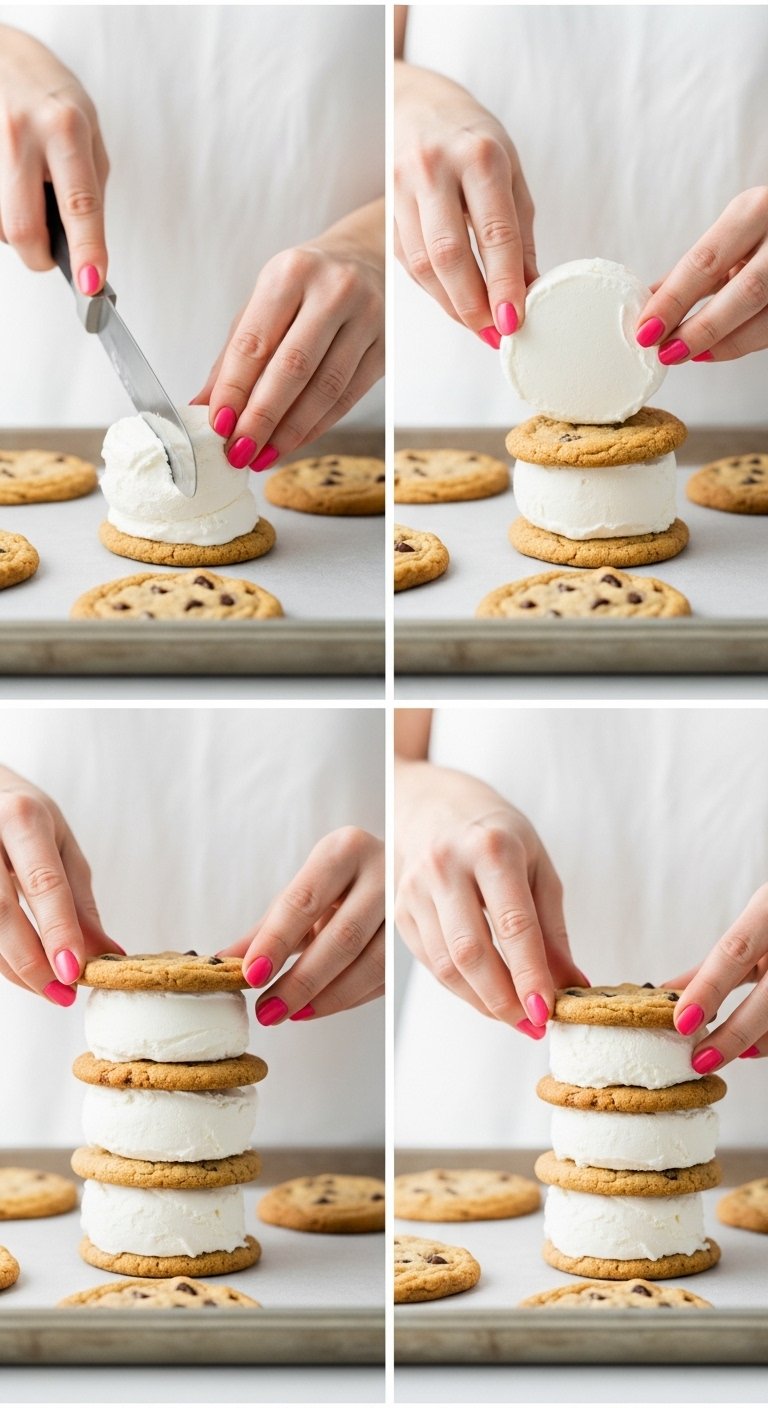
Prep the Ice Cream Layer (The Pro Trick): To get perfectly flat, neat ice cream layers, line a 9×13-inch baking dish with plastic wrap, leaving a generous overhang. Scoop the slightly softened ice cream into the dish and use a spatula to press it into a smooth, even layer. Fold the plastic wrap over the top and place the pan in the freezer for at least 2 hours until it is a rock-hard block.
Mix the Dry Ingredients: In a medium bowl, whisk together the flour, cocoa powder, baking soda, and salt.
Cream Butter and Sugars: In a large bowl, use a hand mixer to beat the softened butter, granulated sugar, and brown sugar until light and fluffy (about 2 minutes). Add the egg and vanilla extract, mixing until completely combined.
Form the Dough: Turn the mixer to low. Gradually add the dry flour mixture, alternating with the 2 tablespoons of milk, mixing just until a soft dough forms.
Roll and Cut: Preheat your oven to 175°C (350°F) and line two large baking sheets with parchment paper. Place the dough between two sheets of parchment paper and roll it out until it is about ¼-inch thick. Use a knife or a rectangular cookie cutter to cut out classic 2×3-inch rectangles. Transfer the rectangles to the baking sheets.
The Classic Look: To get that authentic ice cream truck look, use the blunt end of a wooden skewer or a toothpick to poke a grid of little holes into the top of each cookie.
Bake and Cool: Bake for exactly 8 to 10 minutes. The cookies should still look very soft when you pull them out—do not overbake, or they will be too hard to bite into when frozen! Let them cool completely on the baking sheet.
Assemble: Remove the frozen block of ice cream from the pan using the plastic wrap overhang. Cut the ice cream block into rectangles that match the size of your cookies. Sandwich each ice cream rectangle between two completely cooled chocolate wafers.
The Final Freeze: Immediately wrap each assembled sandwich individually in plastic wrap or parchment paper and place them back in the freezer for at least 1 hour to set completely before eating.
Popular Asked Questions
Can I make a classic chocolate ice cream sandwich recipe ahead of time
Yes. You can prepare this classic chocolate ice cream sandwich recipe days in advance. Bake the wafers and chill them. Build the final treats later. Wrap each unit in wax paper. Keep them safe in a cold environment.
How long can I store homemade ice cream sandwiches in the freezer
These treats last for one full month in the freezer. Wrap each item in wax paper. Place the wrapped items inside an airtight container. This storage method prevents freezer burn. The cookies maintain a soft texture. The center stays firm.
What are the best cookies for an ice cream sandwich
A soft chocolate wafer makes the best base. Hard cookies squeeze the center out during a bite. A chewy texture yields to your teeth. Soft baked goods blend with the cold center. Dutch cocoa provides the classic store bought flavor.
How to stop ice cream sandwiches from melting
Warm air turns your dessert into a puddle. You must stop ice cream sandwiches from melting during the building phase. Freeze your metal tools before you begin. Cut the frozen center portions and place them back in the cold. Assemble one treat at a time. Put the finished items right into the cold air.
What kind of ice cream works best for homemade sandwiches
Full fat premium brands work best. These varieties contain minimal air. Dense products resist melting. You can scoop firm blocks onto the wafers. Avoid low fat options. Diet brands become icy in the freezer.
Conclusion
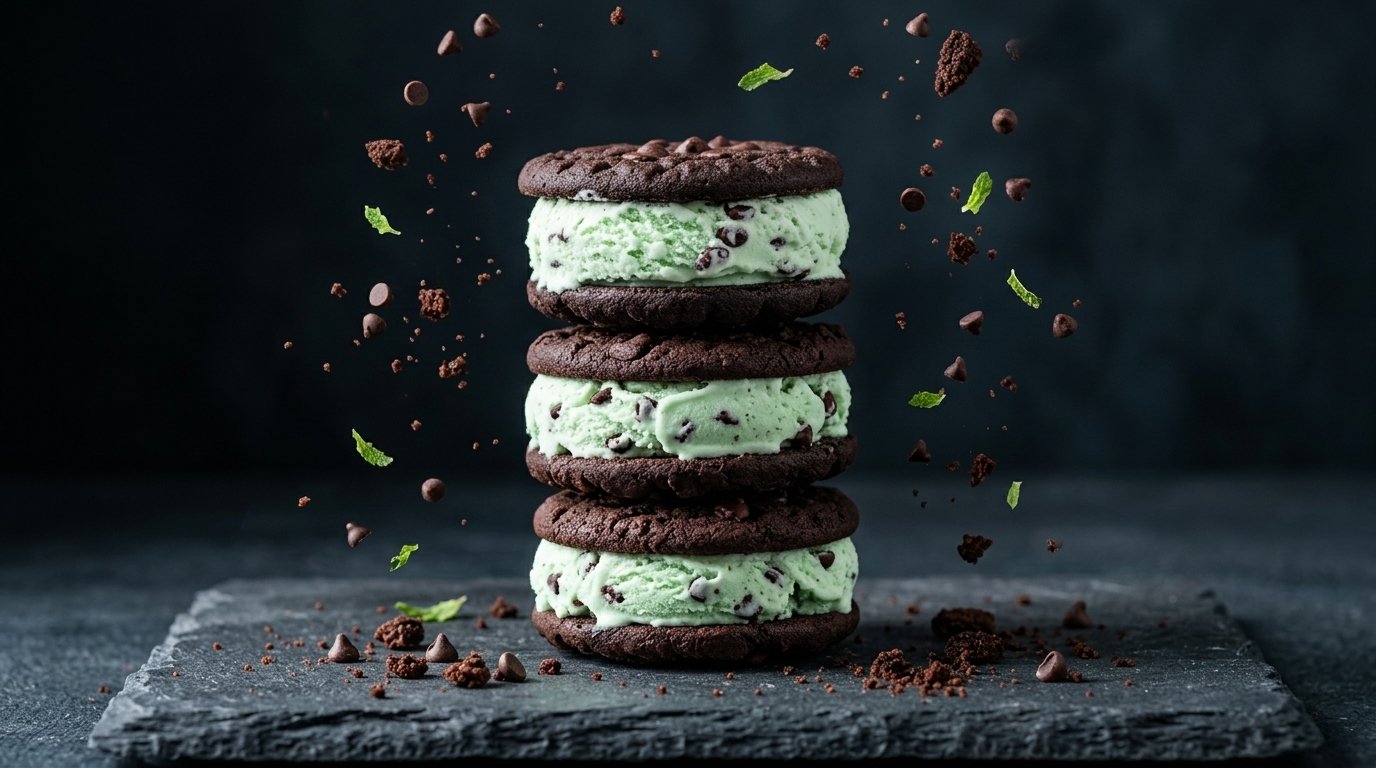
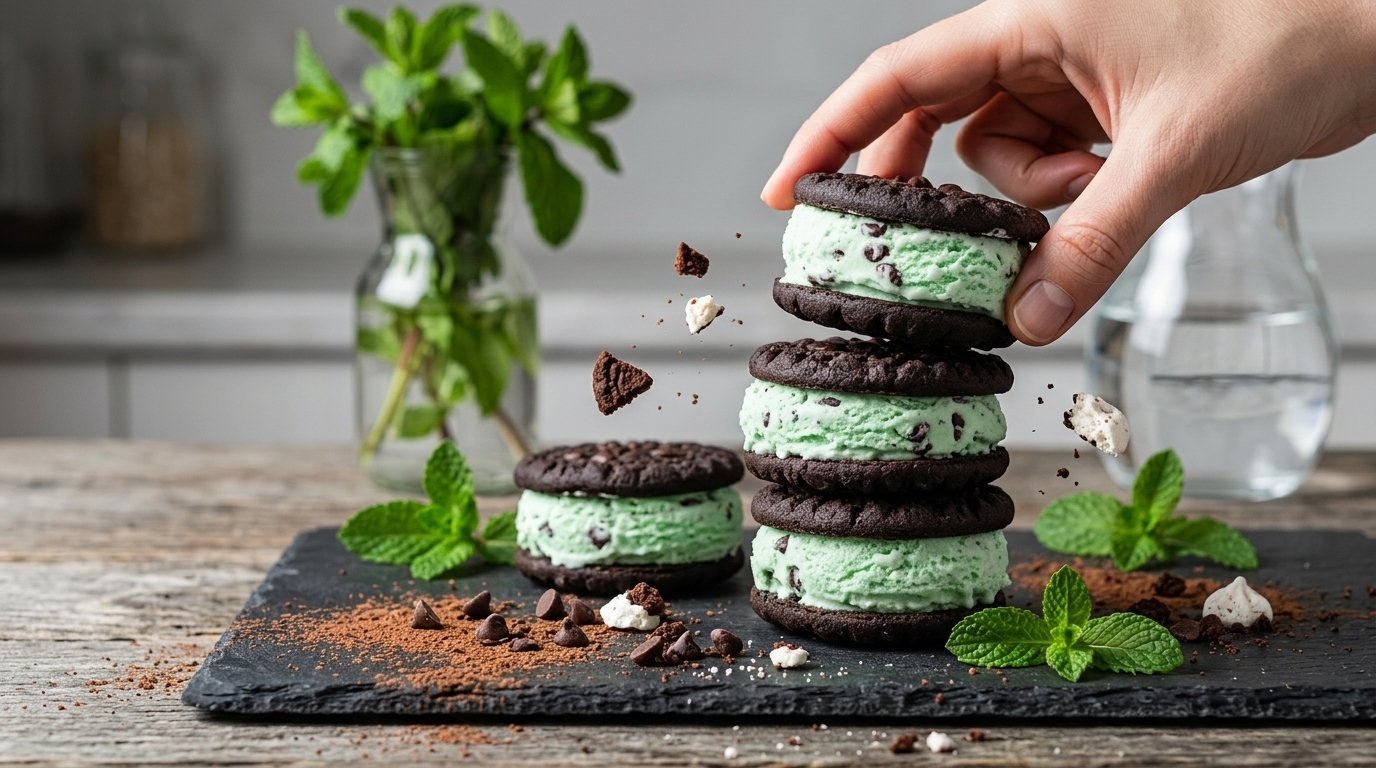
This ultimate guide gives you thirty ways to build the perfect summer dessert. A dark cocoa wafer and a firm white center create a magical contrast. These treats solve your craving for nostalgic sweet flavors. You save money building them in your kitchen. What wild flavor combination will you try for your next backyard party? Drop your favorite flavor ideas in the comments below. Follow us on Pinterest for more classic chocolate ice cream sandwich inspiration.

Leave a Comment