
Let me tell you something about exterior walls that I learned the hard way. These surfaces face every kind of weather Mother Nature throws at them. Rain, snow, blazing sun, wind that won’t quit. Your outside walls take a beating day after day, month after month. This means we can’t just slap any old paint on them and call it a day. We need to think smart about what goes on these surfaces if we want our homes to look good for years to come.
I’ve seen too many people make the mistake of treating their exterior walls like their living room. They grab whatever paint looks nice at the store and wonder why it’s peeling off six months later. The truth is that painting outside surfaces requires a different approach from start to finish. We’re talking about choosing the right materials, preparing surfaces properly, and using techniques that actually work when you’re dealing with real world conditions.
Think about it this way. Your exterior walls are like the skin of your house. They protect everything inside from the elements. When that protective layer starts to crack, fade, or peel, you’re not just dealing with an eyesore. You’re looking at potential damage that can cost serious money down the road. Water gets into places it shouldn’t be. Sun breaks down materials faster than you’d believe. That’s why getting this right matters so much.
Surface Preparation
Here’s where most painting projects either succeed or fail, and I’m not exaggerating. Surface prep is the foundation of everything that comes after. Skip this step or do it halfway, and you’ll be back out there with your paintbrush way sooner than you want to be. I learned this lesson when I tried to rush through a job on my own garage. Thought I could save time by going light on the prep work. Big mistake. Had to redo the whole thing eight months later when the paint started bubbling and peeling off in sheets.
The first thing you need to wrap your head around is that exterior putty is nothing like the stuff you use inside. I can’t stress this enough. Interior putty just won’t hold up when rain starts hammering against it. It’ll wash away, crack, or turn into a crumbly mess that looks worse than the original problem. You need special exterior grade putty if you’re going that route, but let me save you some trouble. Cement is your best friend here. It’s been around forever for good reason. This material can handle moisture, temperature swings, and whatever else comes its way.
Now let’s talk about moisture problems because they’re more common than you might think. Walk around any neighborhood and you’ll spot houses where moisture has gotten into the walls. You can see it in the way the plaster bulges out or how paint flakes off in weird patterns. Water finds its way into tiny cracks and then freezes when temperatures drop. Ice expands. The plaster or coating gets pushed away from the wall. Before you know it, you’ve got chunks falling off.
When you run into moisture issues, you can’t just paint over them and hope for the best. That’s like putting a band aid on a broken arm. You need to add patches using anti moisture compounds. These products create a barrier that repels water instead of soaking it up like a sponge. The paste forms go on pretty easily. You spread them over the problem areas and let them cure. Each product works a bit differently, so check what the manufacturer says about application. Some need to dry for 24 hours. Others might need 48 or even 72 hours before you can move to the next step.
After you’ve dealt with moisture and any patches have dried completely, it’s time to remove loose paint. This part is oddly satisfying if you ask me. You take a scraper and pull off anything that’s not holding tight to the wall. Don’t be gentle here. If paint comes off easily, it was going to fail soon anyway. Better to remove it now than have it peel off after you’ve painted over it. I like to work in sections, scraping one area thoroughly before moving to the next. You’d be surprised how much old paint can accumulate over the years. Sometimes you’re looking at four or five layers that have built up over decades.
Sanding comes next, and this is where things get dusty. Grab some 60 or 80 grit sandpaper. You want something coarse enough to knock down rough spots and remove any remaining loose material. If you’re working with new plaster walls, sanding helps smooth out those little beads and bumps that form during application. The goal isn’t to make everything perfectly smooth like glass. You just want to get rid of anything that would show through your final paint job or prevent good adhesion.
But here’s the thing about sanding. Not every wall needs it. If you’re dealing with a heavily textured surface or something really rough, sanding might be more trouble than it’s worth. I’ve tried sanding stucco before and let me tell you, it’s an exercise in frustration. The texture just fights back against your sandpaper. In cases like these, skip the sanding. Instead, get yourself a stiff brush and go to town removing dust and loose debris. A good brushing can work wonders on textured surfaces.
Whether you’re working with a brand new wall or one that’s been painted before, you need to apply a coat of fixative sealer. This step is non negotiable in my book. The sealer does two things that make your life easier. First, it keeps the wall from sucking up paint like crazy. Unsealed walls, especially new ones or ones with fresh plaster, are incredibly thirsty. They’ll drink up your first coat of paint so fast you’ll think you’re painting with water. That means you need more coats to get decent coverage, which means more time and more money.
The second benefit of sealer is that it gives your paint something to grip onto. Paint adheres better to a sealed surface than to raw plaster or old chalky paint. Think of it like primer for a canvas. Artists don’t paint directly on raw canvas because the results would be terrible. Same principle applies here. The sealer creates an ideal surface for your topcoat to bond with. You spend a few extra hours applying sealer now, and you get paint that lasts years longer. That’s a trade I’ll take every single time.
Let the sealer dry completely before you even think about opening a paint can. Read the product label to see how long it needs. Most sealers want at least 24 hours, but some need more time if you’re working in humid conditions. I know it’s tempting to rush this part, especially when you’re excited to see some color go up. But patience here pays off big time. Painting over damp sealer is asking for problems. The paint won’t cure right. You might get bubbles or uneven texture. Just wait it out.
One more thing about surface prep that I wish someone had told me years ago. Take photos before you start. I mean it. Snap pictures of problem areas, moisture spots, anything that looks questionable. Then take more photos after you’ve done your prep work. This serves two purposes. If problems show up later, you have documentation of what the surface looked like and what you did to fix it. But more than that, when you’re done with the whole project, you can look back at those before pictures and really appreciate how much work you put in. There’s something satisfying about seeing the transformation from rough, patchy walls to a smooth, properly prepped surface ready for paint.

Tools Used
Getting the right tools for an exterior paint job makes the difference between a project that flows smoothly and one that turns into a frustrating mess. I’ve tried cutting corners on tools before, and it never works out the way I hope. Cheap rollers leave lint in the paint. Brushes with loose bristles stick to your fresh coat. The wrong roller thickness means you’re fighting the texture of your wall instead of working with it. Trust me when I say that spending a bit more on quality tools will save you time, effort, and a whole lot of aggravation.
Start by covering your floor or ground area. Drop cloths are your friend here. I prefer the canvas ones over plastic because they stay in place better and don’t blow around in the breeze. If you’re working outside, wind is always a factor. Plastic drop cloths turn into sails that flap around and get paint on everything. Canvas absorbs any drips and stays put. Lay them out generously. Cover more area than you think you need. Paint has this magical ability to land on spots you swore were nowhere near your work zone.
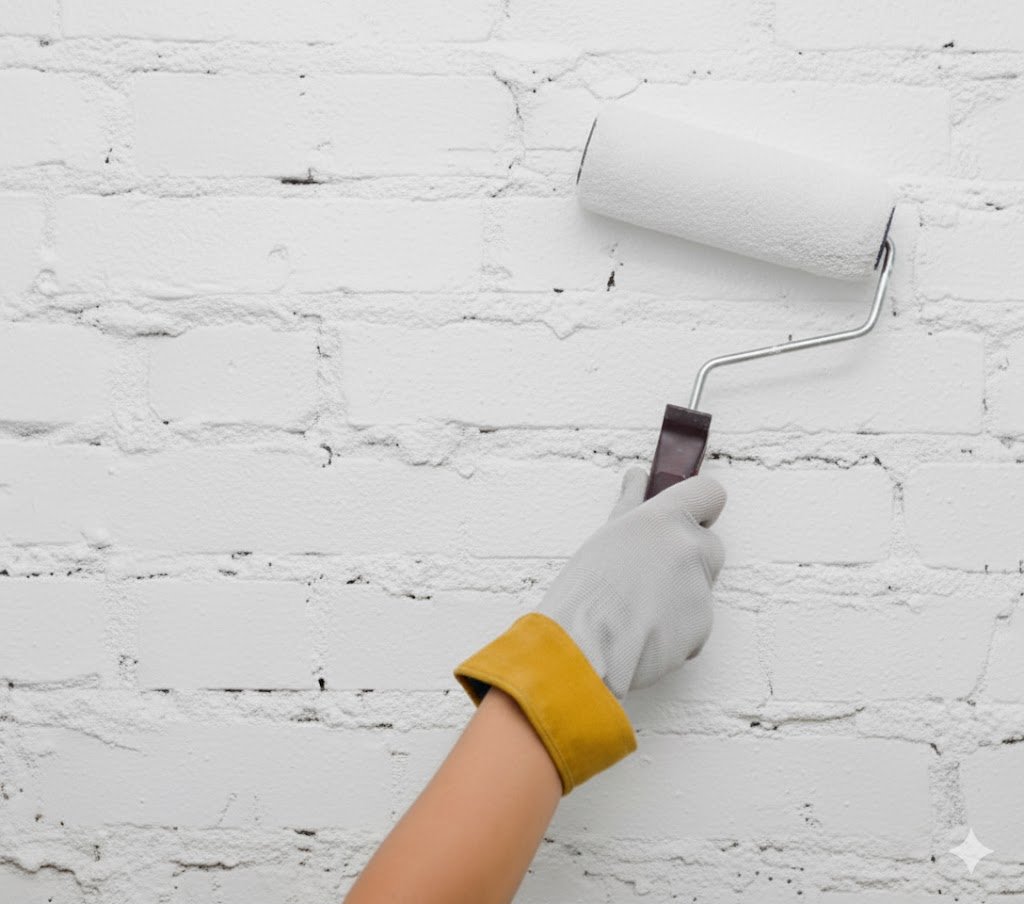
For the actual painting, you want a wide roller and a pole attachment. The pole is a game changer if you’ve never used one. I remember my first exterior paint job where I used a regular roller without a pole. I was up and down a ladder every five minutes. My legs were screaming by the end of the first day. Then someone showed me how much faster things go with a pole attached to your roller. You can reach high sections without constantly repositioning your ladder. You can cover large areas in smooth, consistent strokes. The pole gives you leverage and reach that makes exterior work so much more manageable.
The roller width matters more than you might think. A wider roller covers more surface area with each pass, which sounds great until you realize it gets heavy when it’s loaded with paint. I like a nine inch roller for most exterior work. It’s wide enough to be efficient but not so wide that my arm gets tired after twenty minutes. Some people swear by twelve inch rollers. Try different sizes and see what feels comfortable for you. The right tool is the one that lets you work for hours without your shoulder giving out.
Now let’s talk about roller sleeves because this is where texture comes into play. If you’re painting a smooth wall, a regular nap roller works fine. But exterior walls are rarely smooth. Most have some kind of texture, whether it’s stucco, rough plaster, or just an uneven surface from years of previous paint jobs. For textured walls, you need a roller with longer fibers. We call this the nap or pile length. A standard roller might have a quarter inch nap. For heavily textured surfaces, you want something in the 20 to 30 millimeter range.
Why does nap length matter so much? Picture trying to paint a bumpy wall with a short nap roller. The roller only hits the high spots. All the valleys and crevices stay unpainted. You end up going over the same area multiple times, trying to work paint into every little hole and gap. It’s slow and frustrating. A long nap roller, on the other hand, has fibers that reach into those valleys. The paint gets distributed evenly across the entire surface, bumps and dips included. One or two passes and you’re done with that section.
I learned about nap length the hard way when I painted a stucco wall with a regular roller. Spent forever trying to get coverage into all those little peaks and valleys. The job took twice as long as it should have. When I finally switched to a long nap roller, the difference was night and day. The paint went on smoothly. Coverage was even. I could actually see progress instead of feeling like I was spinning my wheels. That experience taught me to always match my roller to my surface.
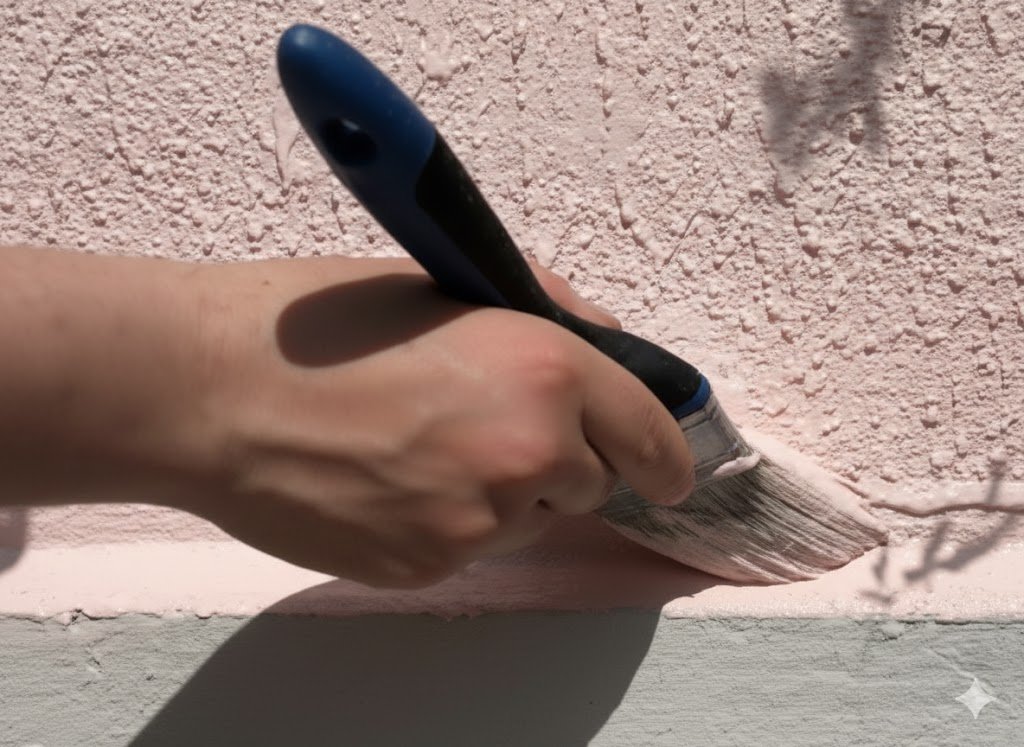
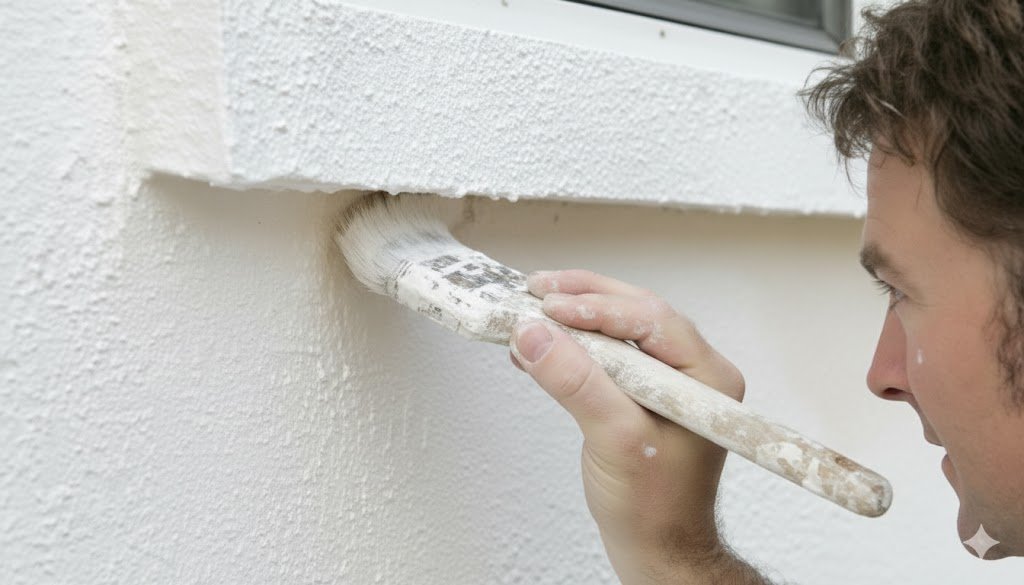
You’ll need brushes too, even when you’re doing most of the work with a roller. Brushes are for cutting in, which is painter speak for doing the edges and corners where rollers can’t reach. Around windows, along roof lines, next to trim, anywhere you need precision instead of speed. Get yourself a good quality angled brush. The angle makes it easier to get clean lines. I like a two and a half or three inch brush for most cutting in work. Anything smaller feels fiddly. Anything bigger gets clumsy when you’re trying to stay neat.
Brush quality matters even more than roller quality in my opinion. A cheap brush sheds bristles like a dog in summer. You’ll spend half your time picking bristles out of your fresh paint. The bristles on cheap brushes are also stiff and scratchy, which makes it harder to get smooth coverage. Good brushes have bristles that hold together, flex nicely, and release paint evenly. They cost more upfront but last for years if you clean them properly. I have brushes I’ve been using for over a decade that still work like new.
Speaking of cleaning, take care of your tools and they’ll take care of you. At the end of each day, clean your rollers and brushes thoroughly. For water based paints, that means soap and water until the water runs clear. Don’t just give them a quick rinse and call it good. Really work the paint out of the bristles and fibers. Dried paint turns brushes into useless chunks of stiff plastic. Rollers with dried paint on them leave streaks and clumps. Five minutes of proper cleaning saves you from having to buy new tools constantly.
One tool that doesn’t get enough credit is a good quality paint tray. I’ve used those flimsy aluminum ones that bend if you look at them wrong. They’re awful. The paint sloshes out. The roller doesn’t load evenly. You end up with paint all over your shoes. Get yourself a sturdy plastic tray with a proper grid for rolling off excess paint. Some people like the tray liners that you can just throw away, but I find them wasteful and prone to tearing. A solid tray that you wash out takes about two minutes to clean and lasts forever.
Don’t forget about a painter’s tool or five in one tool. This little gadget is incredibly handy. It scrapes, spreads, removes paint, cleans rollers, opens paint cans, and does about ten other jobs. I keep one in my back pocket whenever I’m painting. You never know when you’ll need to scrape off a drip, spread some filler, or pry open a stuck paint can lid. For the ten bucks it costs, a painter’s tool earns its keep on every single job.
The Painting
Choosing the right paint for exterior work is where a lot of people get overwhelmed. Walk into any paint store and you’re hit with hundreds of options. Different brands, different finishes, different formulations. It’s enough to make your head spin. But here’s the good news. For exterior walls, your choices narrow down pretty quickly once you know what to look for. You need paint that stands up to weather, resists water, and holds its color under constant sun exposure. That rules out most of what you see on the shelves.
Water based paints are your go to for exterior walls in most situations. I’m talking about acrylic latex, exterior coating, plastic paint for outdoors, products like that. These formulations have come a long way over the past couple decades. They used to be inferior to oil based paints for durability. Not anymore. Modern acrylic paints create a flexible film that expands and contracts with temperature changes. They resist fading from UV exposure. They clean up with soap and water, which is a huge plus when you inevitably get paint somewhere you didn’t mean to.
The flexibility of acrylic paint is really what makes it work so well outside. Think about what happens to your walls over the course of a year. Summer heat makes materials expand. Winter cold makes them contract. This constant movement would crack rigid paint films. But acrylic stays flexible even after it dries. It moves with your walls instead of fighting against them. That flexibility is what keeps the paint from cracking and peeling prematurely.
Water resistance is another key feature you can’t compromise on. Rain is going to hit your walls. Snow will pile up against them. Morning dew will settle on the surface. Your paint needs to shed water instead of absorbing it. Good exterior paints create a barrier that water beads up on and runs off. Check the product description or ask someone at the paint store about water resistance. If they can’t give you a clear answer about how the paint handles moisture, keep looking.
UV resistance deserves its own paragraph because sun damage is probably the biggest enemy your paint faces. I’ve seen dark colored paints fade to almost unrecognizable shades after just a few years of sun exposure. The UV radiation literally breaks down the pigments in cheap paint. Quality exterior paints include UV stabilizers that protect the color. These additives absorb or reflect UV rays so they don’t degrade the pigments. It costs more upfront, but the paint looks good for years longer. Colors stay true. The finish doesn’t chalk up and fade.
Color choice is more than just picking something that looks pretty. Darker colors absorb more heat, which can make them fade faster and puts more stress on the paint film. Light colors reflect heat and tend to last longer. That doesn’t mean you can’t paint your house dark blue or forest green. Just know that dark colors might need repainting sooner than lighter shades. I’ve also noticed that dark colors show dirt and streaks more easily. Something to think about if you live in an area with lots of dust or pollen.
Finish is another consideration. Most exterior paints come in flat, satin, or semi gloss. Flat finishes hide imperfections really well but can be harder to clean. Satin has a slight sheen and cleans up more easily. Semi gloss is shinier and the most durable, but it also highlights every bump and flaw in your wall. For most exterior walls, I lean toward satin. It strikes a good balance between hiding minor imperfections and being easy to maintain.
Some regions have traditional paints that work really well for exterior surfaces. Lime based paints, for example, have been used for centuries in certain areas. They’re breathable, which means they let moisture vapor escape from the wall instead of trapping it. This can be really beneficial in humid climates or on walls that tend to hold moisture. Lime paint creates a beautiful matte finish and actually gets harder over time. The downside is that lime paint requires specific application techniques. It’s not as forgiving as modern acrylics. But in the right situation, with proper preparation and application, lime paint can outlast anything else.
Before you buy paint, talk to someone who knows the local conditions. Different climates need different solutions. Coastal areas deal with salt spray. Desert regions face intense UV and temperature extremes. Northern climates need paint that can handle freeze thaw cycles. A good paint store employee or contractor who works in your area can steer you toward products that perform well locally. Don’t be shy about asking questions. Tell them about your specific situation. Do you have a south facing wall that gets blasted with sun all day? Is your house in a shaded area where moisture tends to linger? These details matter when choosing paint.
Coverage is something manufacturers love to brag about, but take those claims with a grain of salt. The label might say one gallon covers 400 square feet. In reality, textured surfaces, porous materials, and darker colors often require more paint. I always buy more than I think I need. Running out of paint in the middle of a wall is frustrating. You have to stop, go get more, and hope the new batch matches perfectly. Sometimes there are slight color variations between batches. Better to have a gallon left over than to come up short and end up with a visible seam where you ran out.
Application technique matters as much as paint quality. Start from the top and work your way down. This way any drips or spills land on unpainted surface instead of messing up your finished work. Load your roller with paint but don’t oversaturate it. Too much paint and you get drips and uneven texture. Too little and you get thin coverage with holidays, which is what we call spots you missed. Roll in overlapping W patterns to distribute the paint evenly. Then smooth it out with long vertical strokes.
When you’re cutting in with a brush, dip just the bottom third of the bristles into the paint. Tap off the excess on the side of the can. A loaded brush is a drippy brush. Work in sections about three feet at a time. Feather out your brush strokes so they blend into the rolled areas. The goal is to make the transition invisible. With practice, you won’t be able to tell where the brush work ends and the roller work begins.
Pay attention to the weather when you paint. You need temperatures above 50 degrees for most paints to cure properly. Too cold and the paint won’t dry right. You’ll get poor adhesion and a finish that stays soft. Too hot and the paint dries too fast, which can cause lap marks and uneven texture. Early morning or late afternoon is often the best time to paint in summer. You avoid the intense midday heat but still have enough warmth for proper curing.
Don’t paint if rain is in the forecast. Seems obvious, right? But I’ve seen people try to squeeze in a coat before weather moves in. It never works out. Paint needs time to dry and cure before it gets wet. Most exterior paints want at least a few hours of dry weather after application. Really, you should have 24 hours without rain for best results. Check the forecast and plan accordingly. A day of patience is better than watching your fresh paint wash away in a downpour.
Multiple coats almost always look better than a single heavy coat. I know it’s tempting to glob on extra paint and call it done. But thick single coats tend to sag, drip, and cure unevenly. Two thinner coats give you better coverage, better durability, and a more professional looking finish. Let the first coat dry completely before applying the second. Follow the manufacturer’s recommendations for recoat time. Some paints are ready in a few hours. Others need overnight to cure properly.
When you’re done painting, step back and look at your work from different angles. Walk around the house and check for spots you missed. Look at the walls in different lighting conditions. Morning light reveals flaws that disappear by afternoon. If you spot thin areas or holidays, touch them up while you still have paint out and tools ready. It’s much easier to fix problems now than to break everything out again in a week when you notice that spot you missed.
Cleanup deserves the same attention you gave to prep. Scrape excess paint back into the can. Don’t pour it down the drain or dump it in the yard. Check local regulations about paint disposal. Most areas have hazardous waste collection days where you can drop off old paint. Wash your tools thoroughly. Store brushes hanging or flat so the bristles keep their shape. Keep leftover paint in a cool, dry place with the lid sealed tight. Label the can with the color name, date, and where you used it. Six months from now when you need to touch up a small area, you’ll be glad you kept good records.
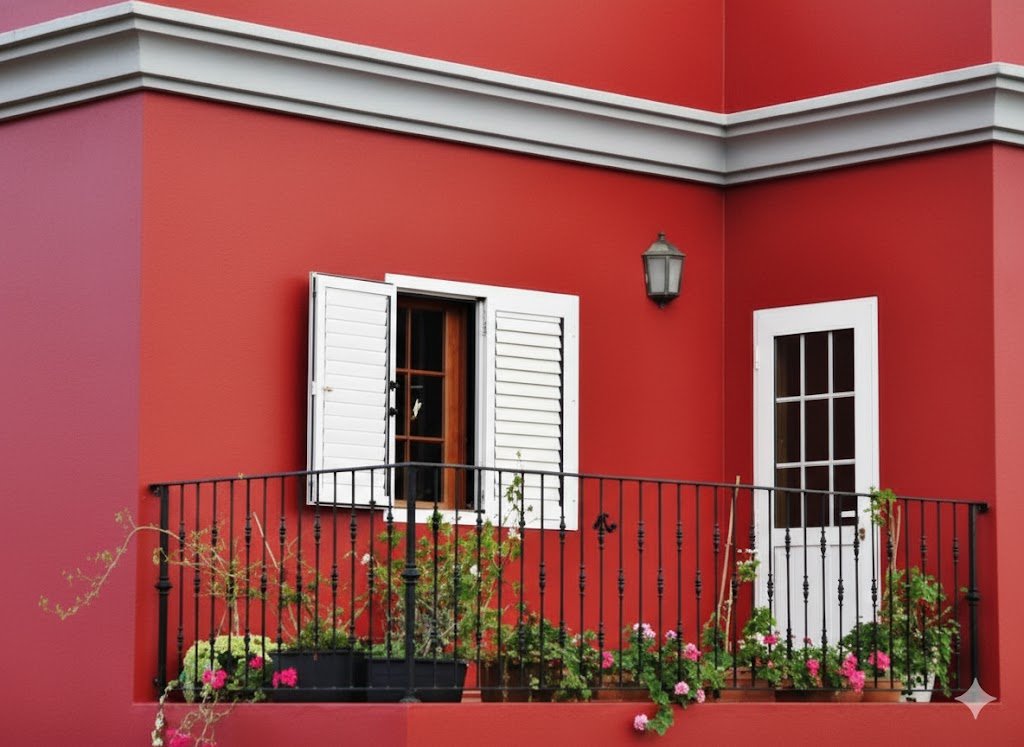
The satisfaction of finishing an exterior paint job is hard to beat. You step back and see your house looking fresh and cared for. The colors are crisp. The surface is smooth. All those hours of prep work, careful application, and attention to detail paid off. You know the paint is going to protect your walls and look good for years. That’s worth every bit of effort you put into doing it right.

Leave a Comment