
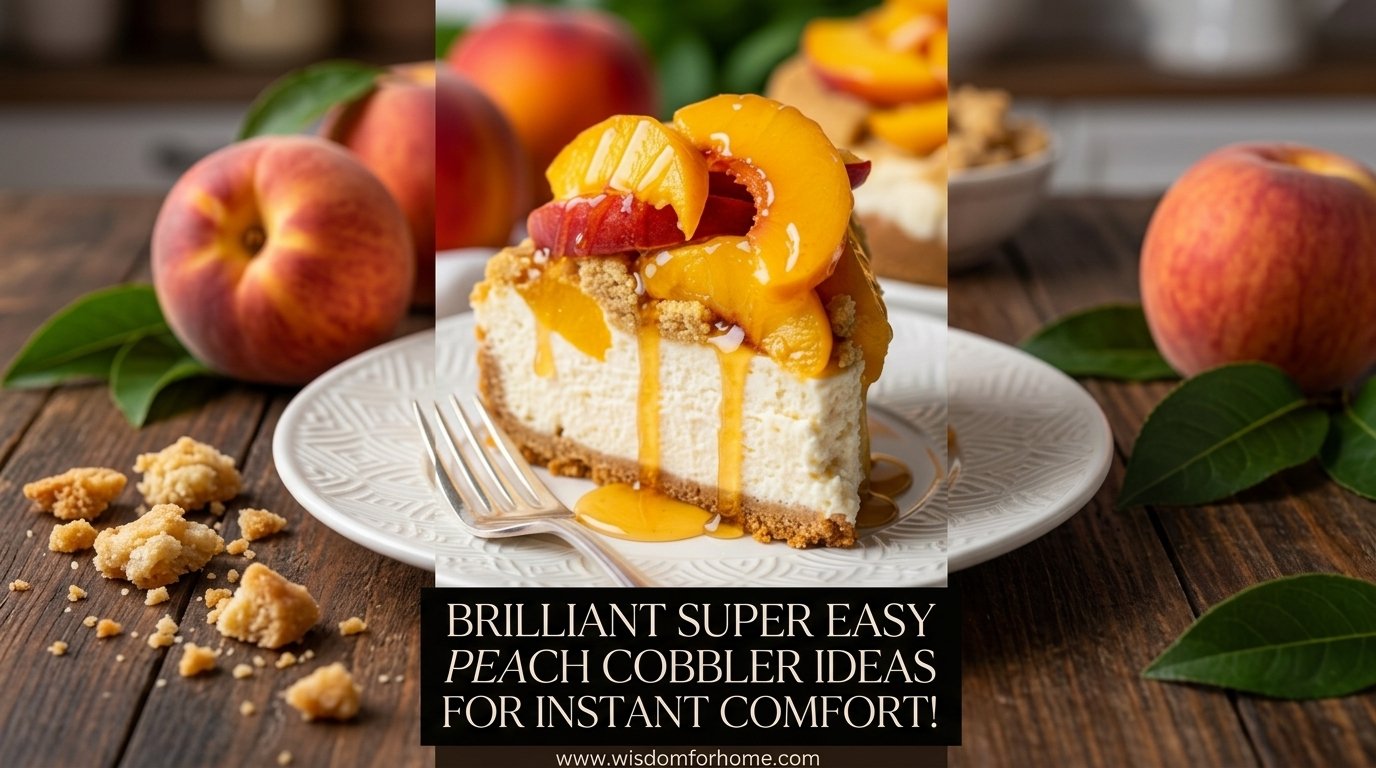
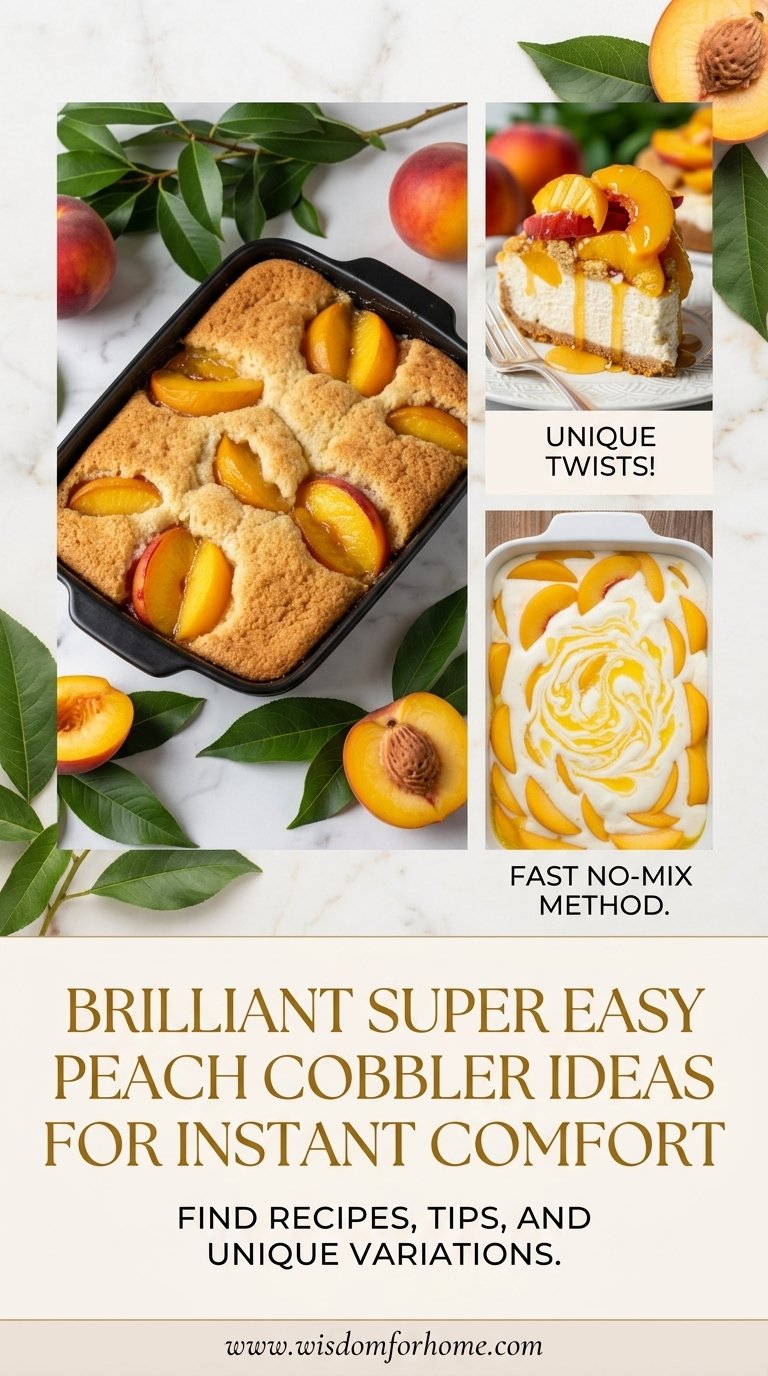
Search volume for easy baking recipes explodes every single summer. You want a sweet treat right now. Time is very short. Budget constraints restrict elaborate grocery runs. We tracked Pinterest data to solve this exact problem. This guide delivers a structured approach to the super easy peach cobbler. You get twenty five distinct styling and preparation methods. These proven techniques guarantee a golden crust and a syrupy center every single time. We analyze texture profiles and visual presentation for maximum aesthetic impact. You will learn exact temperature controls and modern plating ideas. Check out our related guide on simple summer garden styling. The right dessert elevates your entire dining experience.
Key Takeaways
- Canned fruit slashes prep time by half for busy evenings
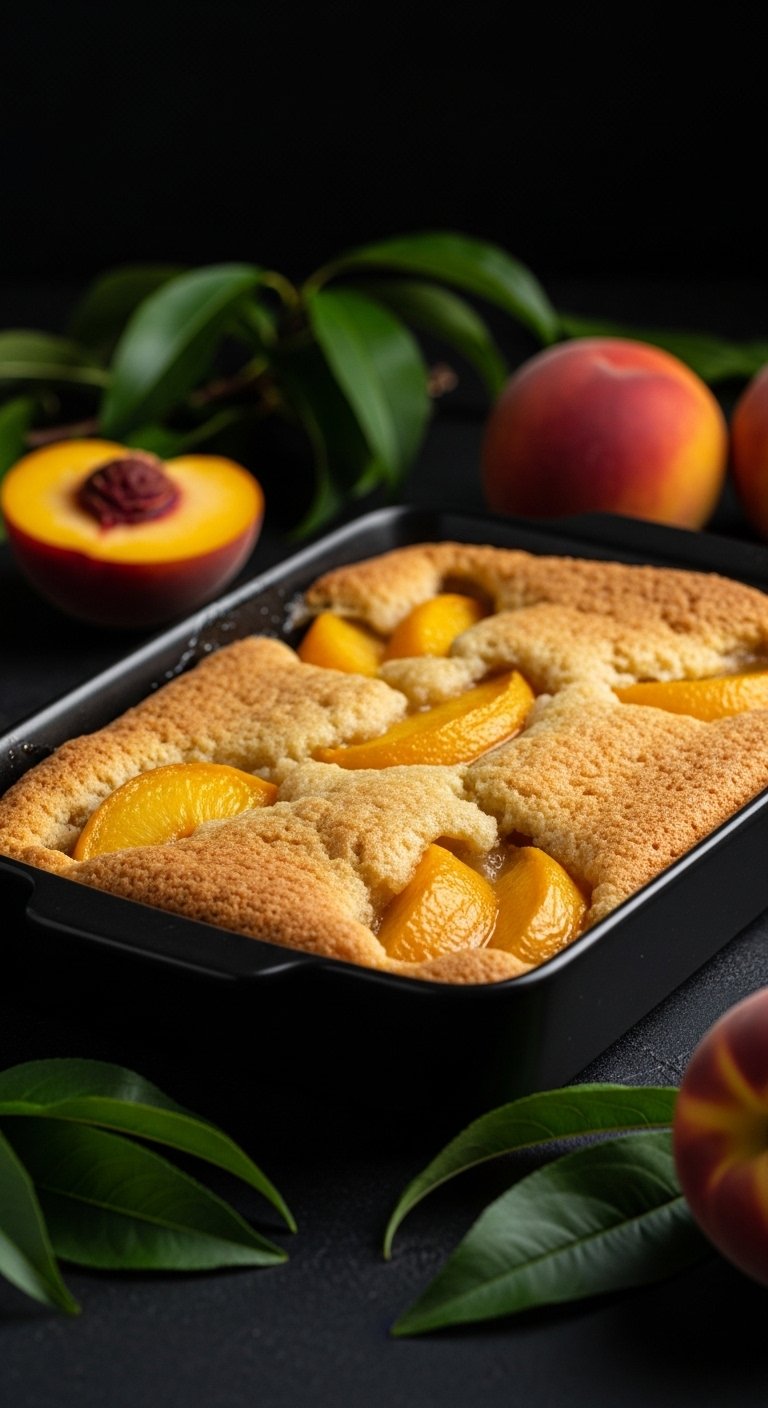
- Cast iron skillets create superior crust texture and visual appeal
- High temperature baking produces an appealing golden color
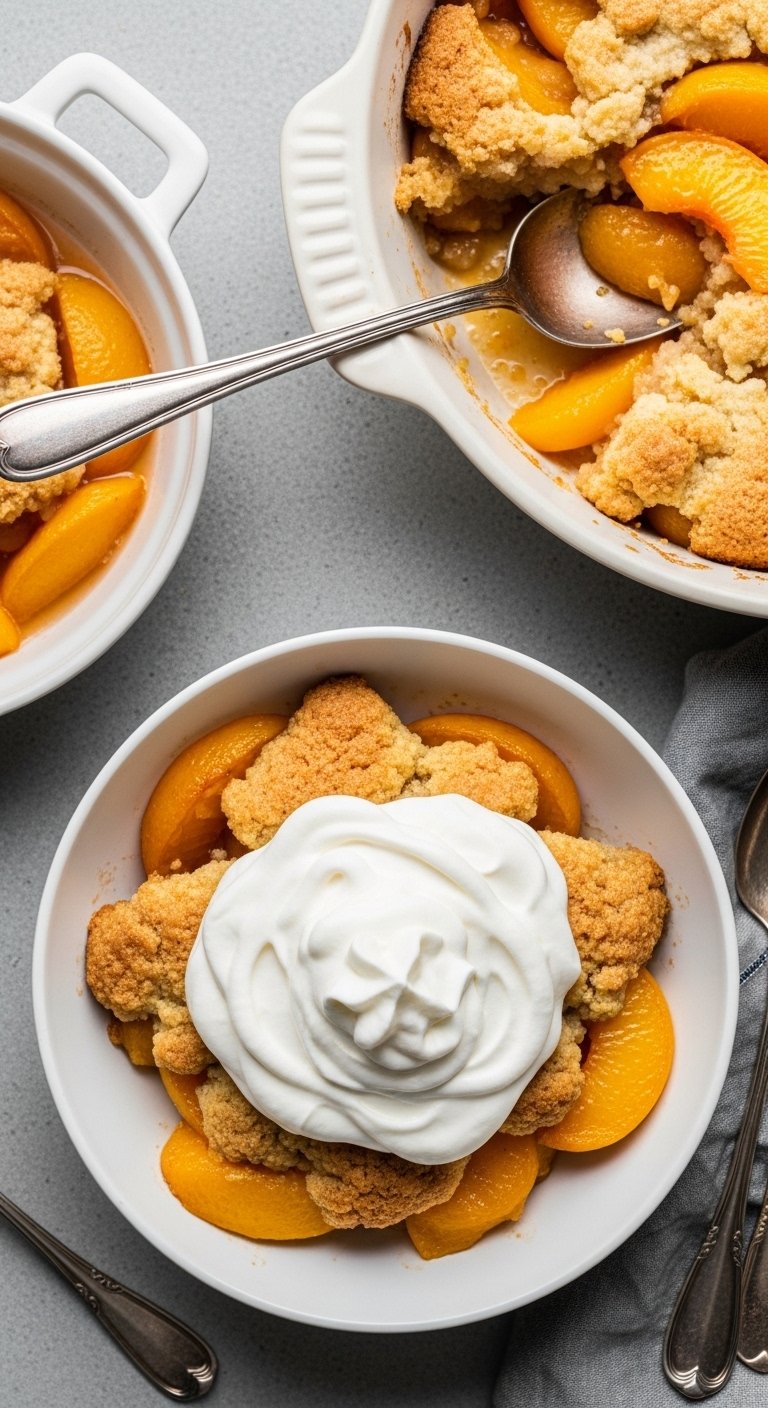
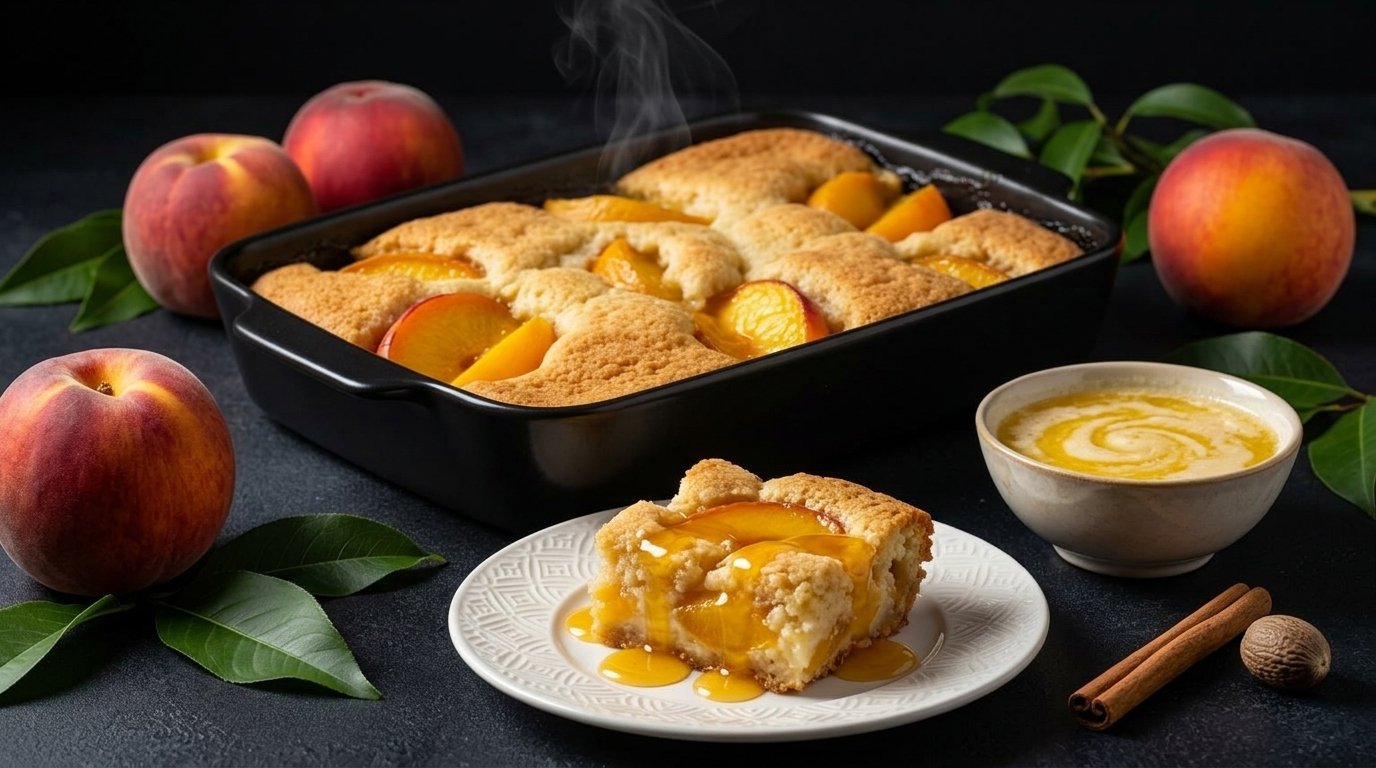
- Simple aesthetic plating increases visual interest for photography
- Proper storage extends dessert freshness for several days
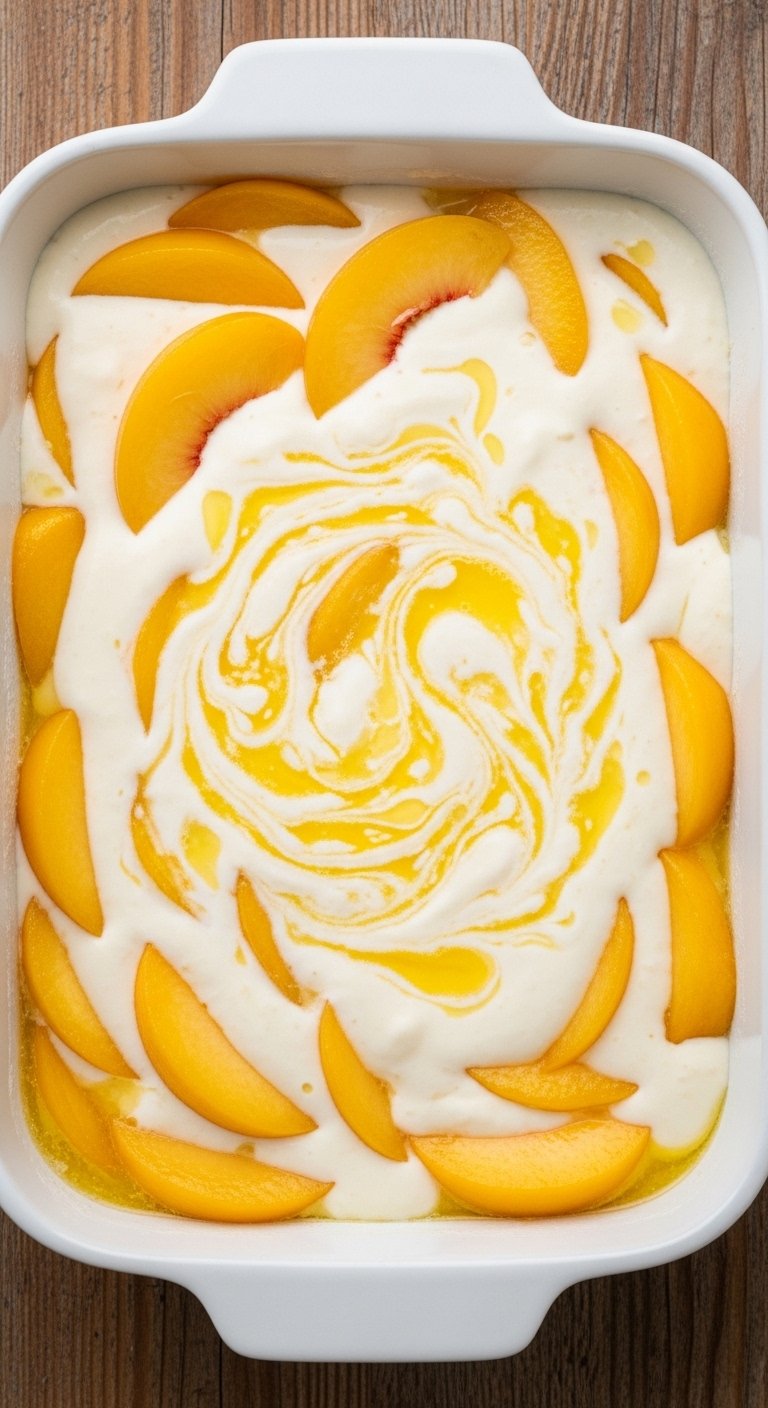
Table of Contents
Ingredients
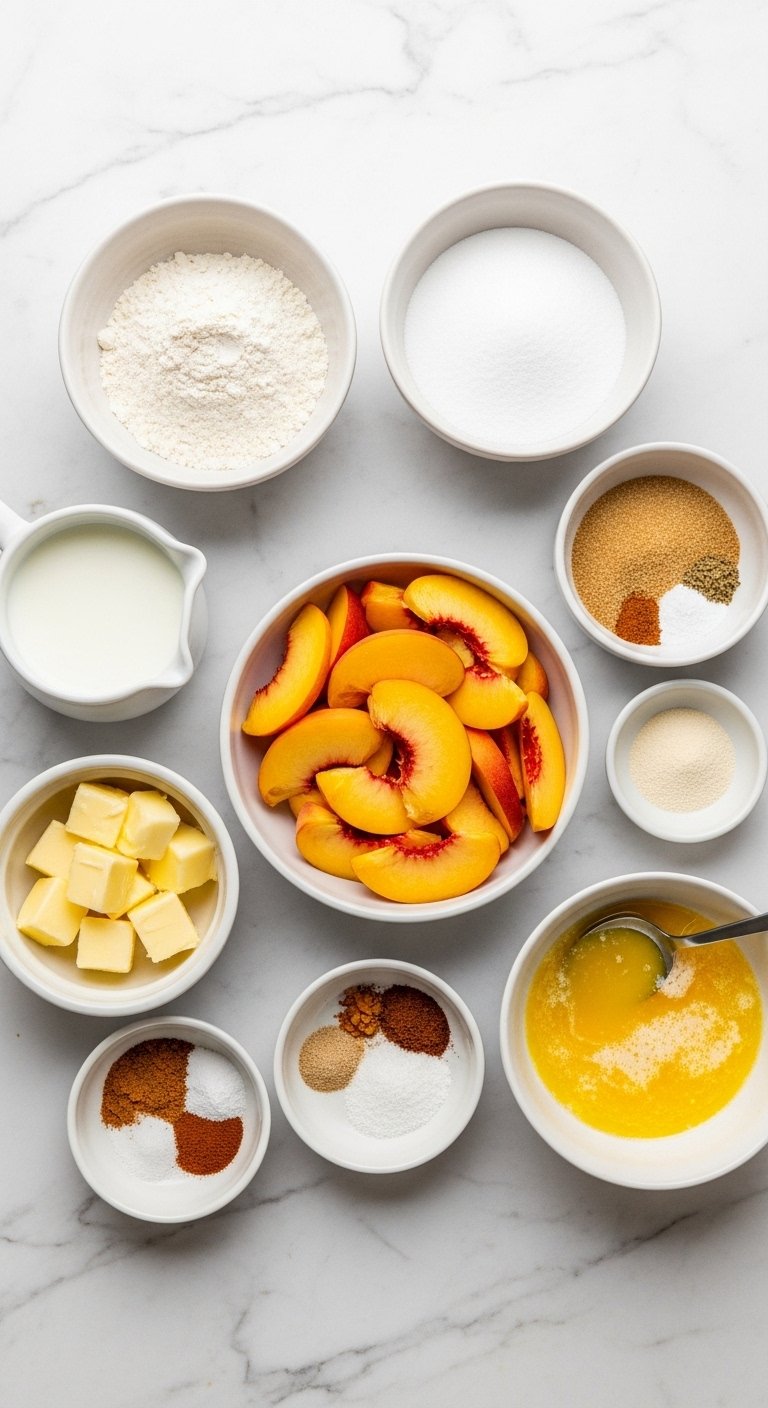
A successful bake starts with the right foundation. You need bright yellow peaches to create a visually striking base. The contrast between the dark fruit syrup and the pale batter dictates the final aesthetic. We recommend simple pantry staples for this super easy peach cobbler. Granulated sugar extracts natural juices from the fruit. All purpose flour builds a sturdy structure. Baking powder provides the necessary lift for a fluffy texture. Cold butter creates steam pockets during the bake. These pockets form a flaky and tender crust. A dash of salt balances the intense sweetness. Visual appeal relies on this exact chemical reaction. The structural integrity of your dessert depends on accurate measurements. Precise baking yields consistent results. Warm overhead lighting accentuates the glossy finish of the syrup on camera. Good ingredients naturally photograph better.
For the Peach Filling:
4 cups fresh peaches, peeled and sliced (or frozen/canned peaches, well-drained)
½ cup granulated sugar
½ cup light brown sugar, packed
1 teaspoon ground cinnamon
¼ teaspoon ground nutmeg
1 tablespoon fresh lemon juice
1 teaspoon vanilla extract
For the Batter:
1 cup all-purpose flour
1 cup granulated sugar
1 tablespoon baking powder
¼ teaspoon salt
1 cup whole milk
½ cup (1 stick) unsalted butter
Pro Tip: Chill your butter in the freezer for ten minutes prior to mixing for maximum flakiness.
Save this idea to your Pinterest.
Direction
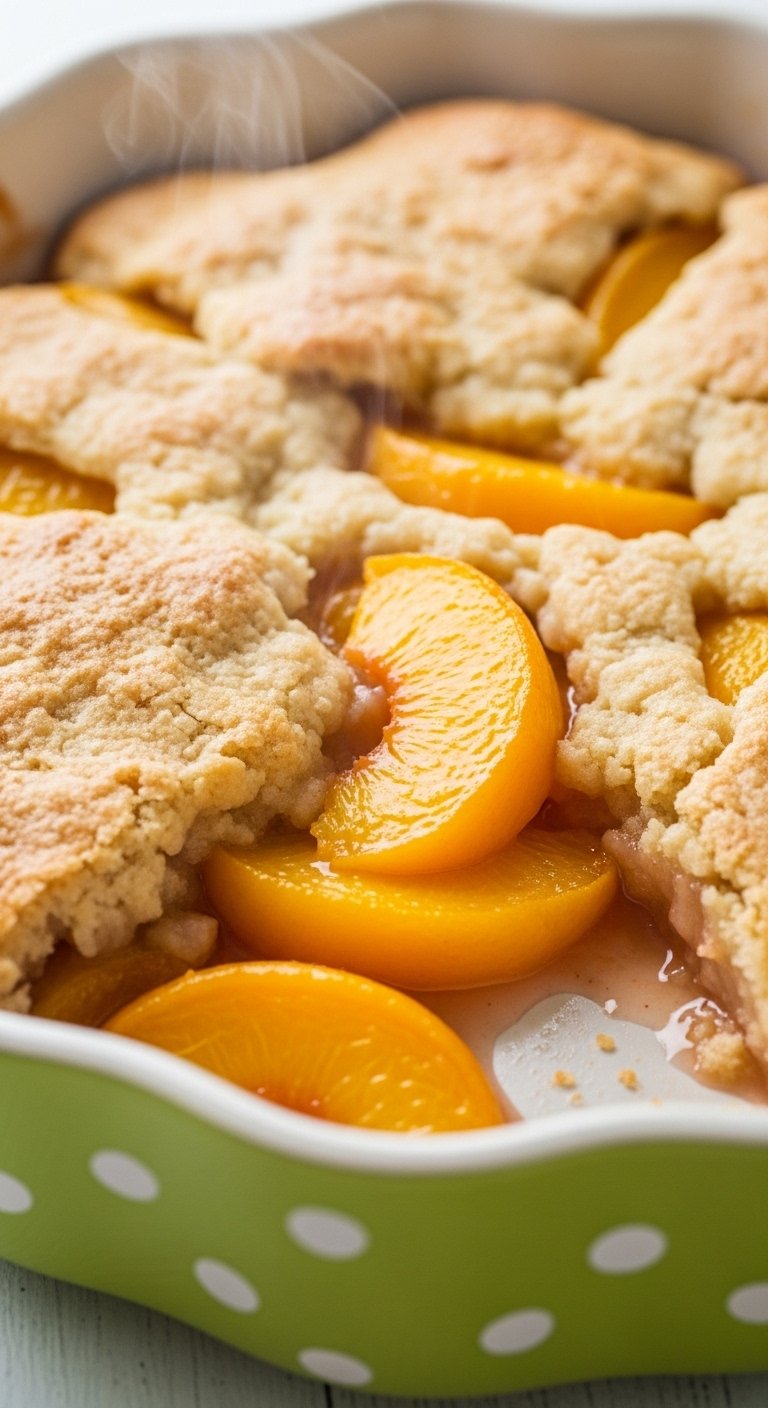
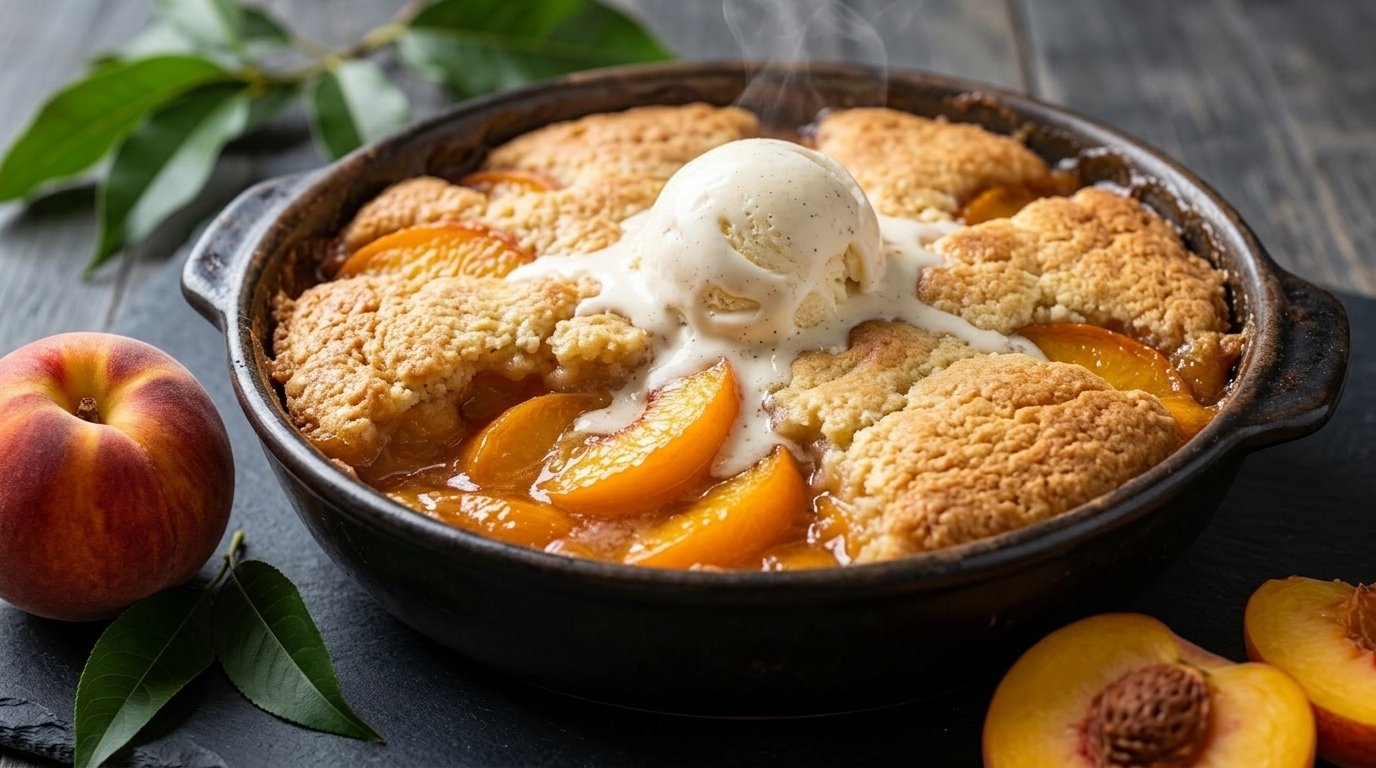
The assembly process dictates the final visual presentation. Dump the fruit into the bottom of a dark ceramic dish. The dark background highlights the bright orange tones of the syrup. Next you mix the dry components until they form a sandy texture. Scatter this mixture evenly over the fruit layer. You pour melted butter directly over the top. Do not stir the layers together. This separation maintains distinct visual boundaries between the crust and the filling. The heat forces the bottom layer to rise through the fruit. This creates a rustic and uneven top crust. The chaotic surface texture catches the light beautifully. Irregular patterns appeal to the eye more than flat surfaces. This baking technique guarantees a syrupy center and a crisp top. The golden finish looks stunning on any dining table.
Instructions
Prep: Preheat your oven to 190°C (375°F).
Melt the Butter: Place the ½ cup of butter directly into a 9×13-inch baking dish. Put the dish in the preheating oven for a few minutes just until the butter is completely melted. Carefully remove the hot dish from the oven and set it aside.
Prepare the Peaches: In a medium saucepan, combine the sliced peaches, granulated sugar, brown sugar, cinnamon, nutmeg, and lemon juice. Cook over medium heat, stirring gently, for about 5 to 8 minutes until the sugar is completely dissolved and the peaches have released their natural juices. Remove from heat and stir in the vanilla extract.
Mix the Batter: In a separate mixing bowl, whisk together the flour, 1 cup of sugar, baking powder, and salt. Pour in the milk and whisk just until combined (a few lumps are perfectly fine).
Assemble (Do Not Stir!): Pour the batter directly over the melted butter in the baking dish. Do not stir. Next, carefully spoon the warm peaches and all of their juices evenly over the top of the batter. Do not stir. (The batter will magically rise to the top as it bakes).

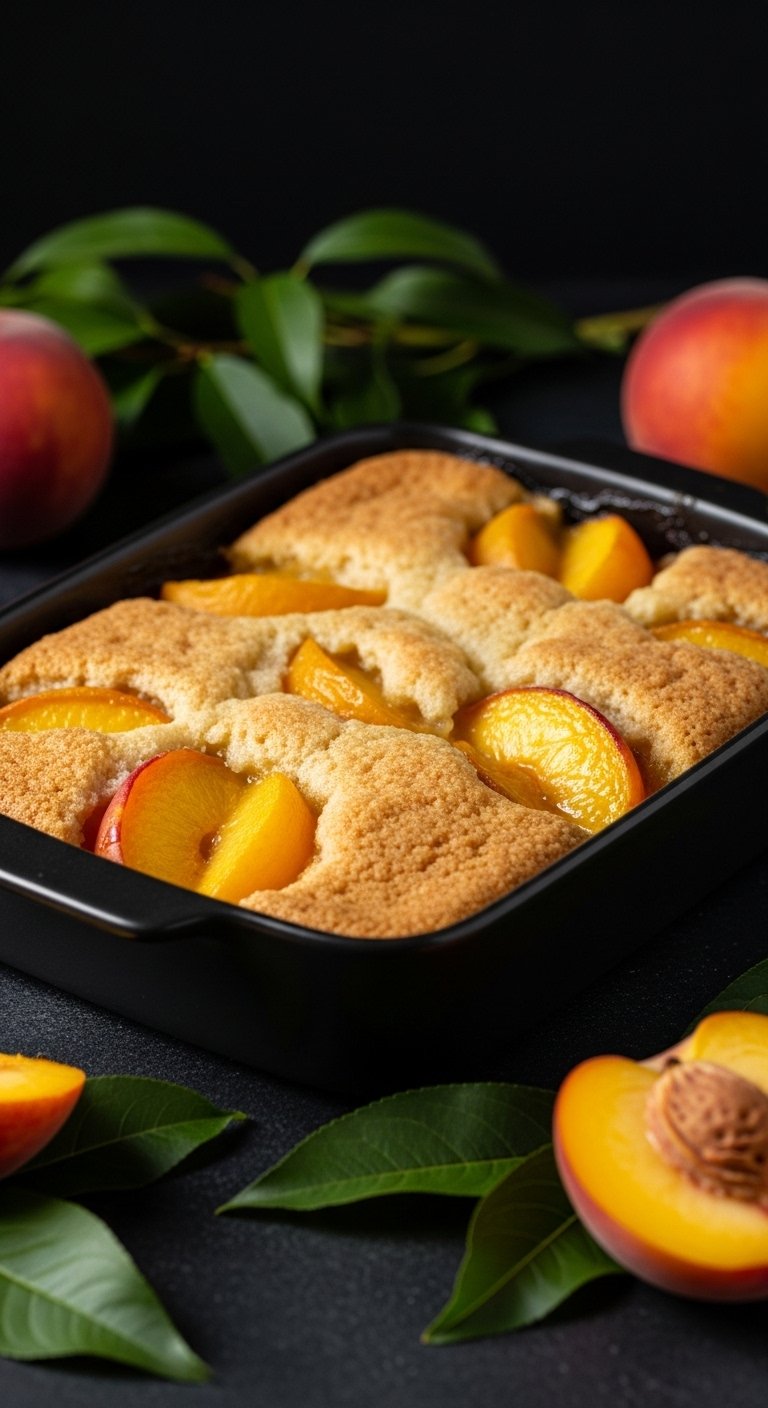
Bake: Bake uncovered for 40 to 45 minutes, or until the top is golden brown and the edges are bubbling.
Rest: Let the cobbler cool for at least 15 minutes before serving. The fruit filling will thicken slightly as it cools.
Pro Tip: Bake on the middle rack so the top browns evenly without burning the bottom edges.
Save this idea to your Pinterest.
Popular Asked Questions
What is the difference between a peach cobbler and a crisp
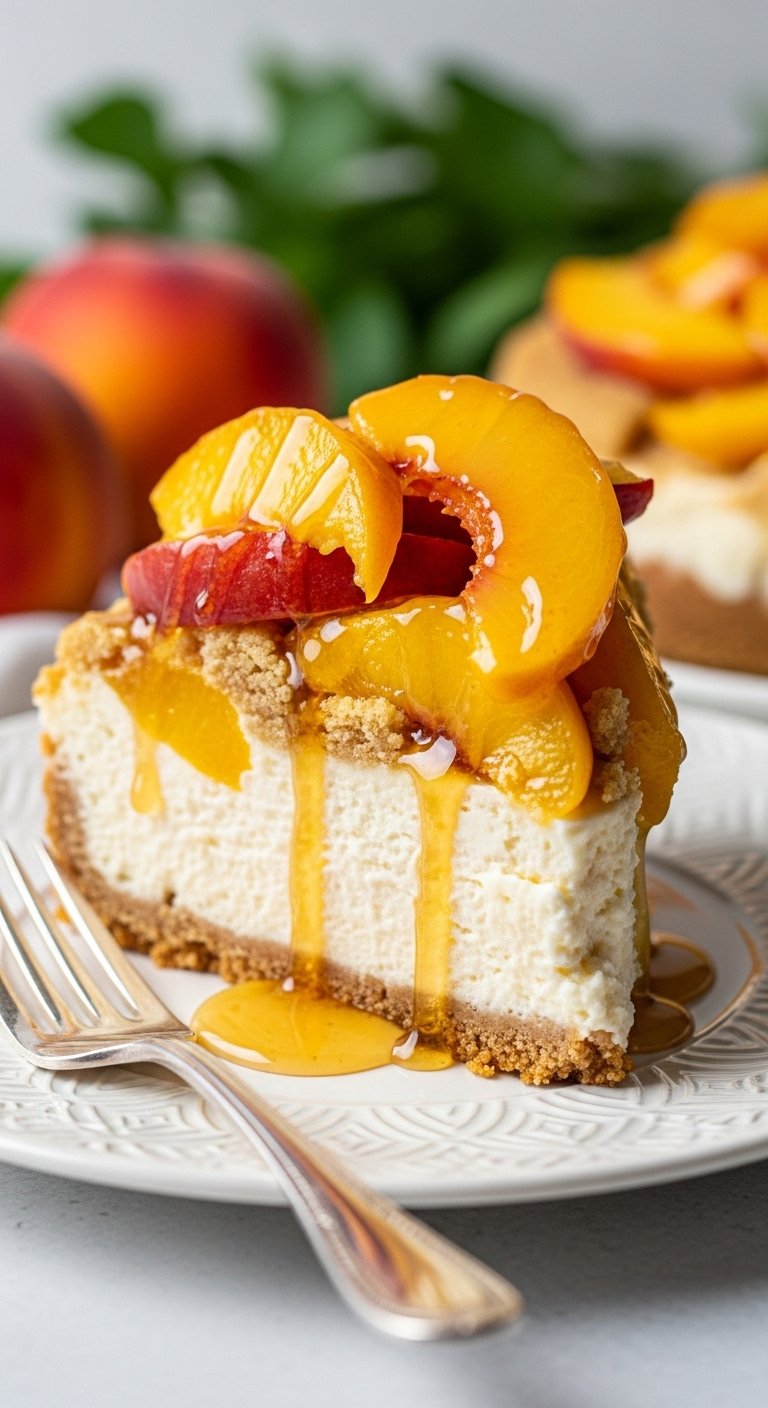
A cobbler features a thick biscuit or cake batter. This batter bakes into a soft and fluffy topping. A crisp uses a crunchy topping made of oats and nuts. Both desserts use a baked fruit base. The visual difference is very clear. The super easy peach cobbler looks like a soft cake. The crisp looks like a textured granola bowl.
Is peach cobbler supposed to be gooey
The center should feel syrupy rather than extremely gooey. The fruit releases natural liquids during the bake. A proper recipe thickens these juices into a rich sauce. The cake portion should remain soft but fully baked. Runny desserts usually mean the fruit was too ripe. Liquid centers ruin the visual plating aesthetic.
What kind of peaches are best for cobbler
Fresh yellow varieties offer the best natural flavor and bright color. Frozen slices work perfectly for year round baking. Canned fruit speeds up the preparation process significantly. Canned options provide a consistent texture and reliable sweetness. The super easy peach cobbler adapts to all three types beautifully.
How long does peach cobbler last in the fridge
You can store leftovers in a sealed container for up to three days. The cold temperature keeps the fruit fresh. The cake topping will absorb liquid over time. This absorption changes the texture from crisp to soft. Reheat portions in the oven to restore some of the original crunch.
Do you stir peach cobbler before baking
You should never mix the layers together. The recipe relies on specific structural boundaries. The butter sits at the bottom. The batter forms the middle layer. The fruit rests on top. The heat naturally pushes the batter upward. This chemical reaction creates the signature crust. Stirring destroys this beautiful visual presentation.
Conclusion
This viral baking trend proves that stunning desserts require minimal effort. The super easy peach cobbler offers endless styling possibilities. You can adapt the basic structure to fit any aesthetic or dietary need. The golden crust and bright fruit create a perfect visual harmony every single time. Which specific pan material will you choose for your next bake?
Follow us on Pinterest for more super easy peach cobbler inspiration.

Leave a Comment