
The mint tastes weak, the chocolate chips turn waxy, and the texture goes rock-hard after one night in the freezer. This post fixes all of that. You will find a tested recipe, a full breakdown of every ingredient decision, troubleshooting tips, and upgrade ideas that turn a simple scoop into something you will want to make on repeat all summer long.

Key Takeaways
- Mint extract vs. peppermint extract — the type you choose changes the flavor profile completely.
- Chopped chocolate bar beats chocolate chips every time for texture and melt.
- A custard base (egg yolks) gives the creamiest, most scoopable result.
- Chilling the base overnight is the single biggest upgrade most people skip.
- Adding a splash of vodka or liqueur keeps the ice cream soft for days longer.

What Makes Chocolate Mint Chip Ice Cream Different
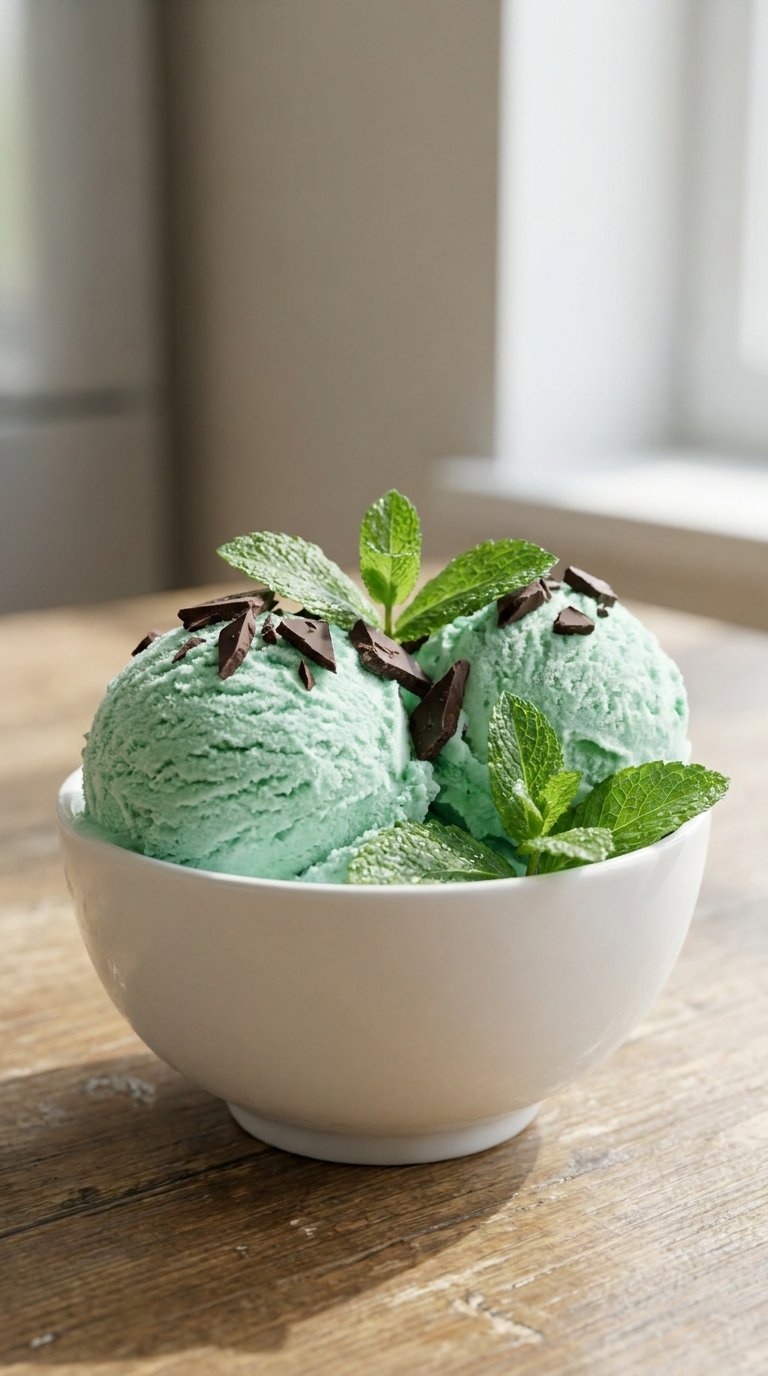
Overhead shot of finished chocolate mint chip ice cream in a loaf pan, pale green with dark chocolate flecks, a single scoop mid-air]
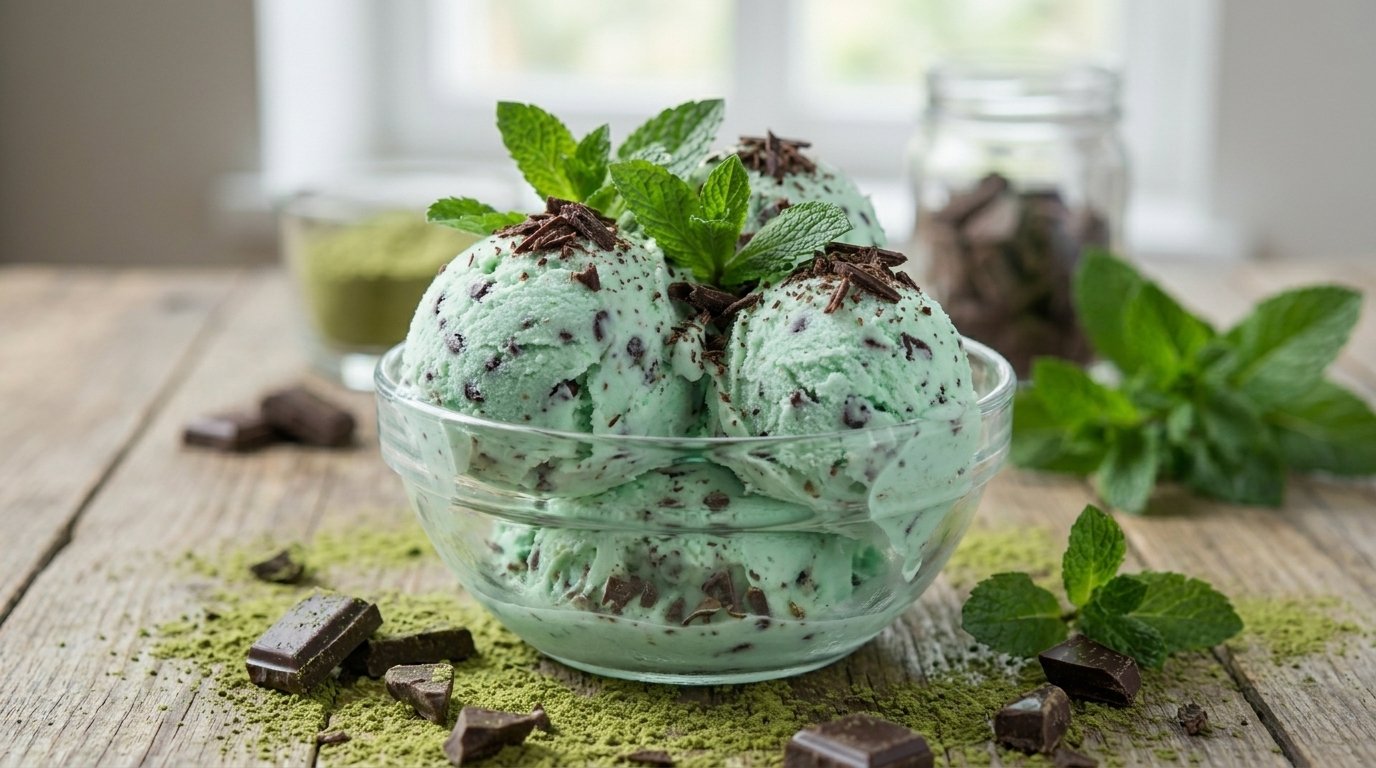
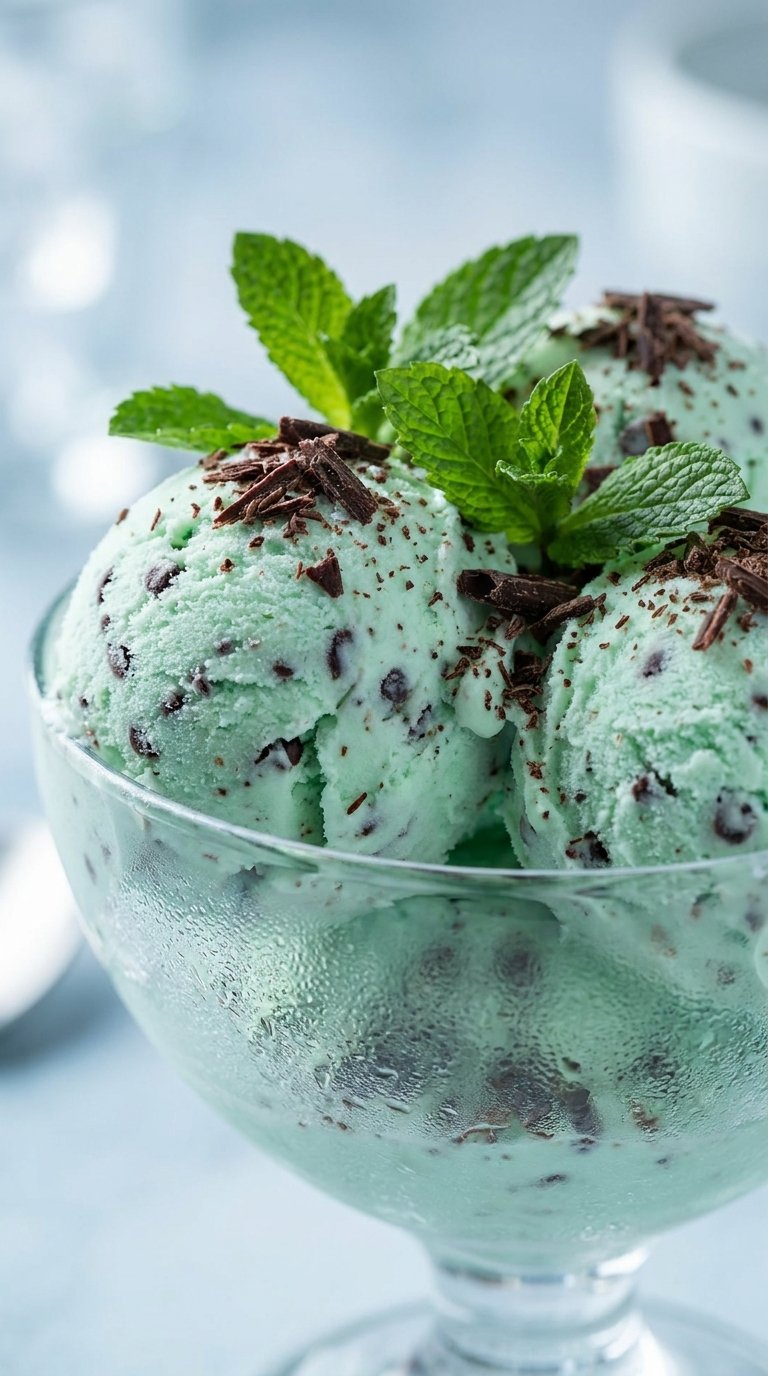
Chocolate mint chip ice cream sits in a category all its own. The cool breath of mint hits first. Then the cream rounds it out. Then the chocolate arrives with a slight snap and a rich, dark finish. That layered sequence of sensation is why this flavor has ranked in America’s top ten for decades.
What separates a great homemade batch from a mediocre store-bought carton is control. You pick the mint intensity. You choose the chocolate quality. You decide the chip size. Every single variable is yours. Most commercial brands keep the mint mild and the chips tiny to appeal to the widest audience. When you make it at home, you can push every element to exactly where you want it.
The recipe in this post uses a cooked custard base, which means egg yolks, whole milk, and heavy cream cooked together before churning. It takes about 30 extra minutes of active work. The payoff is a silkier, denser, more scoopable result that holds its shape in the bowl longer than any shortcut method.
Pro Tip: Make the base the night before. Cold custard churns faster and produces smaller ice crystals, which means a smoother final texture.
Save this idea to your Pinterest.
The Keywords Behind This Recipe
Before the full recipe, here is the keyword foundation this post is built around. These are the phrases real people type when they want to make this ice cream at home.
- Homemade chocolate mint chip ice cream recipe
- Chocolate mint chip ice cream without ice cream maker
- Best peppermint extract for ice cream
- Creamy mint chocolate chip ice cream custard base
- No-churn mint chocolate chip ice cream 2025
- How to keep homemade ice cream soft
- Dark chocolate mint chip ice cream recipe
- Mint chocolate chip ice cream with fresh mint
- Easy mint chip ice cream for summer parties
- Chocolate mint chip ice cream with sweetened condensed milk
Ingredients
Flat lay of all ingredients on a marble surface: cream, milk, egg yolks, sugar, peppermint extract, vanilla, chocolate bar, optional food coloring]
This recipe serves 6 to 8 people and makes about 1.5 quarts.
For the custard base:
- 5 large egg yolks
- ¾ cup granulated sugar
- 1½ cups whole milk
- 1½ cups heavy whipping cream
- 1 tablespoon pure vanilla extract
- 1½ teaspoons peppermint extract (or 1 tablespoon plain mint extract)
- Pinch of fine sea salt
- 3 to 4 drops green food coloring (optional)
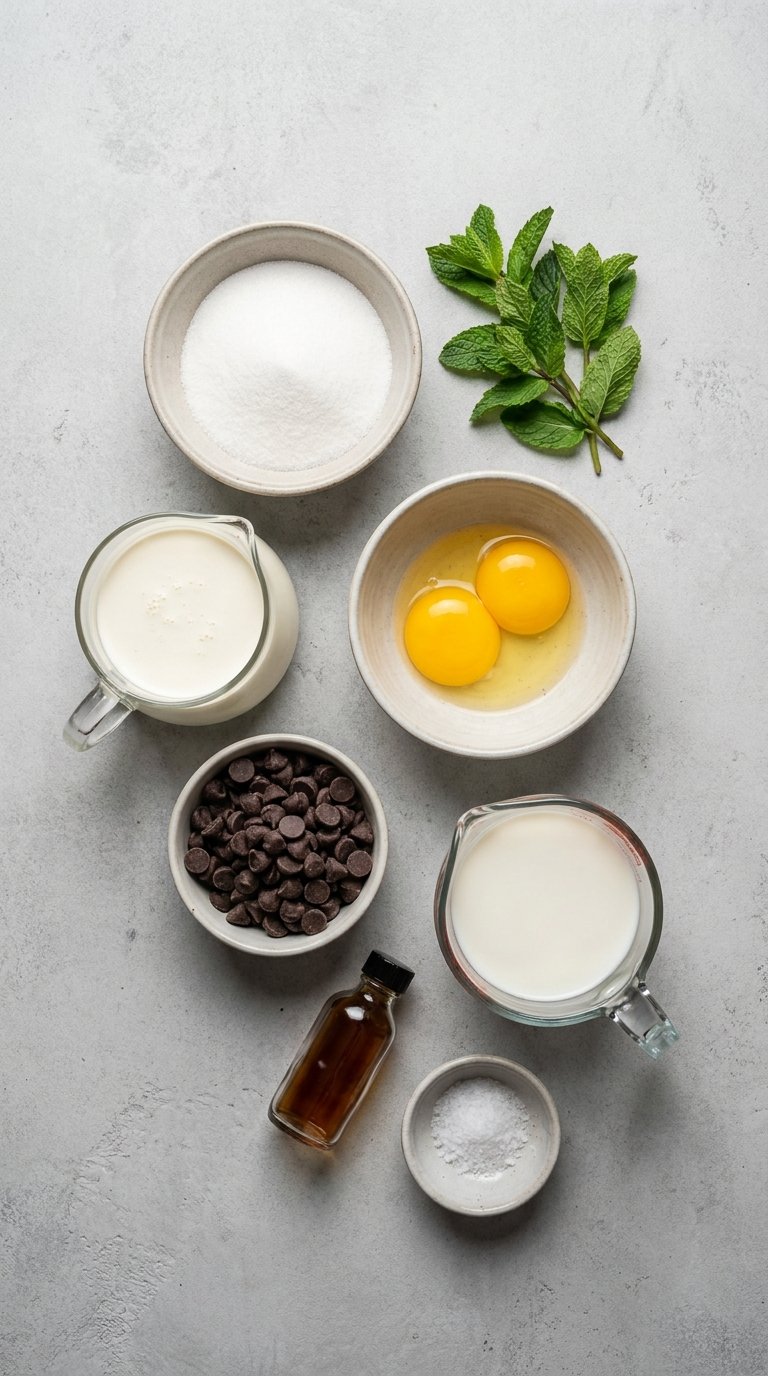
For the chocolate:
- 4 oz (113 g) good-quality semisweet or dark chocolate bar (60% to 70% cacao), roughly chopped
- 1 teaspoon coconut oil or neutral oil (for the drizzle method)
Why these amounts matter: The ratio of egg yolks to dairy determines texture. Five yolks give you the custard body without tipping into eggy flavor. The peppermint to mint extract choice is discussed in full below, because it changes the flavor profile more than almost any other decision in this recipe.
Pro Tip: Pull your egg yolks out of the fridge 15 minutes before you start. Room-temperature yolks temper more evenly and reduce the risk of scrambling.
The Custard Base: Why Egg Yolks Change Everything
Close-up of a pale yellow custard base in a saucepan, wooden spoon coating test on the back, steam rising]
A custard-based ice cream uses egg yolks as an emulsifier. When you whisk the yolks with sugar and cook them into the cream and milk, the lecithin in the yolks binds fat and water together in a way that no other ingredient can replicate. The result is a dense, smooth, ultra-creamy base that resists the formation of large ice crystals during freezing.
Compare this to a Philadelphia-style base, which skips the eggs entirely. Philadelphia-style is faster and still tasty, but it tends to freeze harder and produces a slightly icier mouthfeel. For chocolate mint chip ice cream, where the mint can already read as sharp and bright, you want the fat-rich cushion of custard behind it to balance things out.
The technique is straightforward. Whisk yolks and sugar until the mixture turns pale yellow and falls in ribbons from the whisk. Heat the milk and cream separately until small bubbles form at the edge. Slowly pour the hot dairy into the egg mixture in a thin stream, whisking constantly. Return everything to the pot and cook on medium-low, stirring without stopping, until the custard thickens enough to coat the back of a spoon and hold a line when you draw your finger across it.
Pro Tip: If your custard starts to look lumpy, take it off the heat immediately and strain it through a fine-mesh sieve into a cold bowl set over ice. This stops the cooking fast and smooths out any small scrambled bits.
Instructions
Step-by-step grid of 4 images: whisking yolks, tempering, straining, churning in machine]
Follow these steps for the custard-based version. The no-churn variation is described in the section above.
Step 1: Whisk the yolks and sugar.
In a large heatproof bowl, whisk 5 egg yolks with ¾ cup of sugar for about 2 minutes, until the mixture is pale and falls from the whisk in thick ribbons. Set aside.
Step 2: Heat the dairy.
Combine 1½ cups whole milk and 1½ cups heavy cream in a medium saucepan over medium heat. Add a pinch of salt. Heat until small bubbles form around the edges and wisps of steam rise from the surface. Do not let it boil.
Step 3: Temper the eggs.
With one hand whisking the egg and sugar mixture constantly, use your other hand to pour the hot dairy in a very slow, thin stream. Pour about half the dairy in before you pour the rest in more quickly. This gradual addition heats the eggs gently without scrambling them.
Step 4: Cook the custard.
Pour the combined mixture back into the saucepan. Cook over medium-low heat, stirring constantly with a wooden spoon or silicone spatula, scraping the bottom and sides of the pan. Cook until the custard thickens enough to coat the back of the spoon and hold a clear line when you draw your finger across the coating. This takes about 8 to 12 minutes.
Step 5: Strain and chill.
Pour the custard through a fine-mesh sieve into a clean bowl. Stir in the vanilla extract. Press a piece of plastic wrap directly onto the surface of the custard to prevent a skin from forming. Refrigerate for at least 4 hours, preferably overnight.
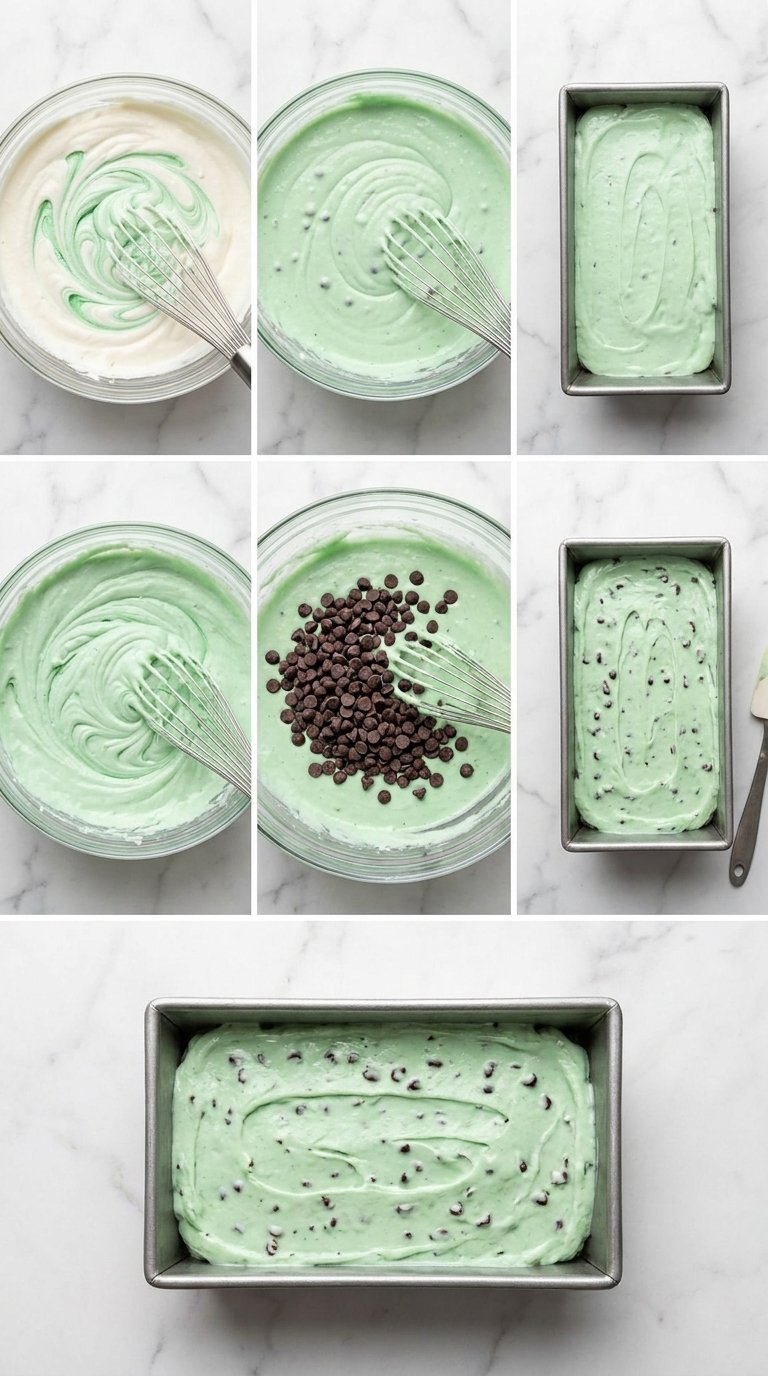
Step 6: Add the mint and color.
Once the custard is fully cold, stir in the peppermint extract. Add food coloring if using, two drops at a time, stirring after each addition until you reach your preferred shade.
Step 7: Churn.
Pour the cold custard into your ice cream maker and churn according to the manufacturer’s directions. Most machines take 20 to 30 minutes to reach a soft-serve consistency.
Step 8: Add the chocolate.
While the ice cream churns, melt the chopped chocolate with 1 teaspoon of coconut oil in a small bowl in the microwave in 20-second bursts, stirring between each, until smooth. Let it cool to just above room temperature.
Step 9: Layer and freeze.
Spoon a layer of churned ice cream into a freezer-safe container. Drizzle the chocolate mixture in thin streams over the ice cream. Add another layer, drizzle again. Use a spoon to break up any pooled chocolate. Repeat until the container is full. Smooth the top, press plastic wrap directly onto the surface, and freeze for at least 4 hours before serving.
Pro Tip: A shallow, wide container (like a standard loaf pan) freezes the ice cream more evenly than a tall, narrow one and makes scooping easier.
Popular Asked Questions
What is the difference between mint extract and peppermint extract for ice cream?
Plain mint extract blends spearmint and peppermint oils. It gives your chocolate mint chip ice cream a softer, more herbal flavor. Peppermint extract uses peppermint oil only, which carries far more menthol for a sharper, colder sensation. If you use peppermint extract, use half the amount the recipe calls for. The classic mint chip flavor most people recognize from ice cream shops is made with plain mint extract.
Why does my homemade mint chip ice cream get so hard in the freezer?
Homemade ice cream does not contain the softeners and stabilizers found in commercial brands, so it naturally freezes harder. Three fixes work well. Add 2 to 3 tablespoons of alcohol (vodka, crème de menthe, or peppermint schnapps) to the base before churning to lower the freezing point. Let the container sit on the counter for 8 to 10 minutes before scooping. Use a metal scoop warmed briefly under hot water. Any one of these helps; all three together make the texture noticeably softer.
Can I make chocolate mint chip ice cream without an ice cream maker?
Yes. The no-churn method uses whipped heavy cream folded into sweetened condensed milk with mint extract. The whipped cream introduces air and the condensed milk lowers the freezing point. You get a softer, airier texture than the churned custard version, but it still scoops cleanly and tastes excellent. Pour it into a loaf pan and freeze for at least 6 to 8 hours.
What type of chocolate is best for mint chip ice cream?
A good-quality semisweet or dark chocolate bar, roughly chopped, gives the best texture and flavor. Chocolate chips contain stabilizers that make them waxy and hard when frozen. A chopped bar melts quickly on your tongue and releases its full flavor. For chocolate mint chip ice cream, 60% to 70% cacao gives a pleasant bitterness that balances the sweet mint cream without overwhelming it.
Does green food coloring change the flavor of mint ice cream?
No. Green food coloring is purely visual. It makes the ice cream look like the classic mint chip most people grew up eating, but it contributes nothing to the taste. You can skip it for a natural presentation or add a drop of green gel food coloring for the familiar look. If you want a natural green tint with a subtle flavor boost, a small amount of matcha powder or spinach powder stirred into the cold base before churning works well.
Conclusion
Homemade chocolate mint chip ice cream is one of those recipes that looks simple on the surface and reveals depth when you pay attention to the details. The extract choice matters. The chocolate format matters. The base temperature before churning matters. None of these steps are complicated, but each one moves the final result closer to the version you have been imagining.
Start with the custard base if you have an ice cream maker and want the richest result. Start with the no-churn version if you want something in the freezer by tonight. Either way, you end up with something a store carton cannot match.
What is your go-to serving moment for mint chip ice cream? A waffle cone on the porch, a late-night bowl straight from the container, or something more creative? Leave your answer in the comments.
Follow us on Pinterest for more chocolate mint chip ice cream inspiration and easy summer dessert ideas.

Leave a Comment