
Winter and plumbing systems go together about as well as cats and water. Your pipes don’t care that you’ve got holiday guests coming or that it’s Christmas morning when they decide to freeze solid and leave you without running water. I’ve learned this the hard way, standing in my basement at 3 AM with a hair dryer, trying to thaw a pipe that sounded like it was about to explode.
The good news? You don’t have to experience that particular brand of homeowner panic. With some preparation and know-how, you can keep your plumbing happy all winter long. We’re talking about five game-changing strategies that’ll save you from emergency plumber bills and the joy of explaining to your in-laws why there’s no hot water for their morning coffee.
Insulate Your Pipes Like Your Wallet Depends on It
Let me paint you a picture. It’s February, the temperature outside is doing its best impression of Mars, and suddenly you hear a sound that makes your blood run cold. No, not your teenager asking for money again. It’s that distinct pop and hiss of a pipe giving up on life. The water damage that follows can cost thousands, and that’s before we talk about the mold issues that love to crash the party afterward.
Pipe insulation isn’t glamorous work. You’ll be crawling around your basement looking like you’re exploring a cave system, flashlight in hand, trying to identify every single exposed pipe. Your knees will hate you, you’ll probably bang your head at least twice, and you’ll discover corners of your house that apparently haven’t seen daylight since the Carter administration. But trust me, it beats the alternative.
Start with your basement and attic, the two places where pipes like to hang out in the cold. These areas are like the Wild West of temperature control, swinging from hot to cold faster than your mood when you realize you’re out of coffee. Look for any pipe that’s not tucked safely inside an insulated wall. Pay special attention to pipes running along exterior walls or through unheated spaces like garages. These are the troublemakers, the ones most likely to freeze when Old Man Winter decides to show off.
The actual insulation process is pretty straightforward, though your back might disagree. You can use pipe sleeves, which slide over your pipes like a cozy sweater, or foam padding that wraps around them. The key is covering every inch. Gaps in insulation are like leaving your front door cracked open during a blizzard. Cold air will find those spots and exploit them mercilessly.
Here’s a pro tip from someone who learned the hard way: don’t forget about the fittings and joints. These spots are extra vulnerable because they have more surface area exposed to cold air. You might need to get creative with your insulation, cutting and shaping it to fit around valves and connections. It’s like solving a puzzle where the stakes are your peace of mind.
While you’re at it, grab some caulk and seal any gaps where pipes enter your house. Cold air loves to sneak in through these openings and turn your carefully insulated pipes into popsicles anyway. I once spent a whole weekend insulating pipes only to have them freeze because I missed a tiny gap where the water line entered the house. Don’t be me.
Some people swear by the trick of running hot water through the pipes before installing insulation. The idea is to warm everything up so you’re not trapping cold inside the insulation. Makes sense in theory, though honestly, proper insulation matters more than the starting temperature. But if it makes you feel better about the process, knock yourself out.
The investment in pipe insulation pays for itself the first time it prevents a freeze. We’re talking about spending maybe fifty bucks at the hardware store versus hundreds or thousands in damage repair. Plus, insulated pipes help your water heater work more efficiently, so you’ll see savings on your energy bills too. It’s like getting paid to prevent disasters.
Give Your Water Heater Some Winter TLC
Your water heater during winter is like that friend who’s always volunteering for extra shifts at work. It’s trying its best, but the extra demand is wearing it down. Cold incoming water means your heater has to work overtime just to get your shower to a reasonable temperature. Without proper maintenance, this extra stress can turn your reliable hot water source into an expensive paperweight.
I learned about water heater maintenance the hard way when mine decided to take an unscheduled vacation right before Thanksgiving. Picture this: sixteen family members descending on your house, and your water heater chooses that exact moment to start producing water that’s barely warmer than what comes out of the garden hose. Not exactly the holiday memory I was going for.
The secret weapon in water heater care is the annual drain and flush. This process removes sediment that builds up over time, kind of like how plaque builds up on your teeth if you skip the dentist for too long. That sediment acts like a blanket between the heating element and the water, making your heater work harder and less efficiently. It’s like trying to heat soup while wearing oven mitts.
Start by turning off the power to your water heater. For electric units, flip the breaker. For gas units, turn the gas valve to pilot. Then shut off the cold water supply valve at the top of the tank. Attach a garden hose to the drain valve at the bottom of the tank and run the other end to a floor drain or outside where you can safely dispose of the water.
Open the drain valve and let the tank empty. Don’t be surprised if the water comes out looking like chocolate milk at first. That’s all the sediment you’re getting rid of. Once the tank is empty, turn the cold water supply back on briefly to help flush out any remaining sediment. You’ll see the water gradually get clearer as the tank rinses out.
Here’s where people often mess up: they rush the refill process. Turn the drain valve off, remove the hose, and slowly turn the cold water supply back on. Open a hot water faucet somewhere in the house to let air escape as the tank refills. Listen for the sound of air bubbling out through the faucet. When you get a steady stream of water instead of sputtering air and water, your tank is full.
The timing of this maintenance matters more than you might think. Do it in fall, before winter demands kick in. Your water heater will thank you by working more efficiently all season long. Plus, you’ll catch any potential problems before they become middle-of-winter emergencies. Trust me, water heater shopping is much more pleasant when you’re not doing it in a panic because you have no hot water.
Electric water heaters need a slightly different approach than gas units, but the basic principle is the same. If you’re not comfortable doing this maintenance yourself, call a professional. The cost of annual maintenance is a fraction of what you’ll pay for a new water heater or emergency repairs during the busy winter season.
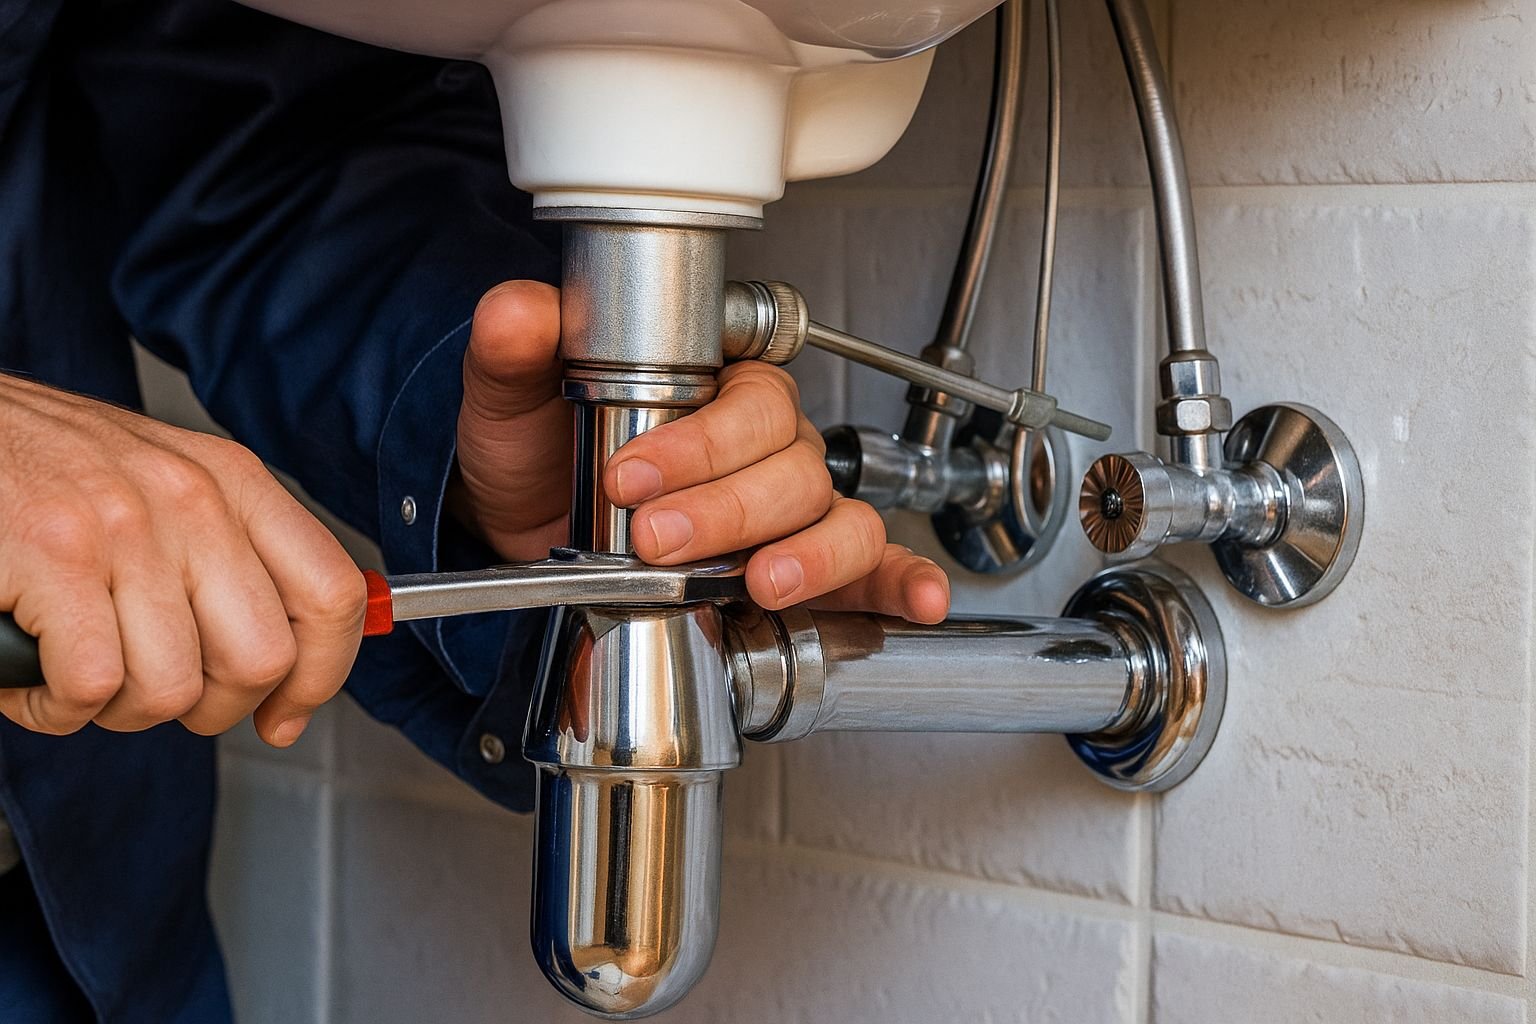
Become a Plumbing Detective with Regular Inspections
Think of yourself as Sherlock Holmes, but instead of solving murders, you’re preventing plumbing disasters. Regular inspections might not sound exciting, but they’re your early warning system for problems that could ruin your winter. I’ve found issues during routine inspections that would have caused thousands in damage if left unchecked.
Winter plumbing inspections aren’t just about looking for obvious problems. You’re hunting for subtle signs that trouble is brewing. That tiny drip that seems harmless in summer can turn into a major ice blockage when temperatures drop. The pipe that’s been making a weird noise might be telling you it’s not properly supported and could burst under pressure.
Start with your heating system connections. These work overtime during winter, and the extra stress can reveal weaknesses that summer temperatures never exposed. Check where your heating pipes connect to radiators or baseboard heaters. Look for any signs of corrosion, loose connections, or mineral buildup. These spots are like the canary in the coal mine for your whole system.
Your waste pipes deserve special attention during these inspections. Proper drainage becomes even more important when outdoor temperatures can freeze standing water. Check that your waste lines have the right slope for good drainage. Water should flow away from your house, not pool in low spots where it can freeze and cause backups.
Don’t overlook your vent pipes during these inspections. These unsung heroes regulate pressure in your plumbing system, preventing the kind of problems that can turn a minor issue into a major disaster. A blocked vent pipe can cause slow drains, gurgling sounds, and in extreme cases, can allow sewer gases into your home. In winter, these vents can get blocked by ice or snow, so make sure they’re clear and functioning properly.
The water distribution system needs a thorough check too. Trace your cold water lines from where they enter your house to every fixture. Look for any signs of wear, corrosion, or damage. Pay special attention to joints and connections, which are often the first places problems show up. A joint that looks fine in summer might fail when winter temperatures cause expansion and contraction.
Here’s something most people miss: check your water pressure throughout the house. Turn on multiple faucets and see if pressure drops significantly. Low water pressure can indicate problems with your main line or internal blockages that could get worse when cold weather hits. It’s like checking your car’s performance before a long road trip.
Temperature fluctuations during winter put extra stress on all your plumbing components. Pipes expand and contract, joints loosen, and seals can fail. Your inspection should include checking for any movement in your pipes when water flows through them. Pipes that bang or vibrate might need better support before winter temperatures make the problem worse.
Document what you find during inspections. Take photos of questionable areas and keep notes about changes from year to year. This creates a history that helps you spot developing problems before they become expensive emergencies. Plus, if you do need to call a professional, having this documentation helps them understand your system better.
Hunt Down and Destroy Water Leaks
Water leaks are like that one friend who seems harmless enough until they’re passed out on your couch at 3 AM causing problems. A tiny drip that you barely notice in summer can become a major ice dam in winter, blocking your pipes and causing pressure buildups that can burst your plumbing system wide open.
I once ignored a small leak under my kitchen sink because it was just a few drops here and there. Big mistake. When winter hit, those drops turned into ice, which expanded and cracked the pipe fitting. What started as a minor annoyance became an emergency plumber visit on New Year’s Eve. Let me tell you, holiday emergency rates are not kind to your wallet.
Start your leak hunt in the obvious places, then get creative. Check under every sink, around every toilet base, and near your water heater. But don’t stop there. Leaks love to hide in places you don’t look regularly. Check your basement ceiling for signs of drips from upstairs plumbing. Look for water stains on walls near plumbing runs. Sometimes you’ll smell a leak before you see it, especially if it’s been going on for a while.
Outdoor faucets and hose connections are leak magnets that get worse in winter. These fixtures take a beating from temperature changes and are often the first to develop problems. Check where your outdoor spigots connect to the house plumbing. Look for any signs of water damage on exterior walls or foundations near these connections.
The tricky thing about leaks is that they don’t always show up where the actual problem is located. Water follows gravity and can travel along pipes or structural elements before showing up somewhere completely different. That water stain on your ceiling might be coming from a leak several feet away from where you see the damage.
Here’s a professional trick: use food coloring to trace mysterious leaks. Add a few drops to your toilet tank and see if colored water shows up around the base. Put some in your sink and watch where it goes if you suspect a drain leak. This cheap detective tool can save you hours of guesswork.
Don’t forget about your washing machine and dishwasher connections during your leak inspection. These appliances cycle on and off regularly, which can loosen connections over time. Check the water supply lines going to these appliances and look for any signs of moisture or corrosion around the connections.
Some leaks are seasonal and only show up when your plumbing system is under stress. Run water through every fixture in your house during your inspection. Fill sinks and tubs, run dishwashers and washing machines, flush every toilet. This stress test can reveal leaks that only appear when water is flowing through the system.
The repair approach depends on what you find, but don’t put off fixes just because they seem minor. Winter amplifies every plumbing problem, turning small issues into big headaches. A loose connection that drips occasionally in summer can fail completely when cold weather causes pipes to contract and put extra stress on joints.
Keep basic repair supplies on hand for quick fixes. Pipe tape, replacement washers, and pipe clamps can handle many common leaks without waiting for a hardware store run. But know your limits. If a leak involves your main water line or requires cutting into walls, call a professional before you turn a manageable problem into a major renovation project.
Seal Your Home Like You’re Preparing for Winter Warfare
Your doors and windows might seem unrelated to your plumbing, but they’re actually your first line of defense against frozen pipes. Every gap that lets cold air in is a potential pipe-freezing problem waiting to happen. I learned this lesson when a tiny gap under my basement door let in just enough cold air to freeze the pipes running along the nearby wall.
Think of your house like a thermos. The better you seal it, the more stable your internal temperature stays. This stability protects pipes that run through walls, under floors, and in other spaces where you can’t directly insulate them. Even pipes inside your heated space can freeze if cold air finds ways to reach them through gaps and cracks.
Start your sealing mission with the obvious culprits: doors and windows. But we’re not talking about major renovations here. Sometimes the smallest gaps cause the biggest problems. Check the weatherstripping around your exterior doors. This rubber or foam barrier should create a tight seal when doors are closed. If you can see daylight around a closed door, cold air can get through.
Windows are sneaky sources of cold air infiltration. Even if they seem to close properly, the seals around the glass or frame might be failing. Run your hand around window frames on a cold day and feel for air movement. You’d be surprised how much cold air can sneak through what looks like a tight seal.
Here’s a trick that works great for finding air leaks: light an incense stick and slowly move it around doors, windows, and other potential leak points. The smoke will move toward air leaks, showing you exactly where cold air is getting in. It’s like having a supernatural detector for energy efficiency problems.
Don’t overlook less obvious air leak sources. Electrical outlets on exterior walls can let in cold air, especially in older homes where insulation might not extend all the way to the outlet boxes. Check around pipes where they enter your house. These penetrations are often sealed poorly or not at all, creating direct pathways for cold air to reach your plumbing.
The basement and crawl space deserve special attention in your sealing efforts. These areas are often overlooked during construction but can be major sources of cold air infiltration. Check where your foundation meets the framing of your house. Look for gaps around basement windows. Even small openings can let in enough cold air to cause problems with nearby pipes.
Upgrading from single-pane to double-pane windows makes a huge difference in your home’s ability to maintain stable temperatures. If full window replacement isn’t in your budget right now, temporary solutions like plastic window film can provide extra insulation for much less money. These films create an air barrier that significantly improves your windows’ insulating ability.
Weather stripping comes in different types for different applications. Door sweeps seal gaps under doors. Foam tape works well for irregular surfaces. V-strip weatherstripping fits into the channels around windows and doors. Choose the right type for each application, and don’t be afraid to use multiple approaches for problem areas.
Pay attention to attic access points during your sealing efforts. Pull-down stairs and attic hatches are often poorly sealed, allowing warm air to escape and cold air to infiltrate. This temperature loss can affect pipes running through wall cavities that connect to the attic space.
The investment in proper sealing pays dividends beyond just protecting your plumbing. You’ll see lower heating bills, more comfortable indoor temperatures, and less strain on your heating system. Plus, a well-sealed house is quieter and has fewer problems with dust and outdoor allergens making their way inside.
Conclusion
Winter plumbing protection isn’t rocket science, but it does require some planning and effort. The five strategies we’ve covered will keep your pipes happy and your wallet intact when temperatures drop. Remember, the cost of prevention is always less than the cost of emergency repairs, especially when those repairs happen at the worst possible times.
Take action before you need to. Don’t wait for the first freeze warning to start thinking about pipe insulation. Don’t ignore that tiny leak until it becomes a major problem. Your future self will thank you when you’re enjoying hot showers while your neighbors are dealing with frozen pipes and emergency plumber visits.
The beauty of these prevention strategies is that most of them are one-time efforts that pay dividends year after year. Once you’ve insulated your pipes properly, sealed your house, and established a maintenance routine, winter becomes much less stressful. You’ll sleep better knowing your plumbing is protected, and you’ll enjoy winter instead of worrying about what might go wrong next.

Leave a Comment